
Managing Your Users
View and manage user accounts and roles within your RiskOS™ client account.
As a client account user with the appropriate permissions, you can view users, create new accounts, and manage role assignments for your team. Your Channel Partner can also manage users on your behalf.
Before you begin
| Requirement | Details |
|---|---|
| Permission | You must have the UAM Users View tier permission to see the Users page. Users: Full Access to create or edit users. |
| Tier | Both Standalone and Centrally Managed accounts can manage users. |
| Environment | User lists are independent per environment. Manage users separately in Sandbox and Production. |
| Estimated time | 5–10 minutes per user. |
View your users
- Click Settings in the sidebar.
- Click Users.
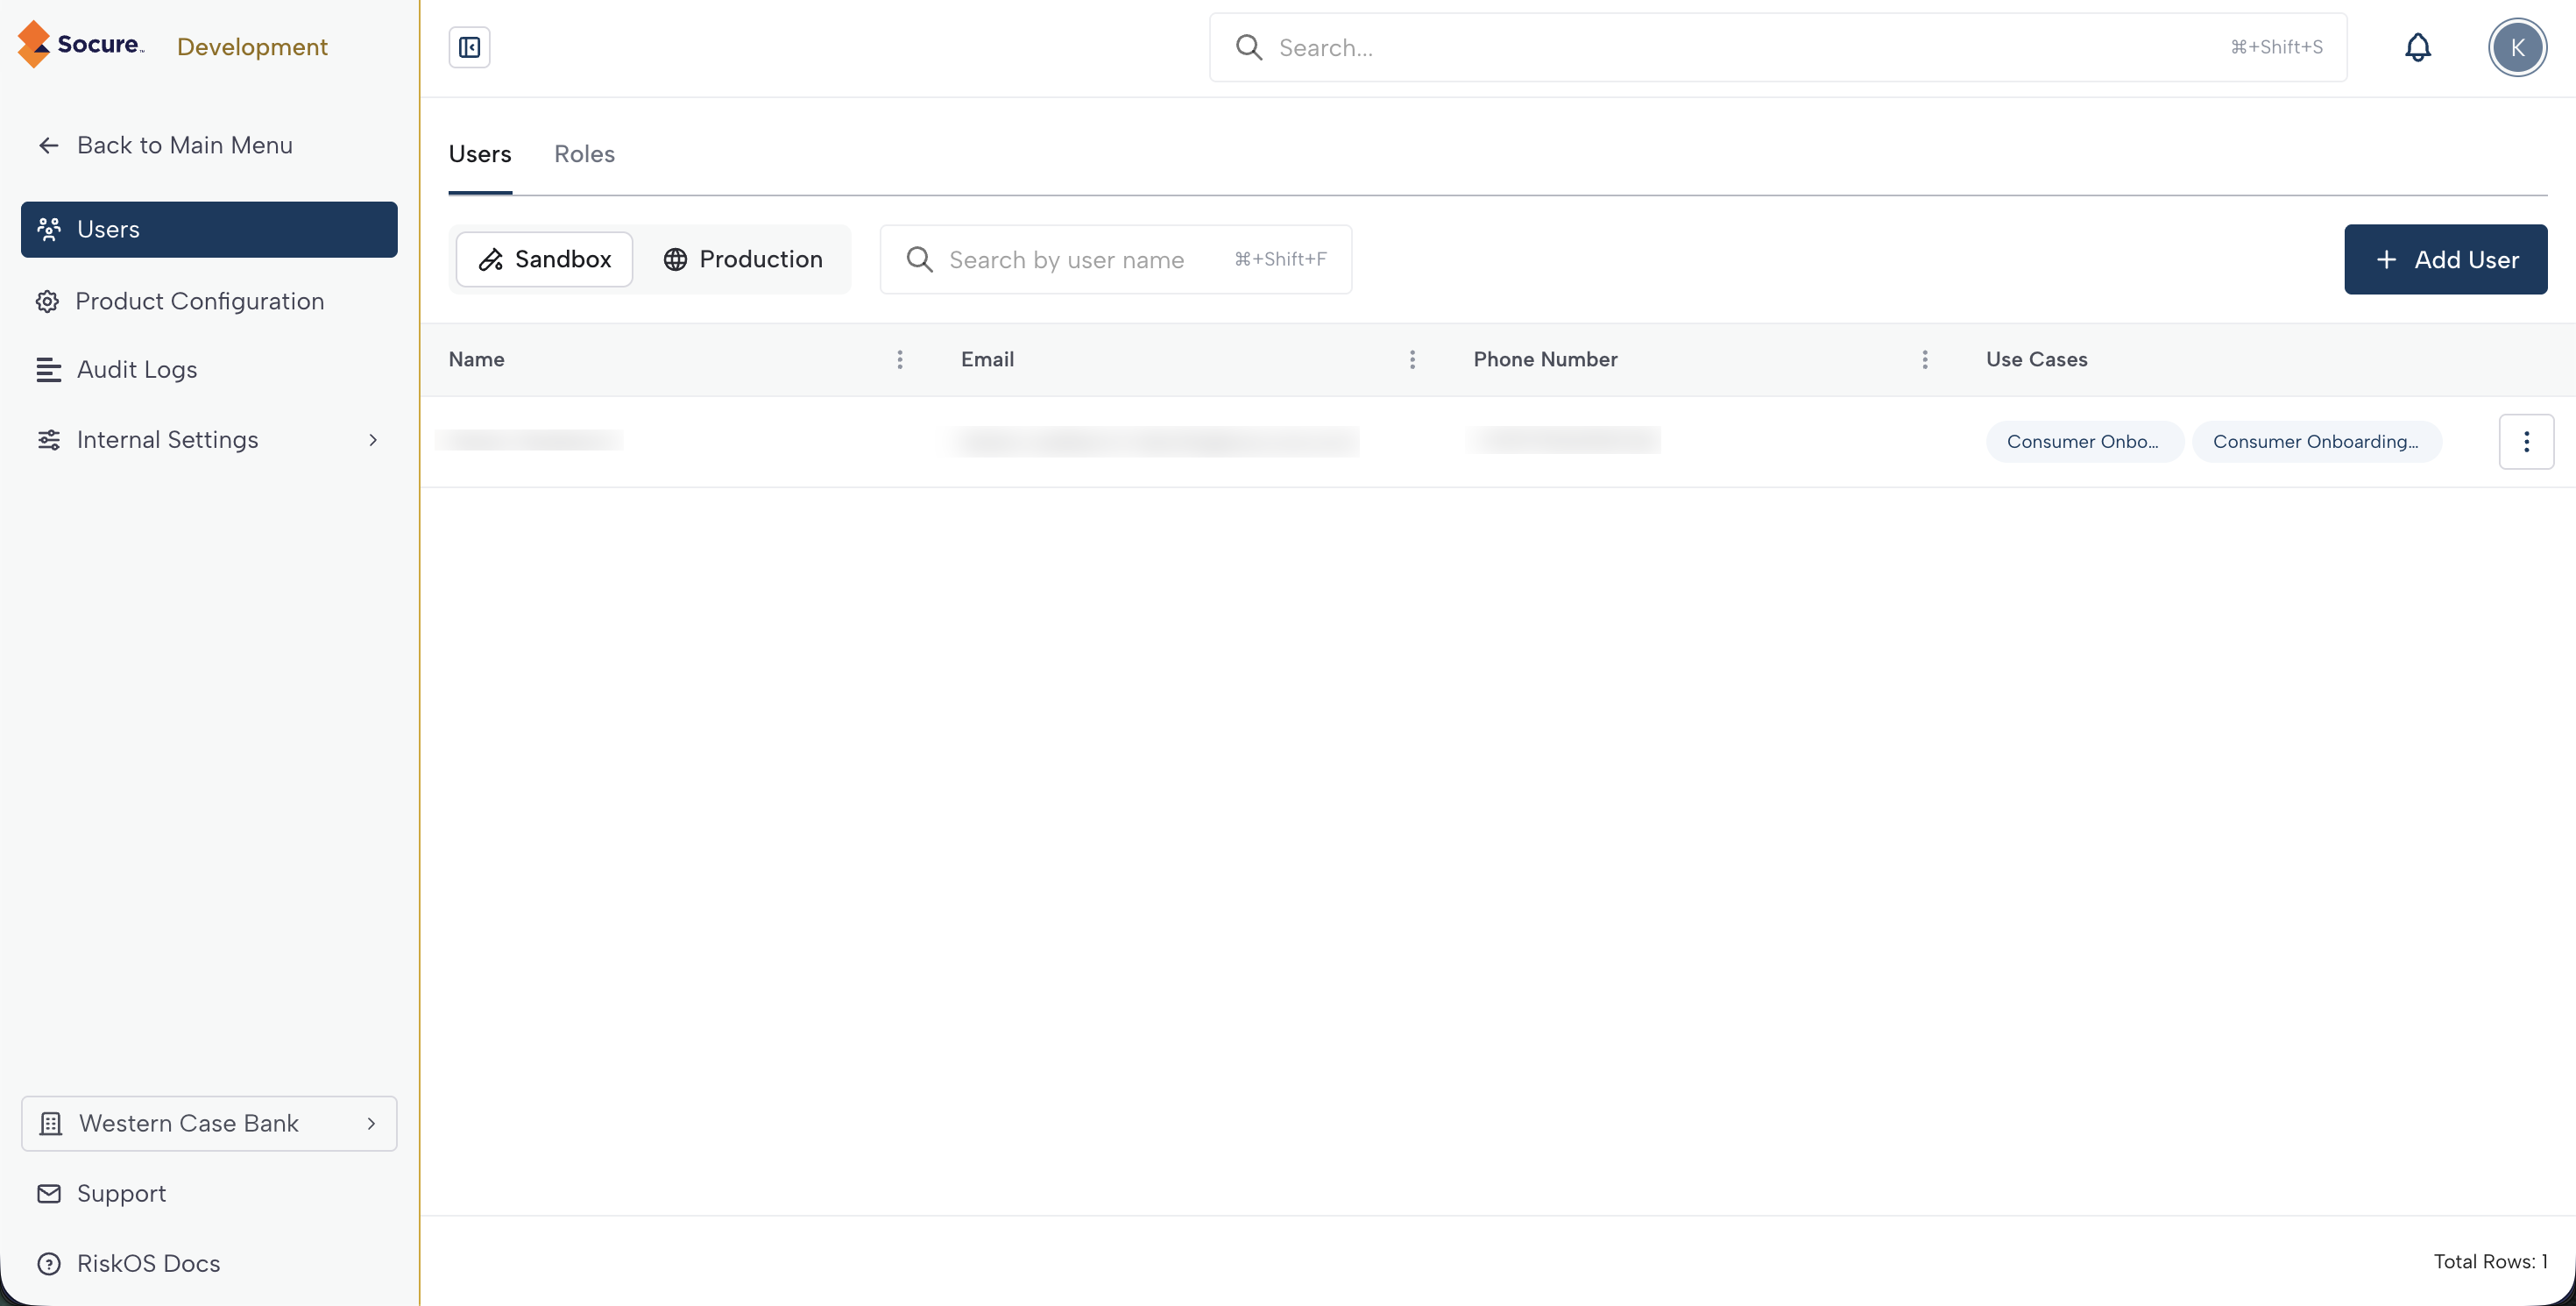
- The Users page displays two tabs: Users and Roles.
The Users tab shows a table with:
| Column | Description |
|---|---|
| User | The user's full name. |
| The user's email address. | |
| Use Cases | The use cases the user has access to. |
| Status | Active or Pending (invitation sent but not accepted). |
| Actions | Edit and delete buttons. |
Use the search field above the table to filter users by name or email. Use the environment toggle (Sandbox / Production) to switch between user lists.
Add a user
- On the Users page, click Add User.
- Complete the four-step wizard:
Step 1: User details
Enter the user's First Name, Last Name, and Email. The email must be unique within the account.
Step 2: Select use cases
Select the use cases this user needs access to. At least one use case must be selected.
Step 3: Select roles
The role assignment table shows available roles with checkboxes for Sandbox and Production environments.
- Select a checkbox to grant that role in the corresponding environment.
- At least one role must be enabled in either environment.
- Roles are grouped into System-Defined Roles and Custom Roles.
Note:
A role enabled in Sandbox does not grant Production access, and vice versa. Enable a role in both columns if the user needs the same access in both environments.
Step 4: Review
Review the user details, use cases, and role assignments. Role tags are color-coded:
- Blue tags = Sandbox roles
- Green tags = Production roles
Click Save to create the user. The user receives an invitation email.
Edit a user
- On the Users page, click the edit button for the user.
- The wizard opens pre-filled with the user's current details.
- Navigate to the step you want to modify (details, use cases, or roles).
- Make your changes and click Save.
Changes take effect immediately. The user sees updated permissions on their next page load.
Delete a user
- On the Users page, click the delete button for the user.
- Confirm the deletion in the dialog.
Important:
Deleting a user is permanent and takes effect immediately. The user loses all access to the account. Delete a user in both Sandbox and Production if you want to revoke access completely.
View roles
- On the Users page, click the Roles tab.
- The Roles table shows all available roles in the account.
| Column | Description |
|---|---|
| Role | The name of the role. |
| Role Type | System Defined or Custom. |
| User assigned | The number of users currently assigned this role. |
| Actions | Delete button (custom roles only). |
Create a custom role
- On the Roles tab, click Add Role.
- Enter a Role Name based on the job function (for example, "Case Reviewer", "Report Analyst").
- For each of the eight permission categories, select an access level: No Access, View Only, or Full Access.
- Click Save.
The eight permission categories are:
| Category | Controls access to |
|---|---|
| Roles | Viewing and managing roles |
| Users | Viewing and managing user accounts |
| Batch Jobs | Viewing and running batch operations |
| Documentation | Viewing documentation |
| PII Access | Viewing personally identifiable information |
| Reports | Viewing and creating reports |
| Custom File Uploads | Uploading and managing files |
| Workflows | Viewing, creating, and deploying workflows |
Note:
Even if a role grants Full Access to a permission category, your account tier determines whether that category is available. For example, a Centrally Managed account cannot access Workflows for editing regardless of the role's Workflows permission level.
Environment management
User lists and role assignments are independent per environment. A user created in Sandbox does not automatically exist in Production.
| Strategy | When to use |
|---|---|
| Broad Sandbox, narrow Production | For new team members who need to test before going live. |
| Mirror Sandbox and Production | For established team members who need identical access. |
| Sandbox only | For developers integrating or testing. |
What your Channel Partner can do
Your Channel Partner can manage users in your account by switching into it from their management Dashboard. When they do:
- They can create, edit, and delete users
- They can create custom roles and assign them
- Their actions appear in your audit logs
Both you and your Channel Partner can manage users. Coordinate with your Channel Partner to avoid conflicting changes — for example, two people editing the same user's roles at the same time.
Troubleshooting
| Issue | Cause | Resolution |
|---|---|---|
| Cannot see the Users page | You do not have the UAM Users View permission. | Contact your Channel Partner or an admin in your account to grant the permission. |
| User reports different access in each environment | Different roles are assigned in Sandbox and Production. | Review the role assignment table. This is expected behavior — environments are independent. |
| A user has access they should not have | The user may be assigned multiple roles. Permissions combine. | Review all assigned roles and remove the role granting excess permissions. |
| Cannot create a user | You need the Users: Full Access permission. | Contact your Channel Partner or an admin to grant the Users: Full Access permission to your role. |
Related articles
| Topic | Guide |
|---|---|
| Overview of your client account | Client Accounts |
| Understand your tier | Understanding Your Tier |
| Navigate your Dashboard | Viewing Your Dashboard |
Updated 3 months ago