Tags and Tag Groups
Create and organize tags and tag groups in RiskOS™ to categorize workflows, improve reviewer efficiency, and manage fraud typologies.
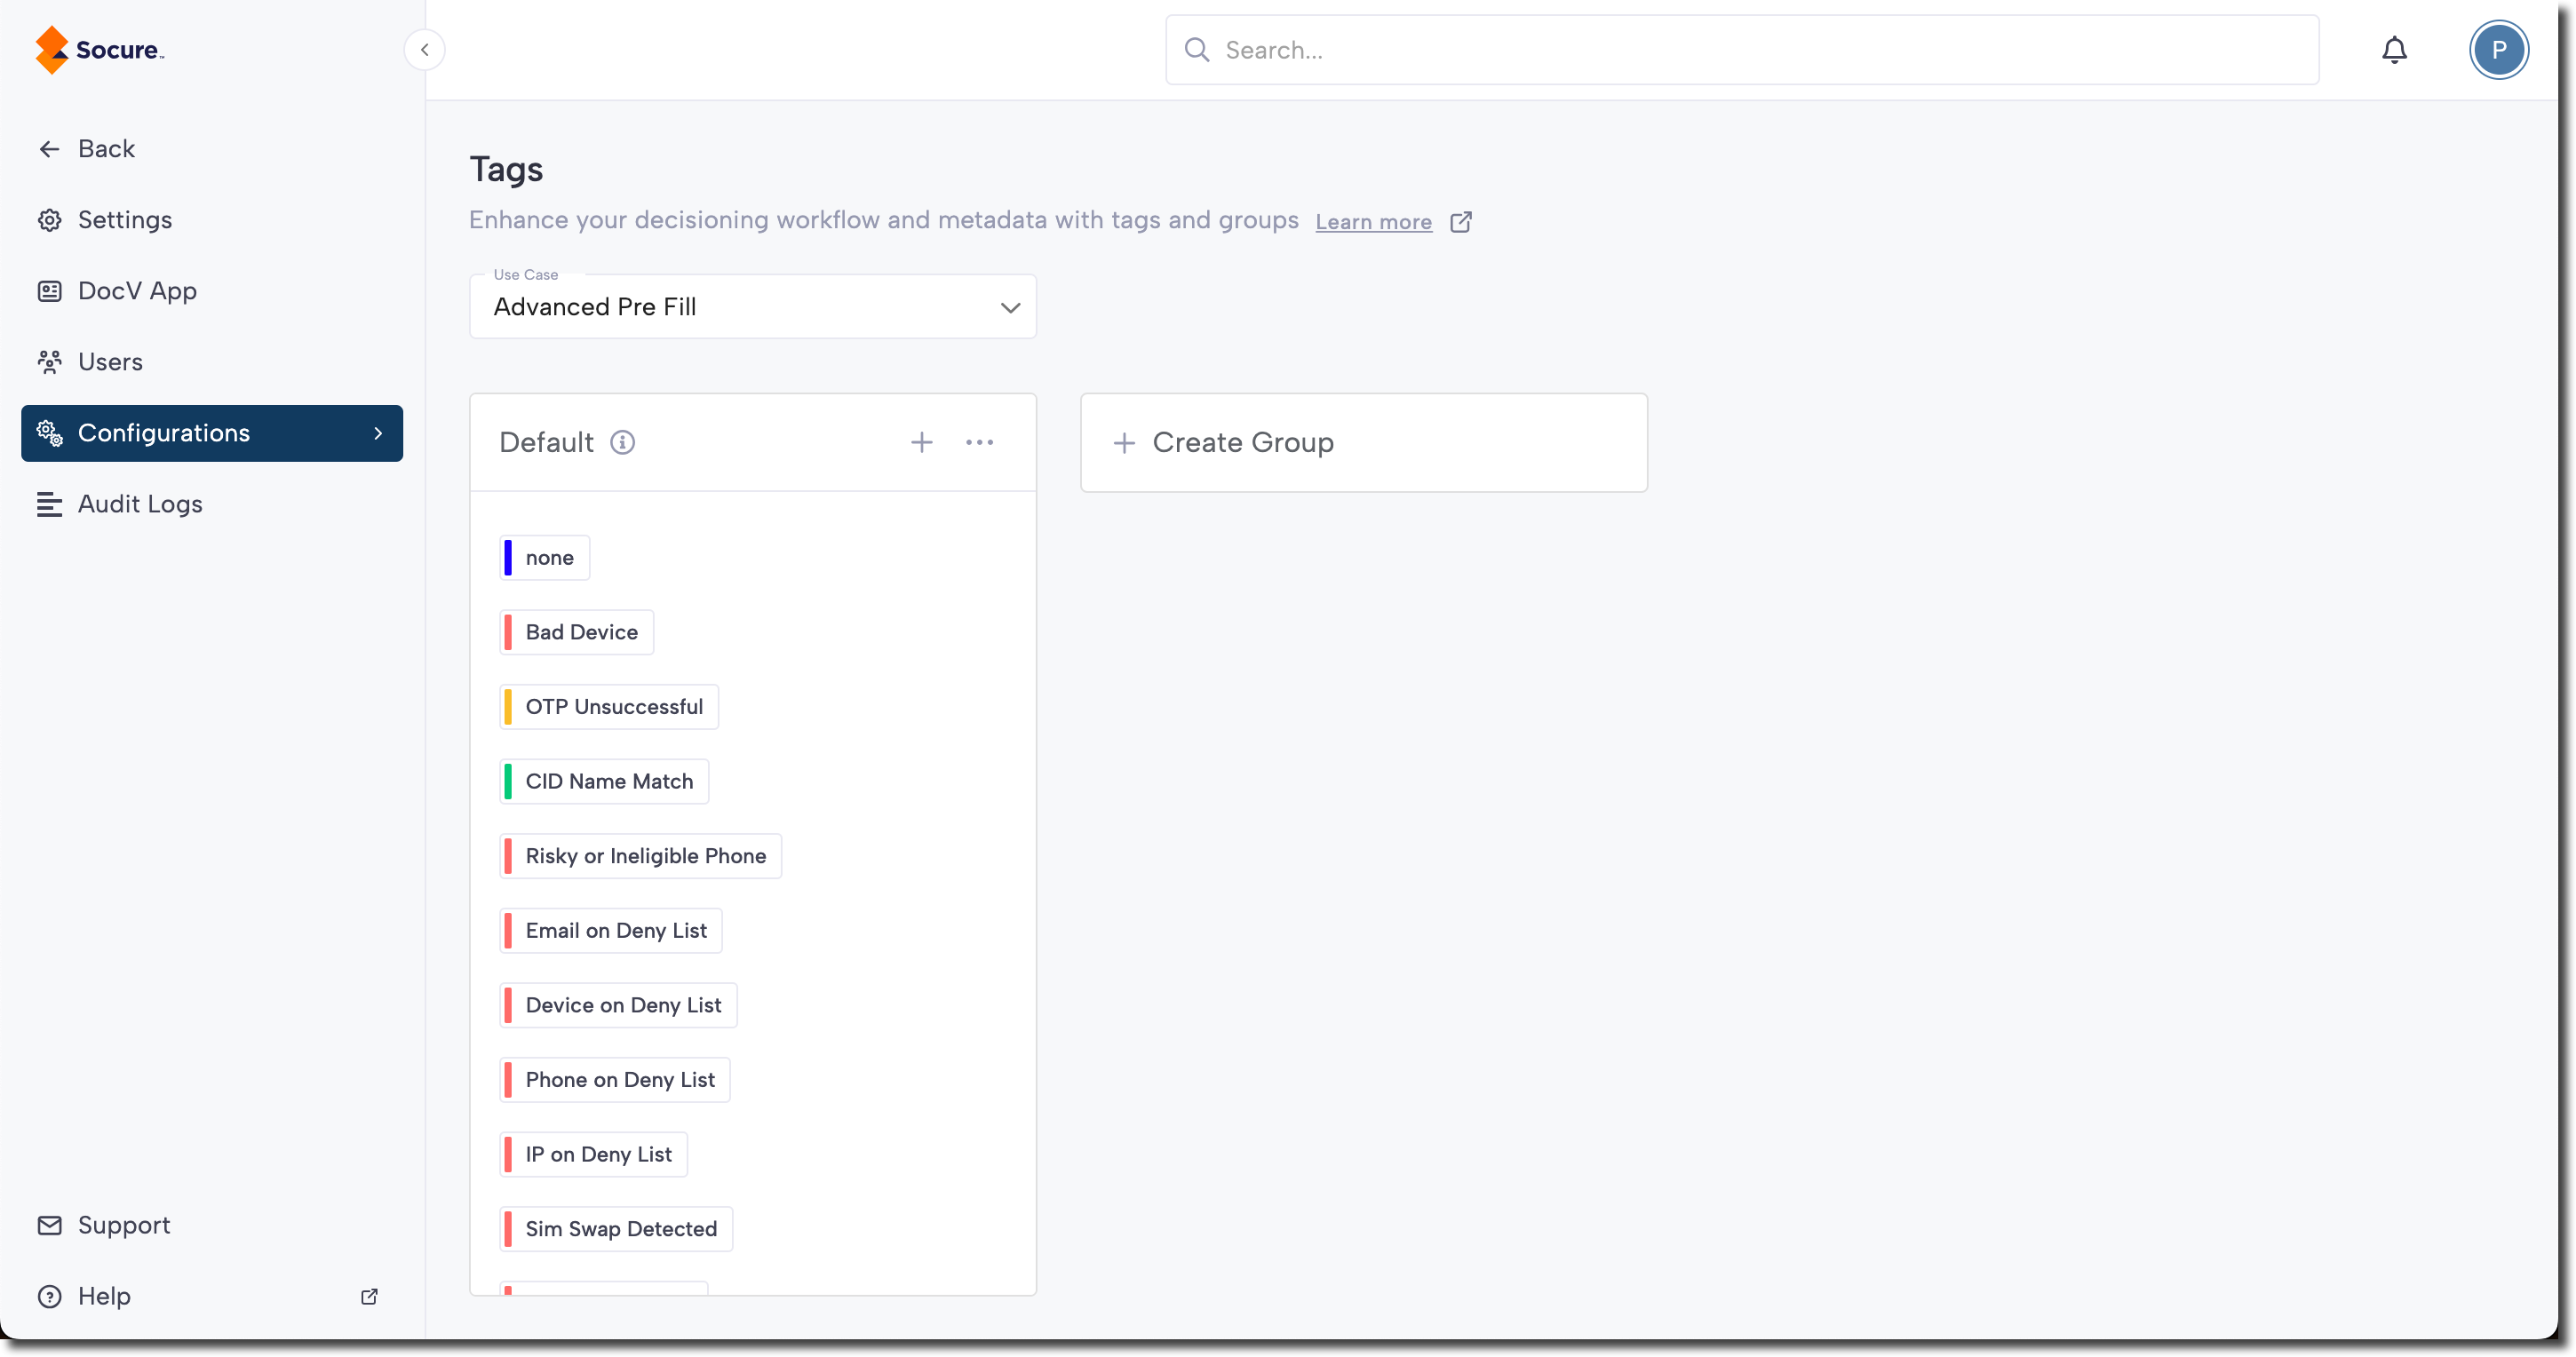
You can add and manage tags and tag groups by clicking your profile menu (top right), selecting Settings, and navigating to Configurations > Tags page.
How tags work
Tags allow you to add metadata to your decisioning workflows, introducing a category framework through the concept of tag groups. This enables users to create and categorize tags that can be applied at various stages of daily operations.
Tags address several key pain points, including:
- Improved reviewer experience: Tags reduce noise for reviewers by allowing them to select reason codes directly relevant to their case management, improving efficiency and decision-making.
- Customized fraud typology organization: Users can organize and manage reason codes that align with their fraud typologies, providing a more tailored and streamlined approach.
- Enhanced backend communication: Metadata related to backend communication is visible only within the workflow, reducing human error and ensuring greater accuracy.
Create a tag group
To create a tag group, complete the steps below:
-
On the Tags page, select the Use Case that the new tag group will belong to.
-
Click Create Group.
-
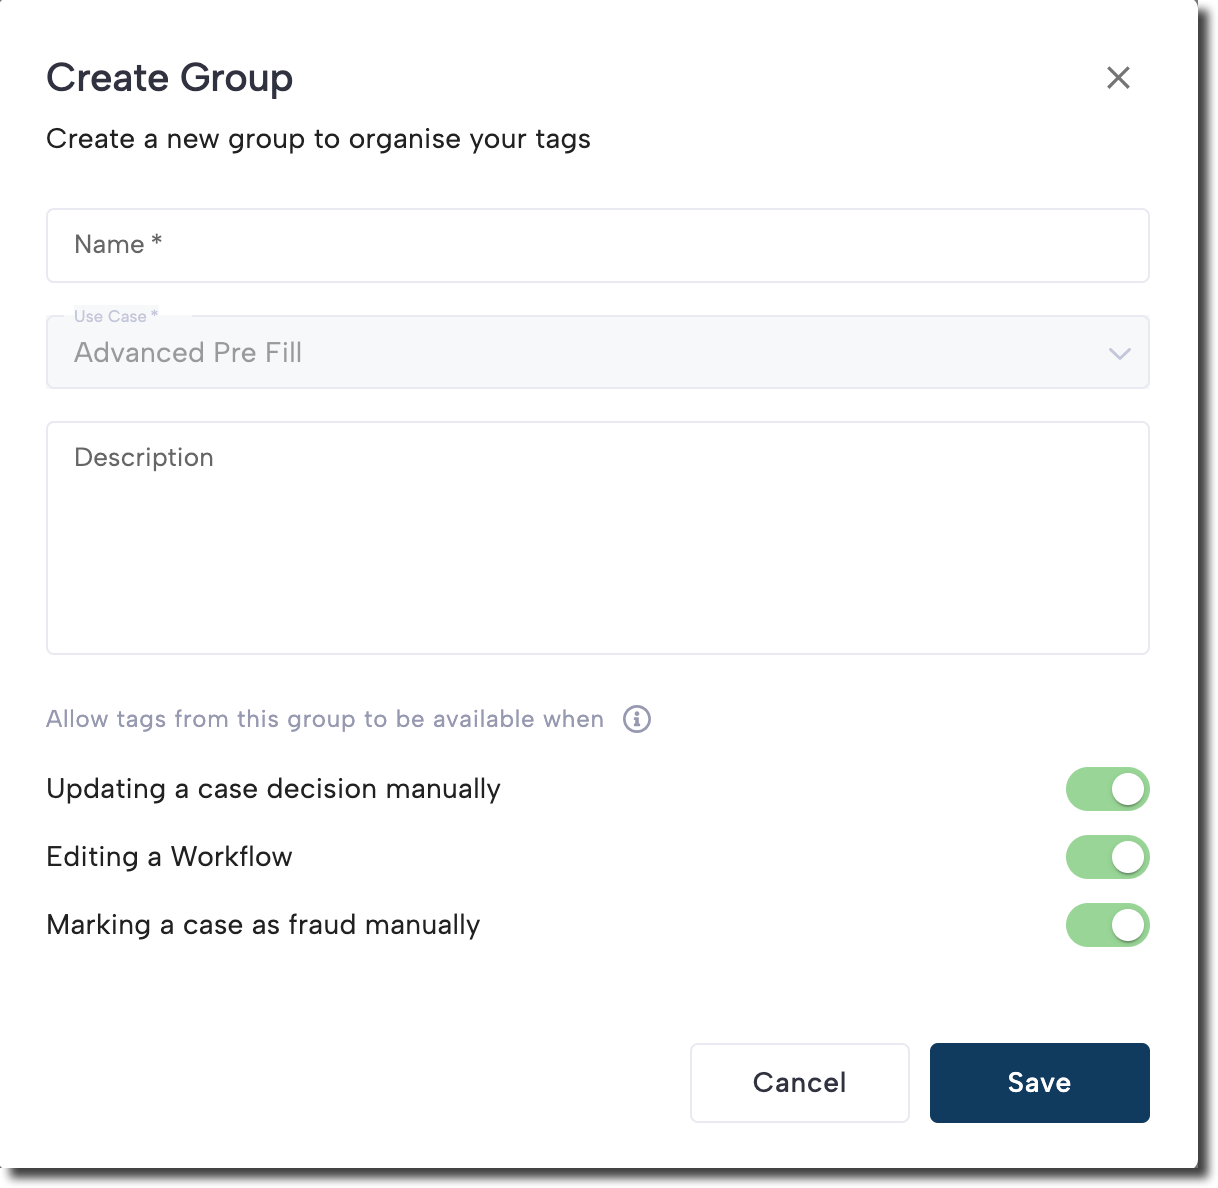
Enter a name for the new tag group and optionally provide a description.
-
Configure the tag group's availability. Tags are available in the following contexts:
- Updating a case decision manually: Tags are accessible in the single case view for decision-making.
- Editing a Workflow: Tags can be used in the workflow editor and assigned through a tag step.
- Marking a case as fraud manually: Tags are available when marking a case as fraud, which is useful for managing fraud typologies.
-
Click Save to create the tag group.
Create a tag
Within a tag group, you can create new tags by completing the steps below:
- Click New Tag.
- Enter a name for the new tag, and elect a color.
- Optionally provide a description.
- Click Create Tag.
Updated 3 months ago