Set up Hosted Flows
Use Hosted Flow templates in RiskOS™ as-is or, configure a Hosted Flow from scratch.
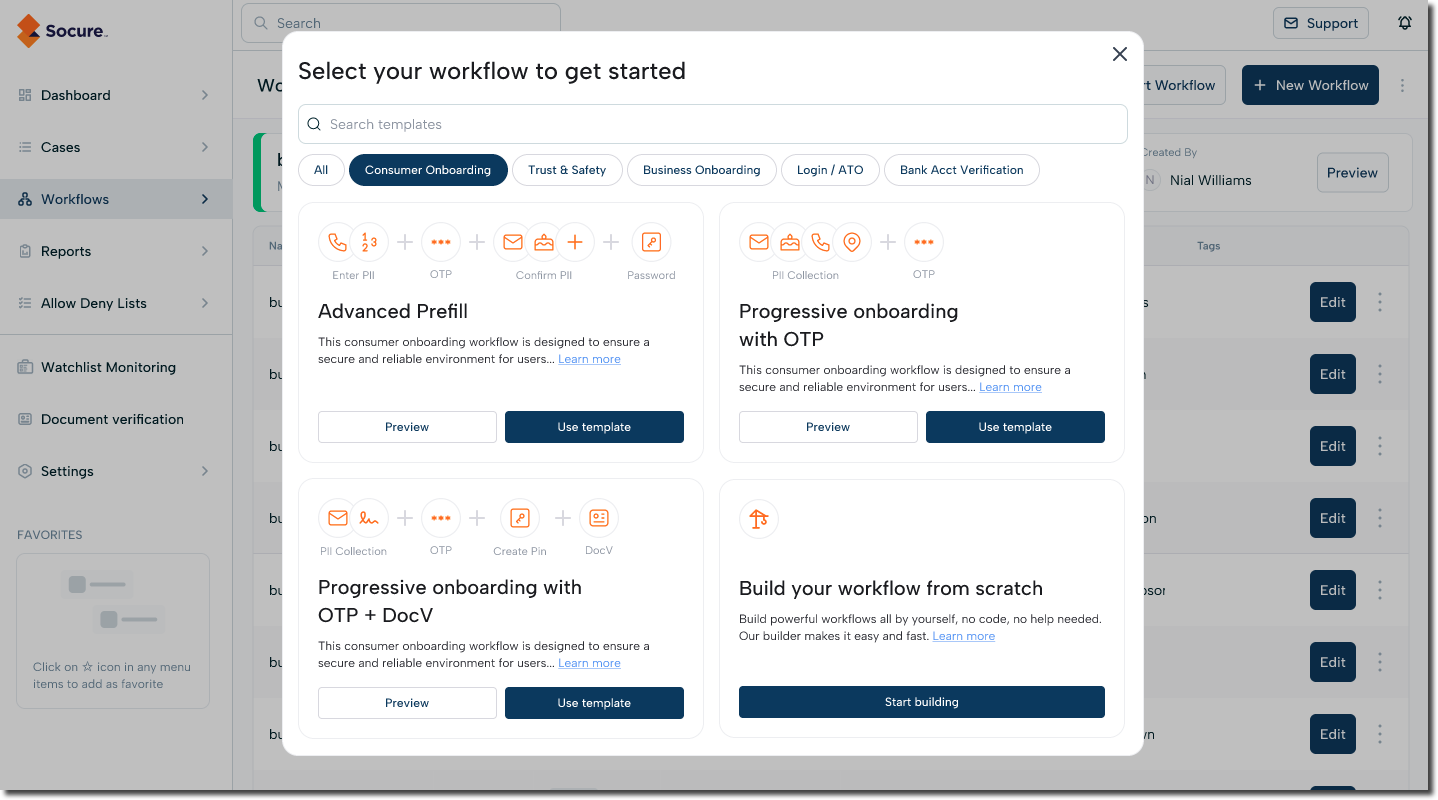
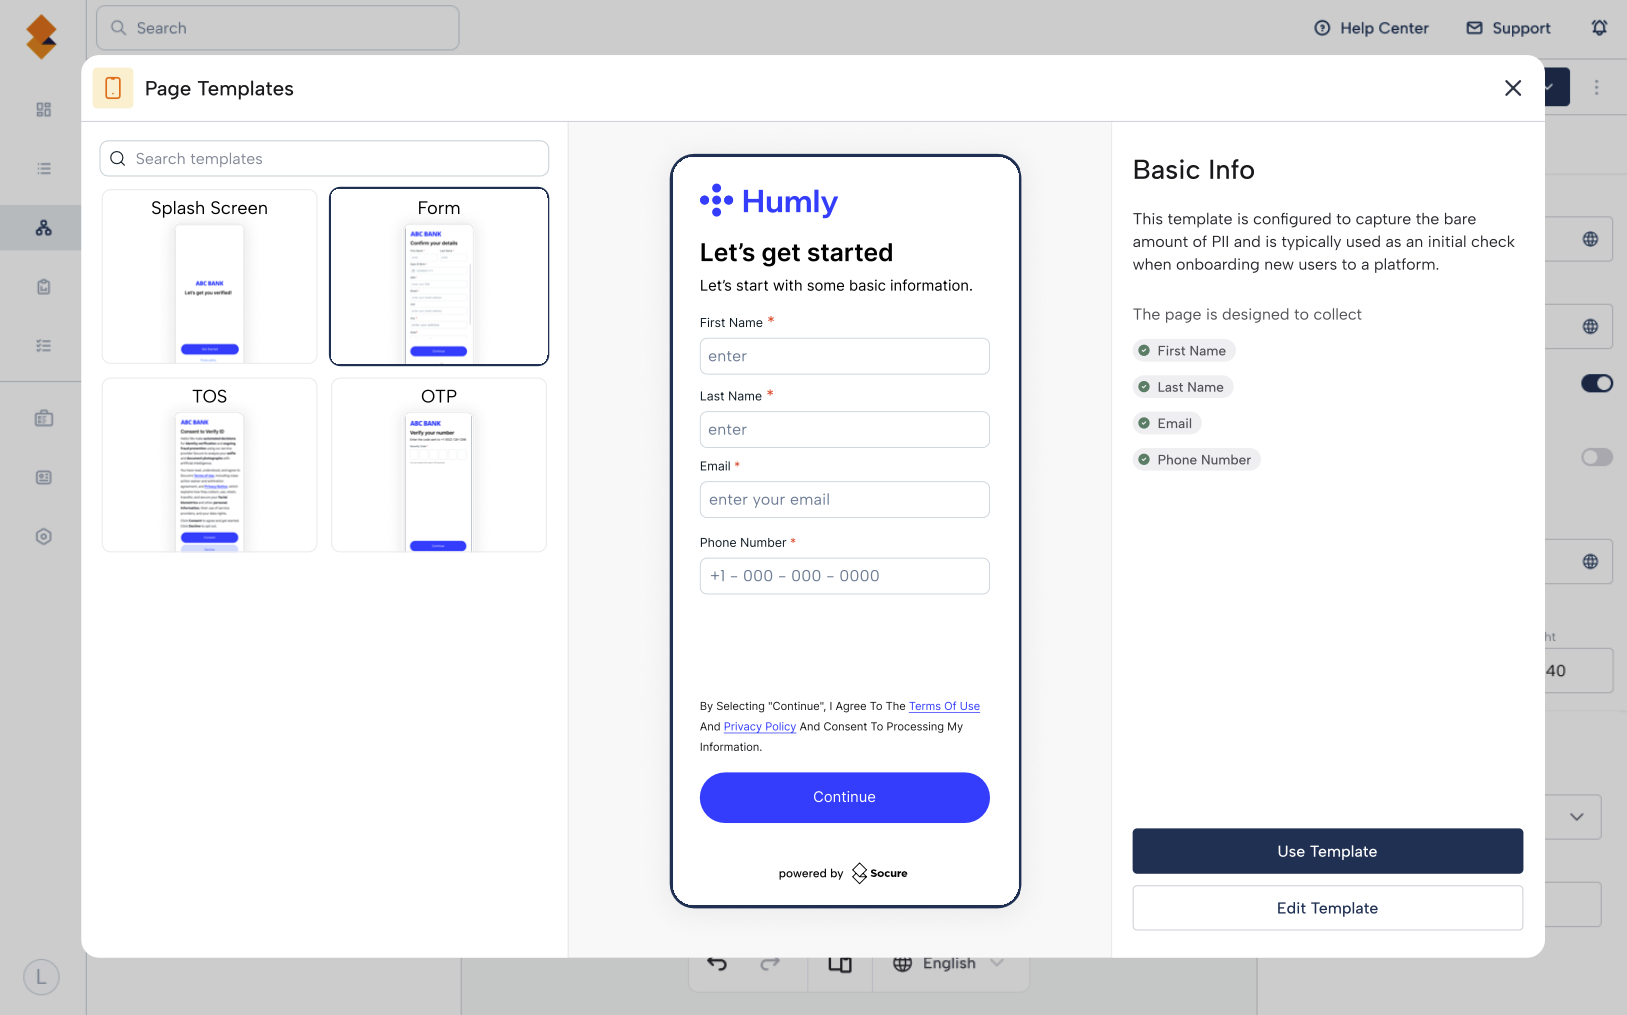
Get started with a template
- Browse the available templates.
- Click View Details to see how the template is configured.
- When you’re ready, click Use Template to start customizing it for your workflow.
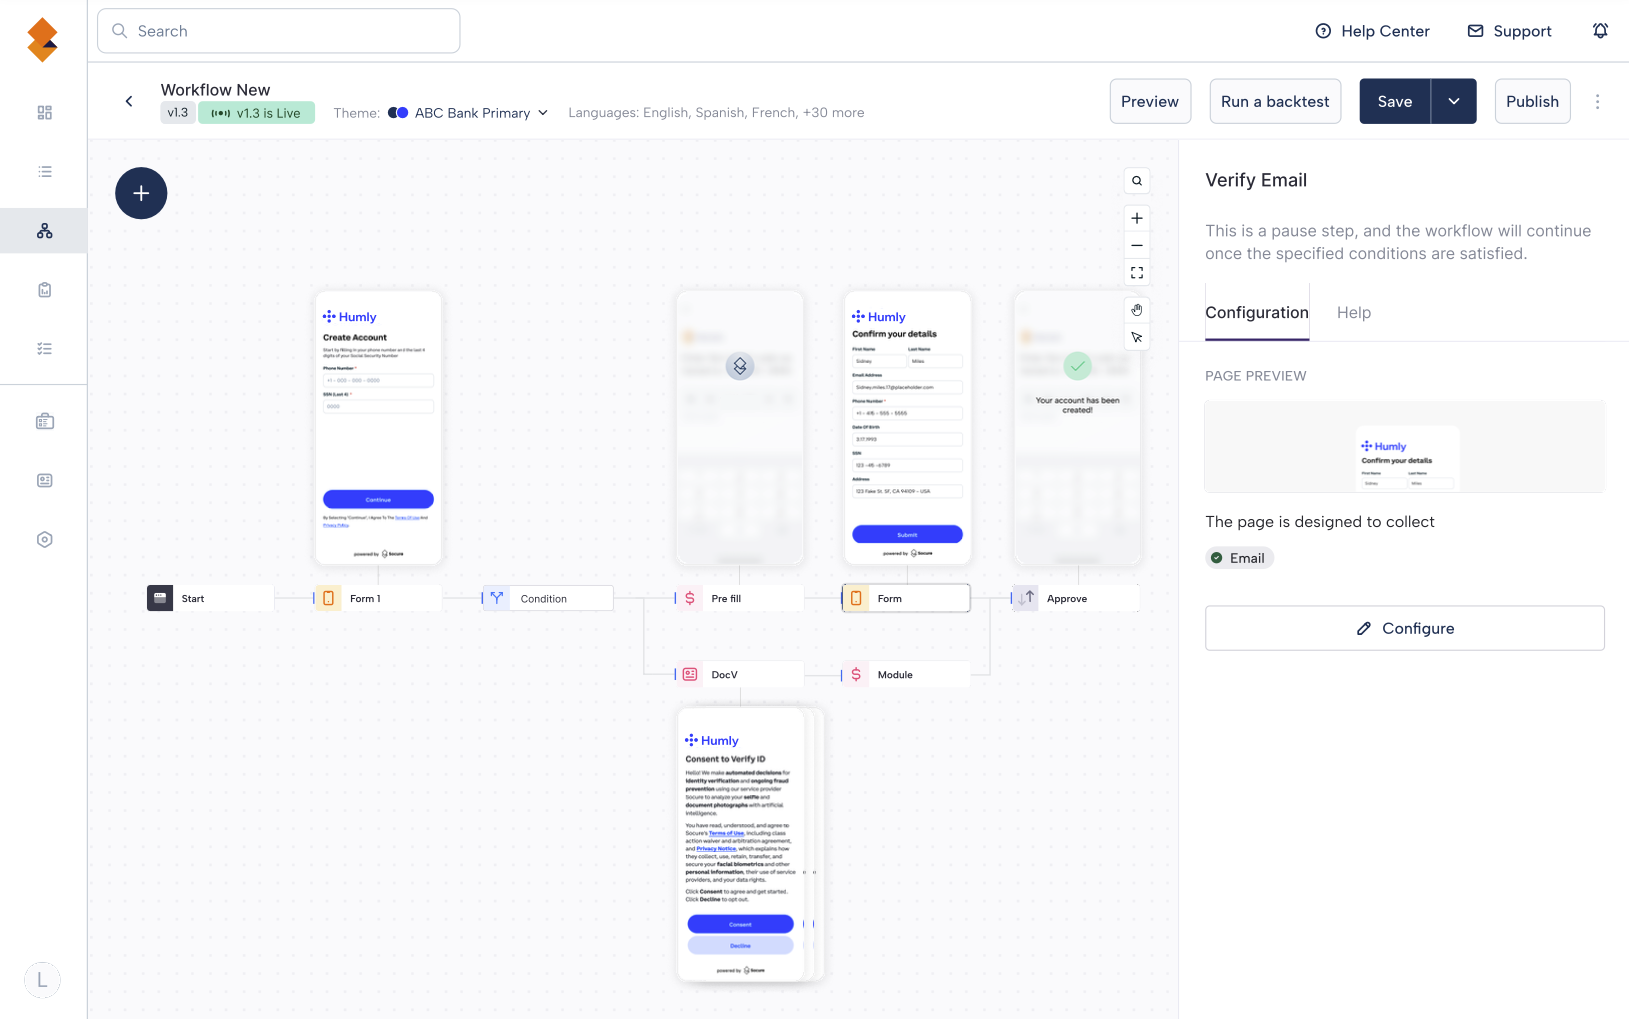
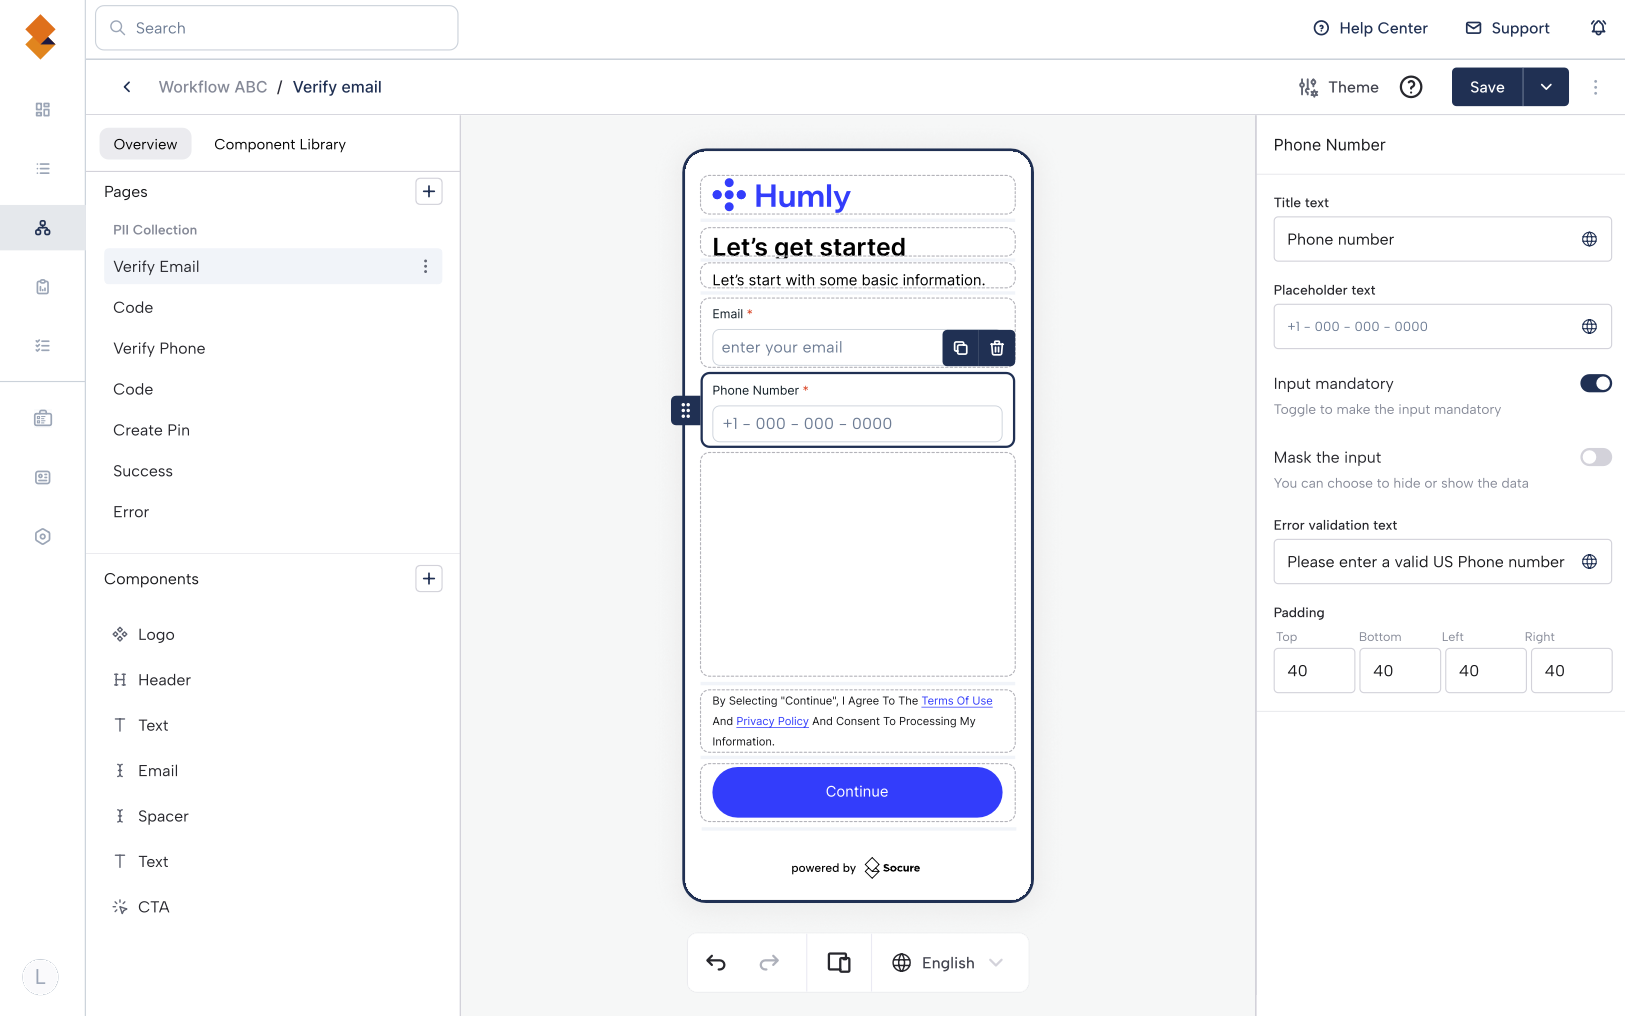
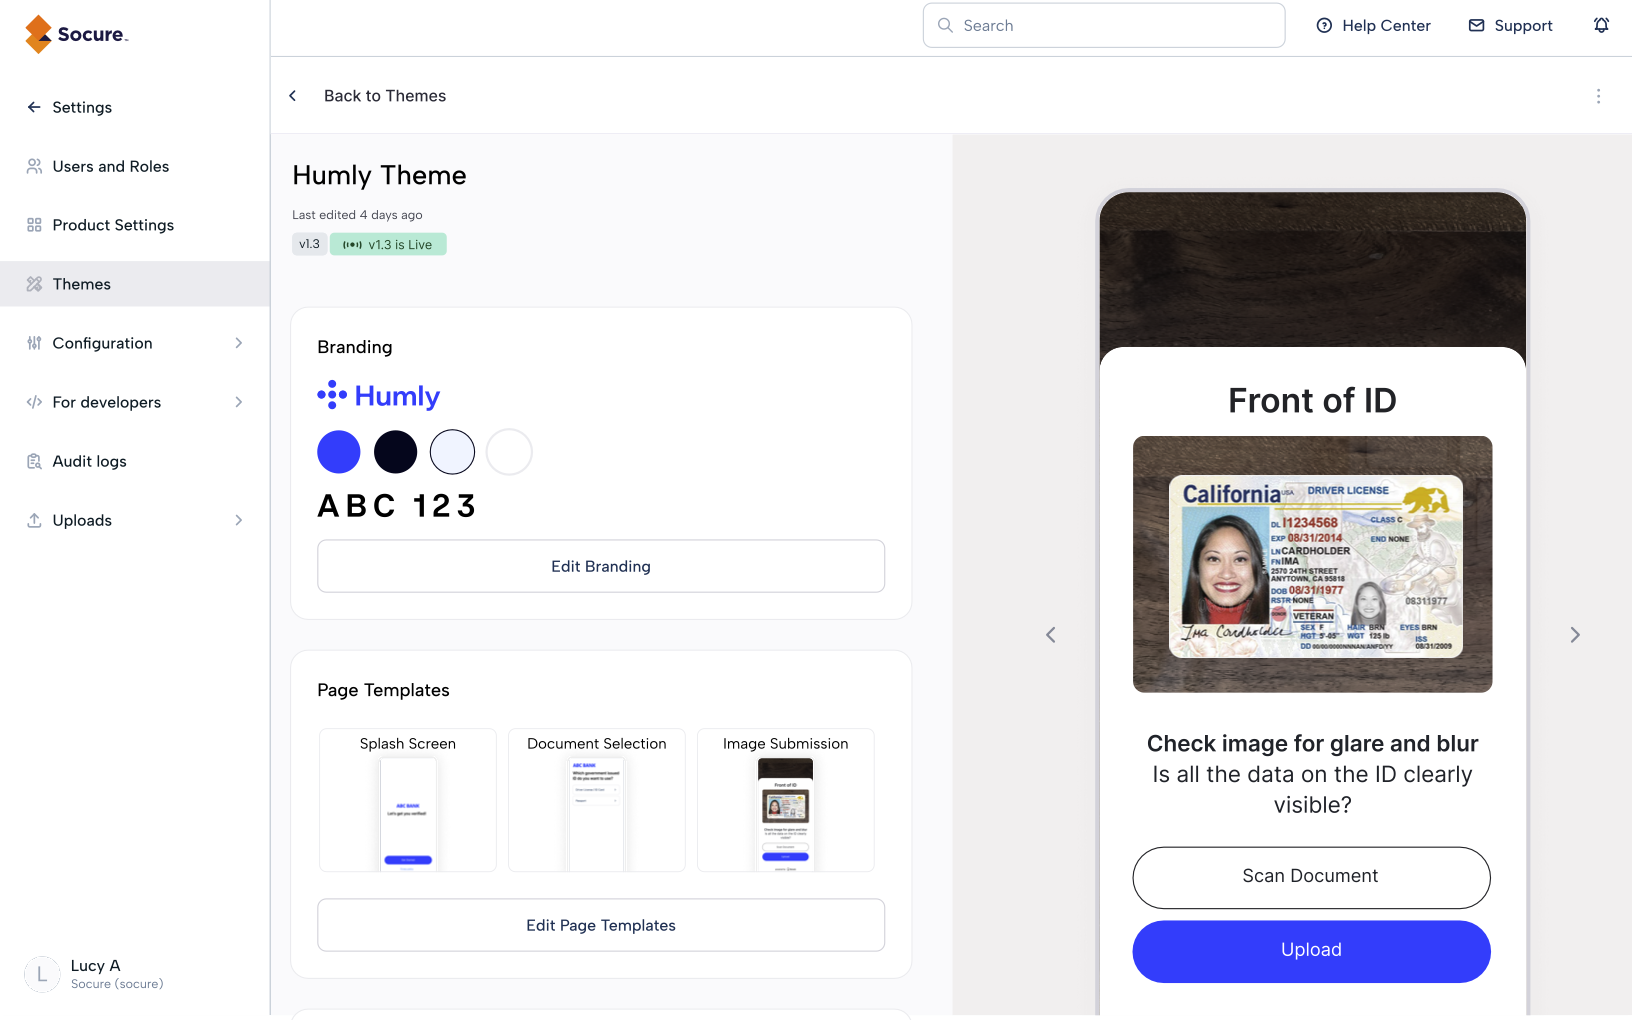
Customize the flow
Once you’ve opened a template, you’ll see the workflow canvas.
- Click on any End User Experience step to open its configuration panel.
- Select Configure to define the layout—choose which UX elements to include and in what order.
- Apply a global theme from the right-hand panel for a consistent brand experience.
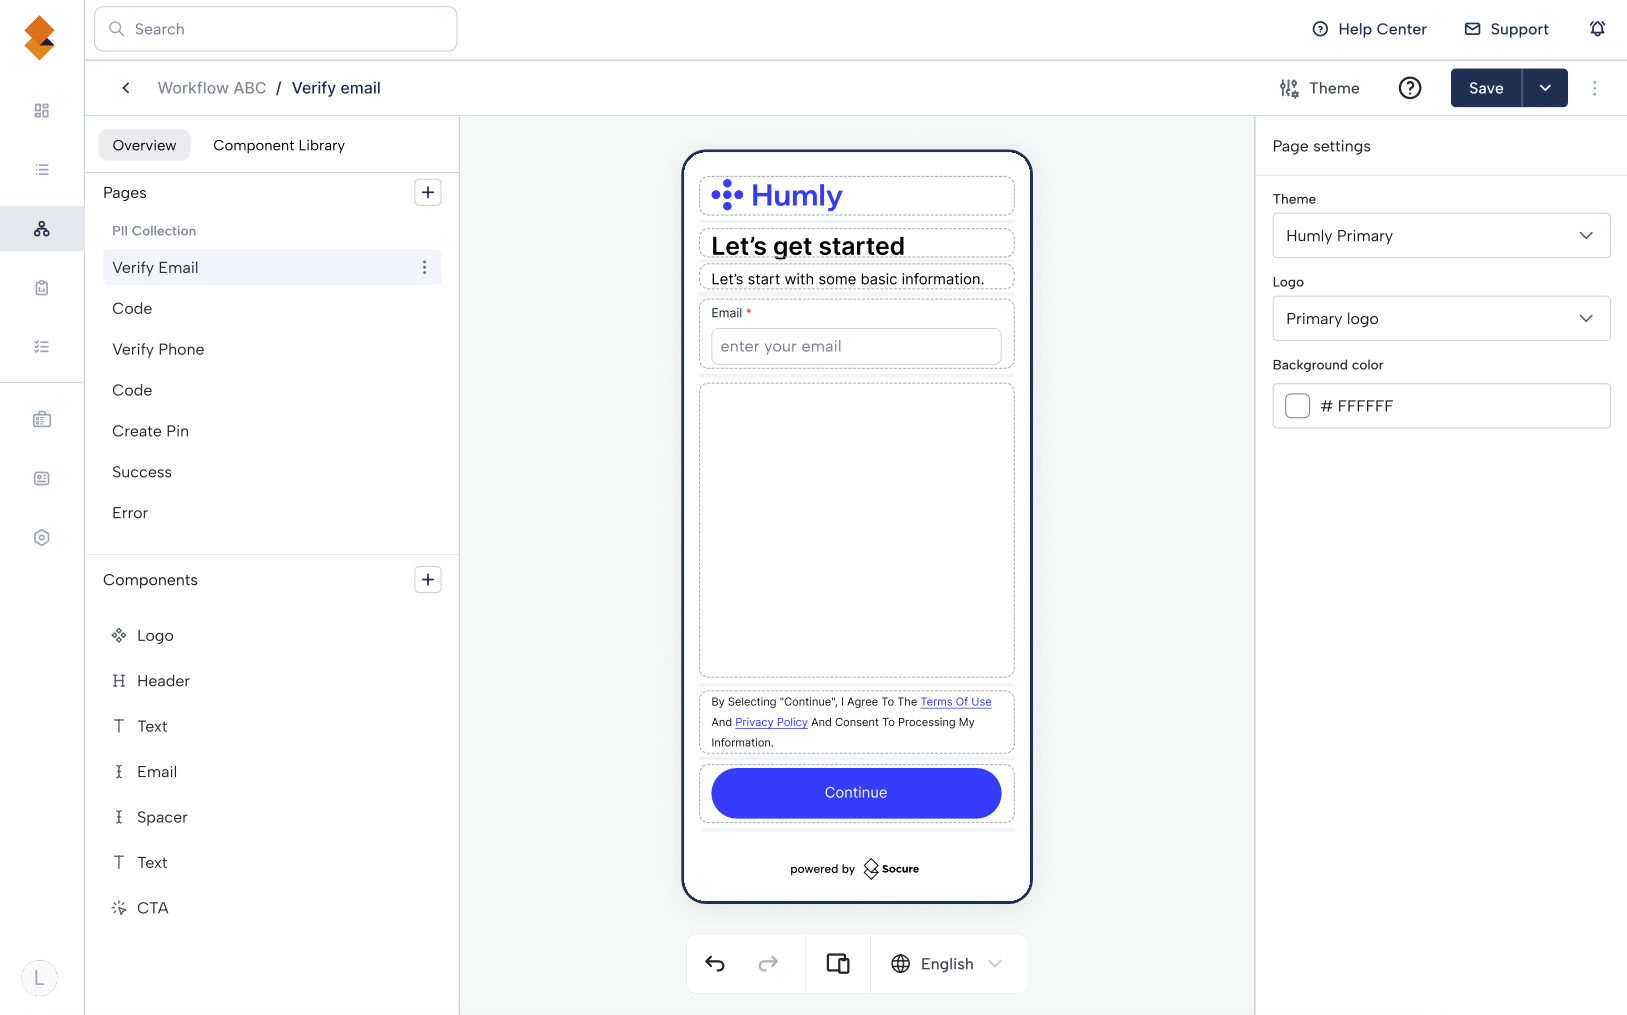
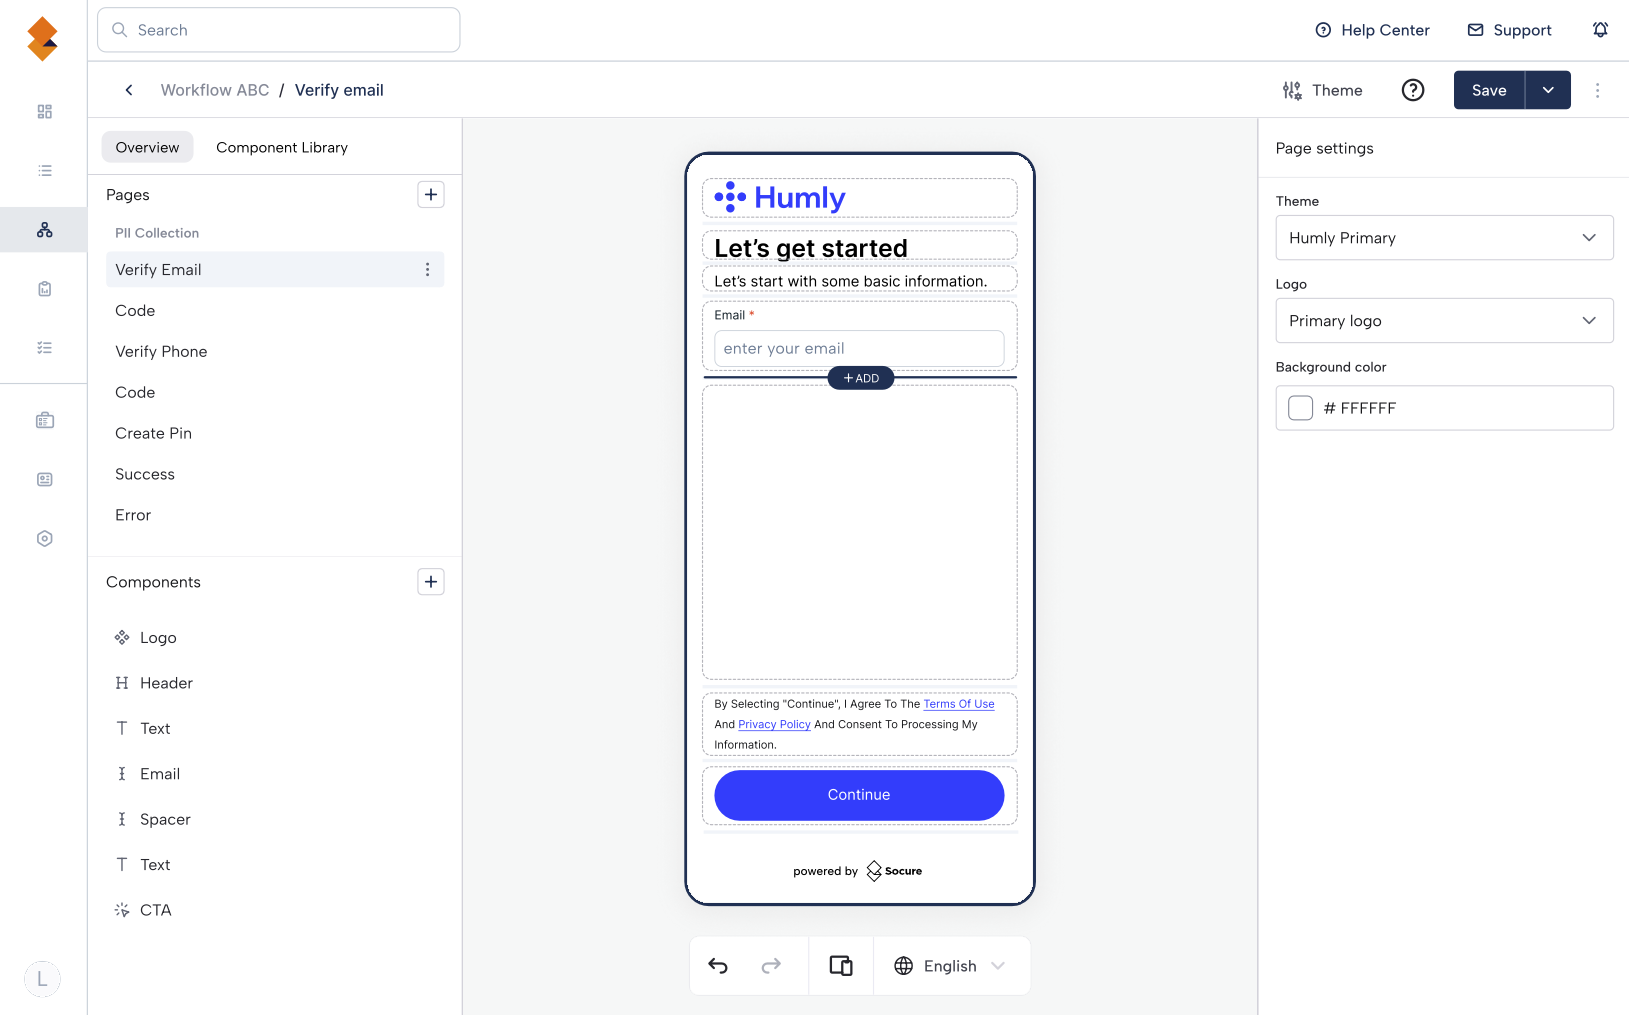
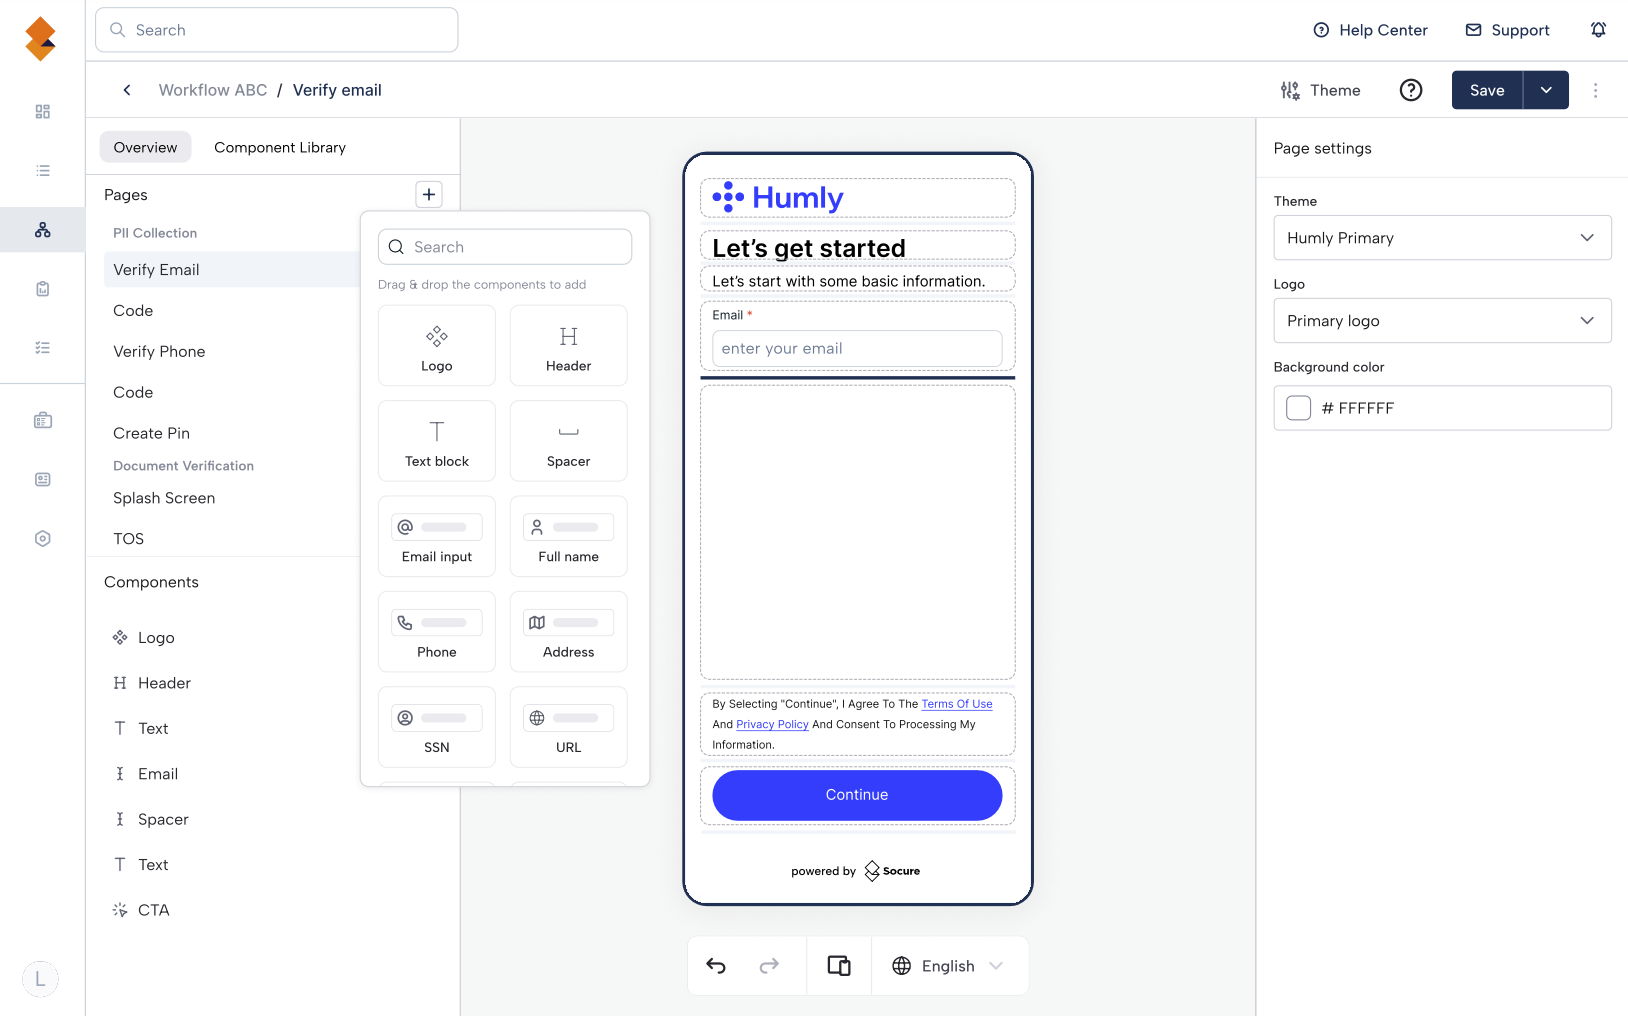
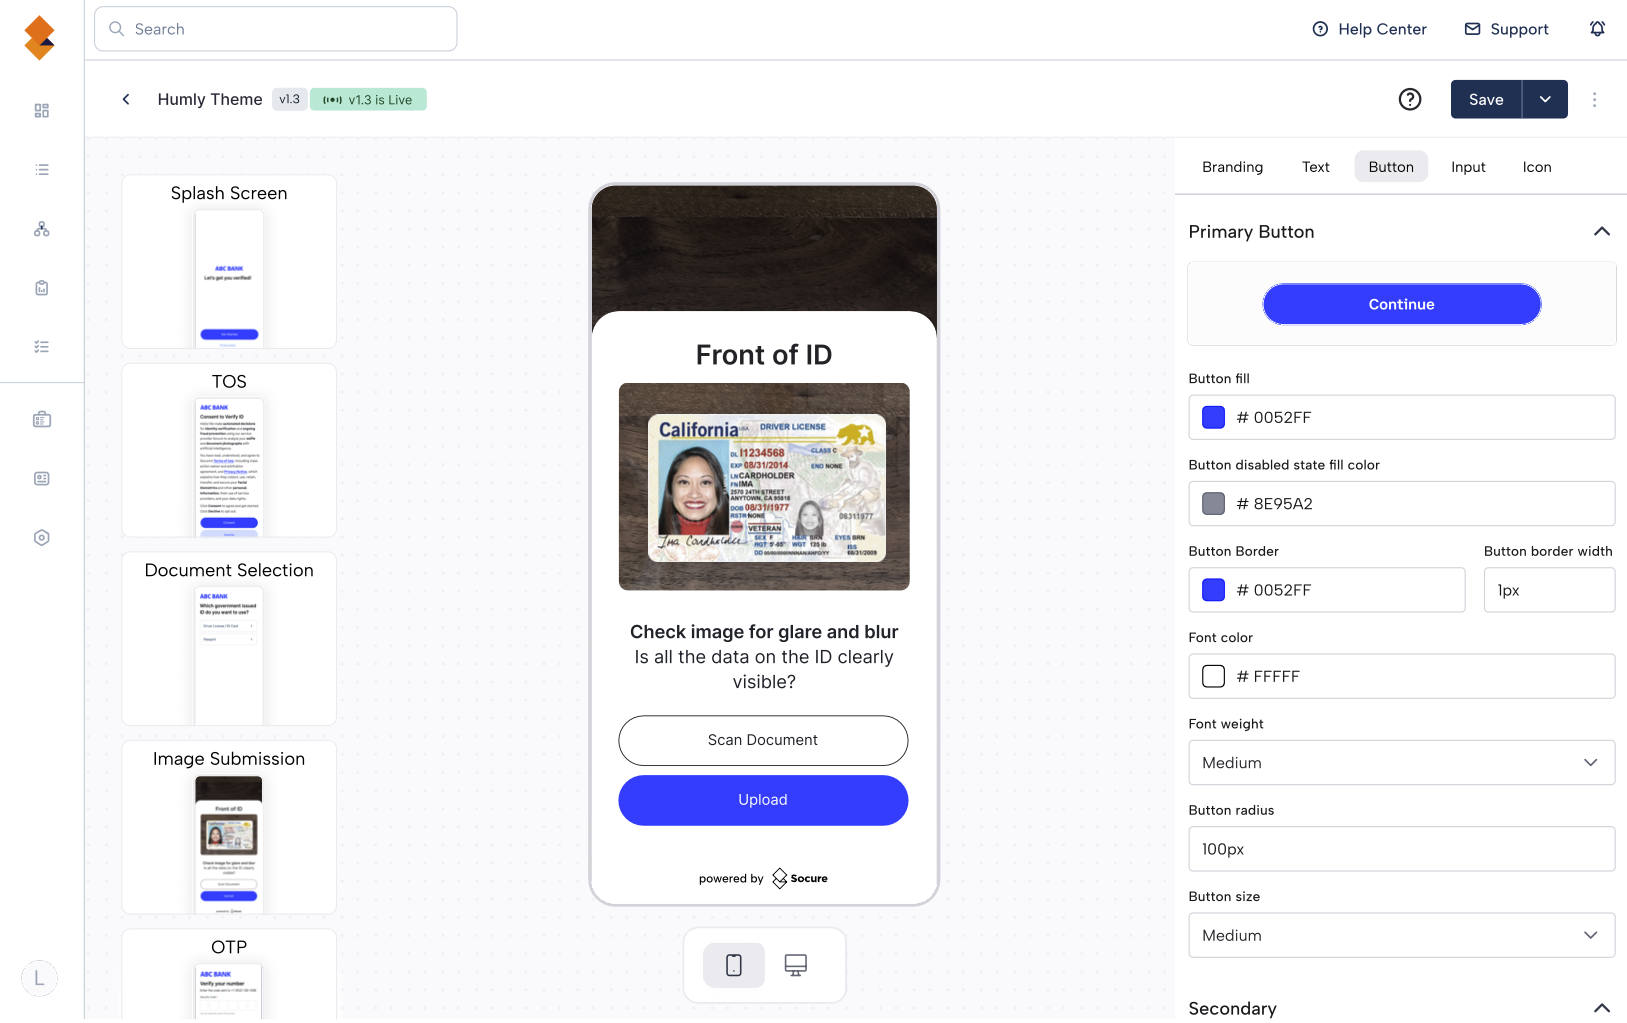
Build with no code
The Hosted Flow Builder provides a library of UX Page Templates and UX components you can add with the + icon. For each component you can:
- Mark fields as mandatory
- Mask sensitive inputs
- Edit field names and validation messages
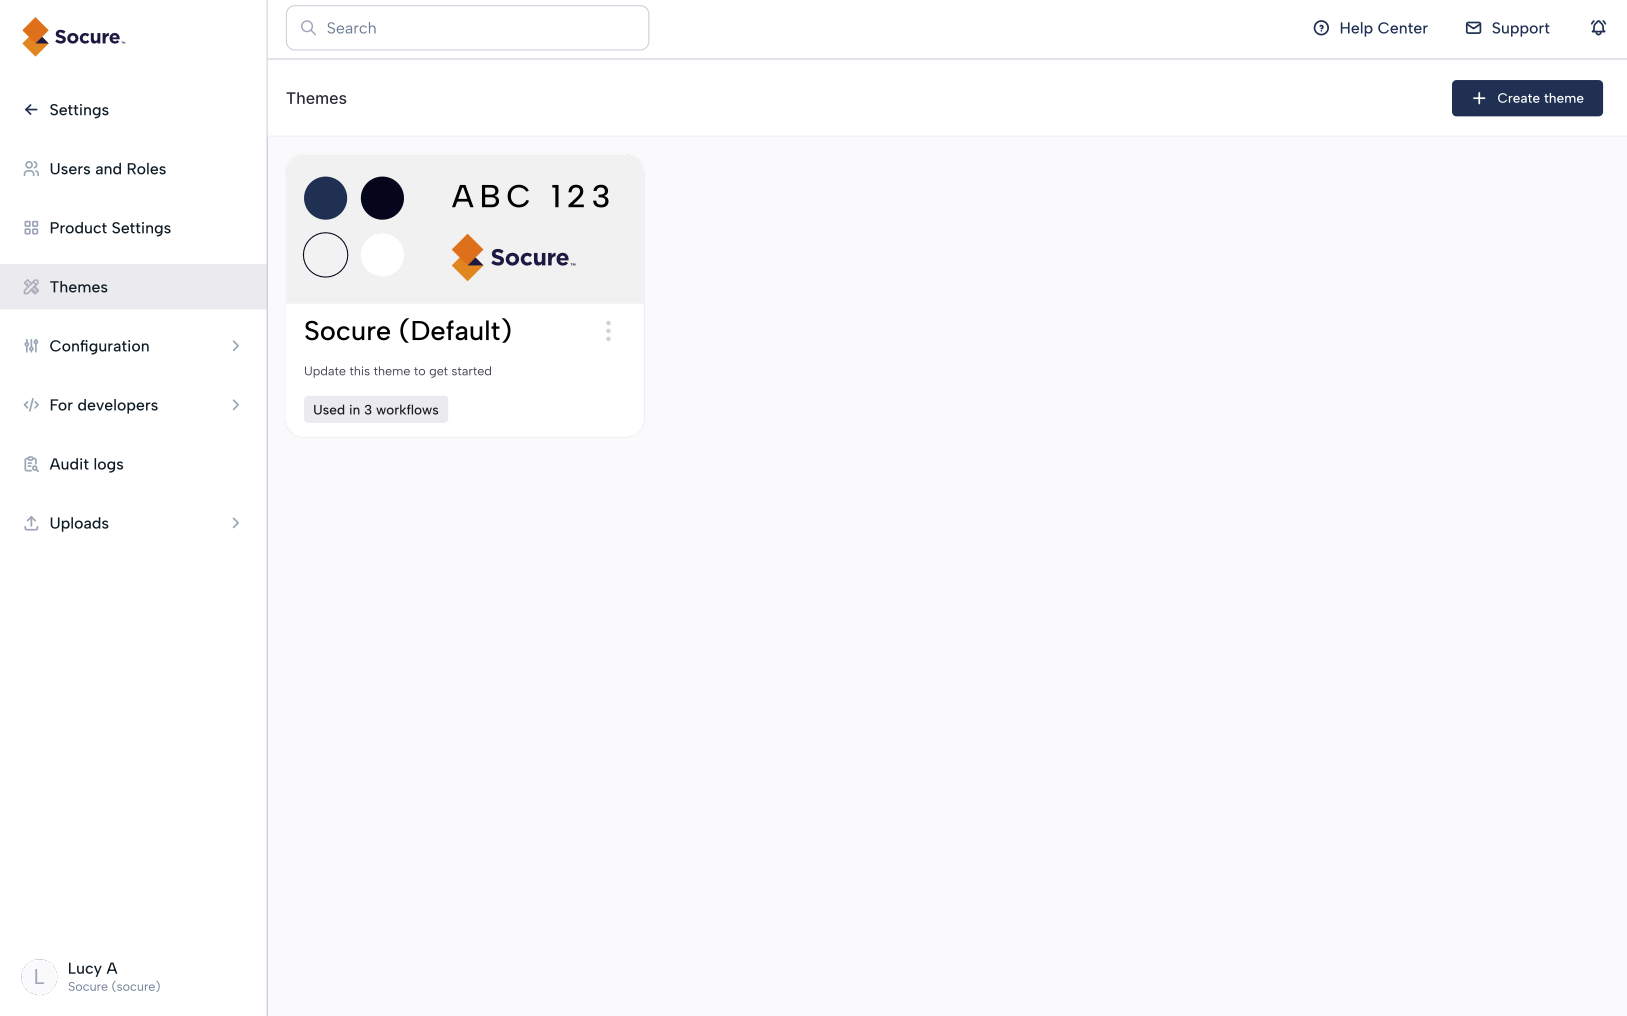
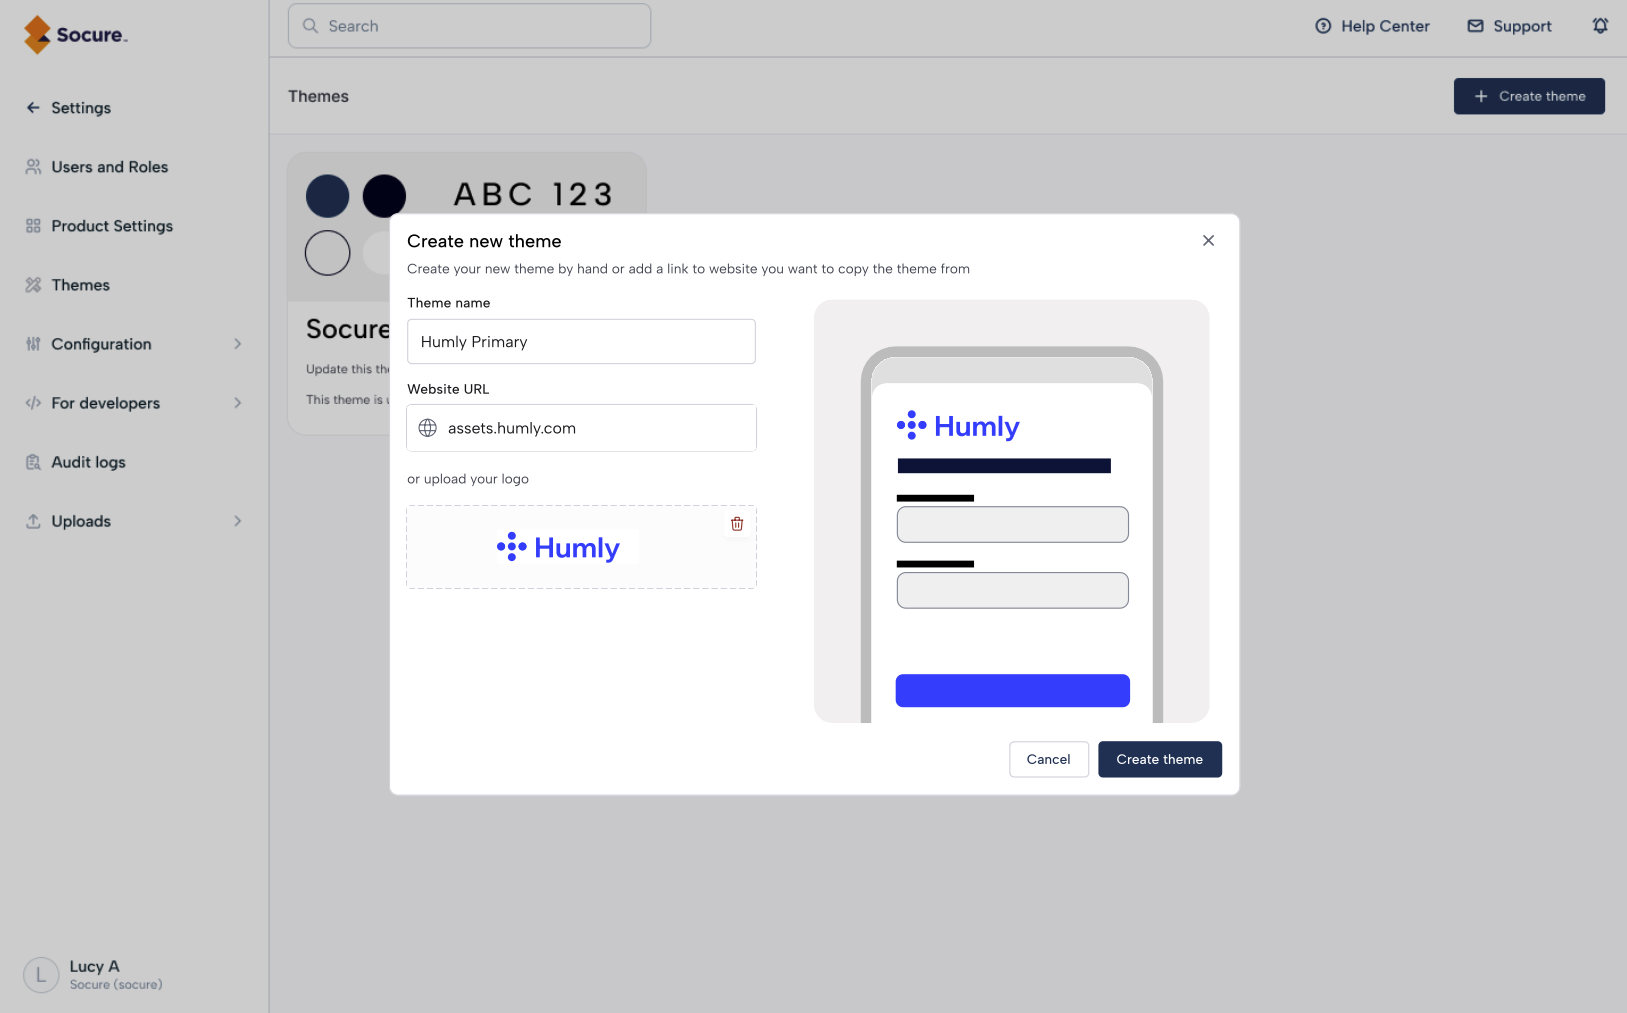
Apply themes
Themes let you keep branding consistent across flows.
- Go to Themes to manage global themes.
- Start with the default Socure theme or create new ones (helpful if you manage multiple brands).
- Click Create theme to get started.
- Preview how your theme looks across standard UX screens before applying it.
- You can create multiple themes to support different brands. RiskOS™ supports duplicating a theme and saving it as a copy so you can use a baseline and then configure a different theme easily.

Updated 7 days ago
Did this page help you?