Customization, Branding, and Copy
Learn how to customize the Capture App UI in your Predictive Document Verification (DocV) Native or Web SDK to match your organization’s style and branding.
How it works
RiskOS™ supports two types of configuration for Capture App flows:
Create or edit Capture App flows—Document Verification, Secondary Document, Selfie Intelligence, or Selfie Reverification—inside the environment where they will run (Sandbox or Production).
For flow configuration instructions, see Capture App Flow Setup.
Make branding, theme, and copy changes in Sandbox first. Once finalized, publish them and then replicate the same configuration in Production.
Flow configuration (per environment)
To create and deploy a customized Capture App flow, complete the following steps:
Language & document support:
Socure can support additional languages and document formats. If you need something not yet available, contact your Account Manager or Socure Support.
-
Author your Capture App flow in Sandbox
In the RiskOS™ Dashboard Sandbox environment:
- Go to Settings > DocV App.
- Use the Branding, Configuration and Copy tabs to style your flow.
- Click Save Draft, then Publish. In the Publish Updates dialog, click Confirm.

-
Promote your Capture App flow in Production
To publish your flow to the Production environment:
- Go to Settings > DocV App in the RiskOS™ Dashboard Production environment.
- At the bottom right of the screen, you see one or more unpublished changes. Click Publish.
- On the Publish Updates dialog, click Confirm to go live.
-
Create additional flows (optional)
If you require additional Capture App flows for specific identity verification scenarios, you can create up to 12 flows.
These flows can be created, published, then passed to the Evaluation API to override the default flow. See Capture App Flow Setup for more details.
Branding options
You can customize the Capture App's logo and branding on the Branding tab. The sections below list the different customization options for the Capture App.
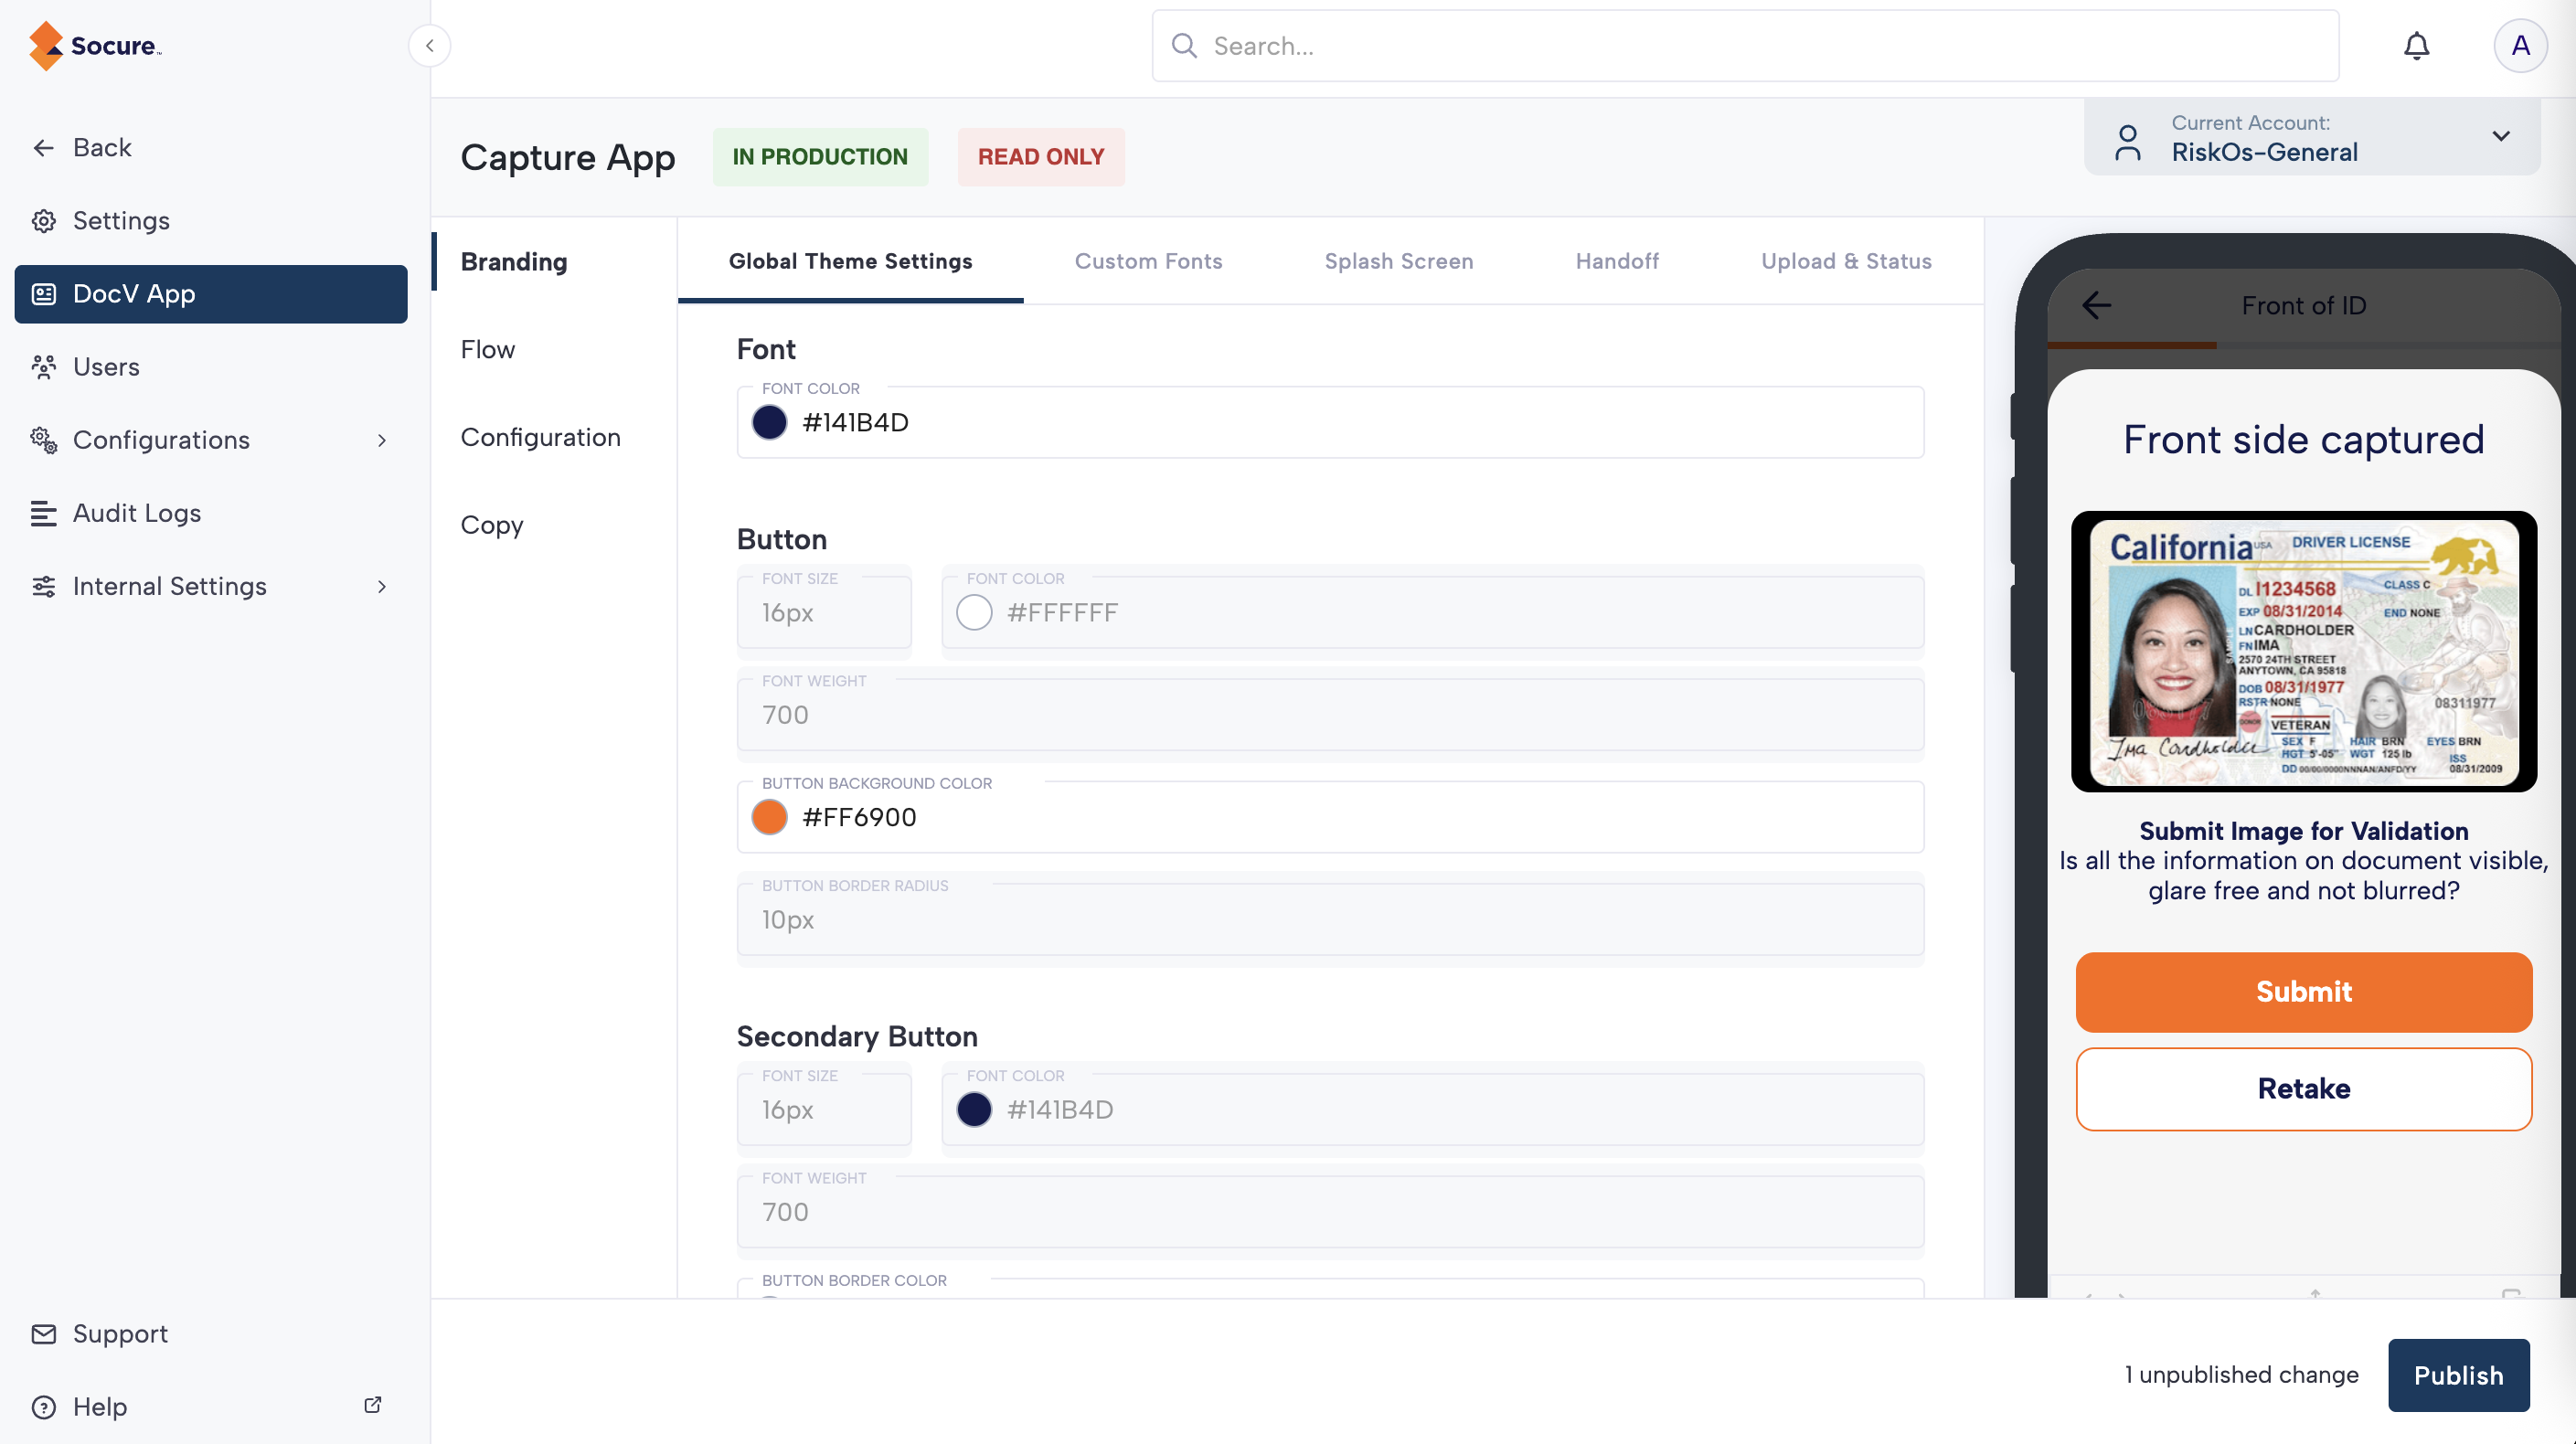
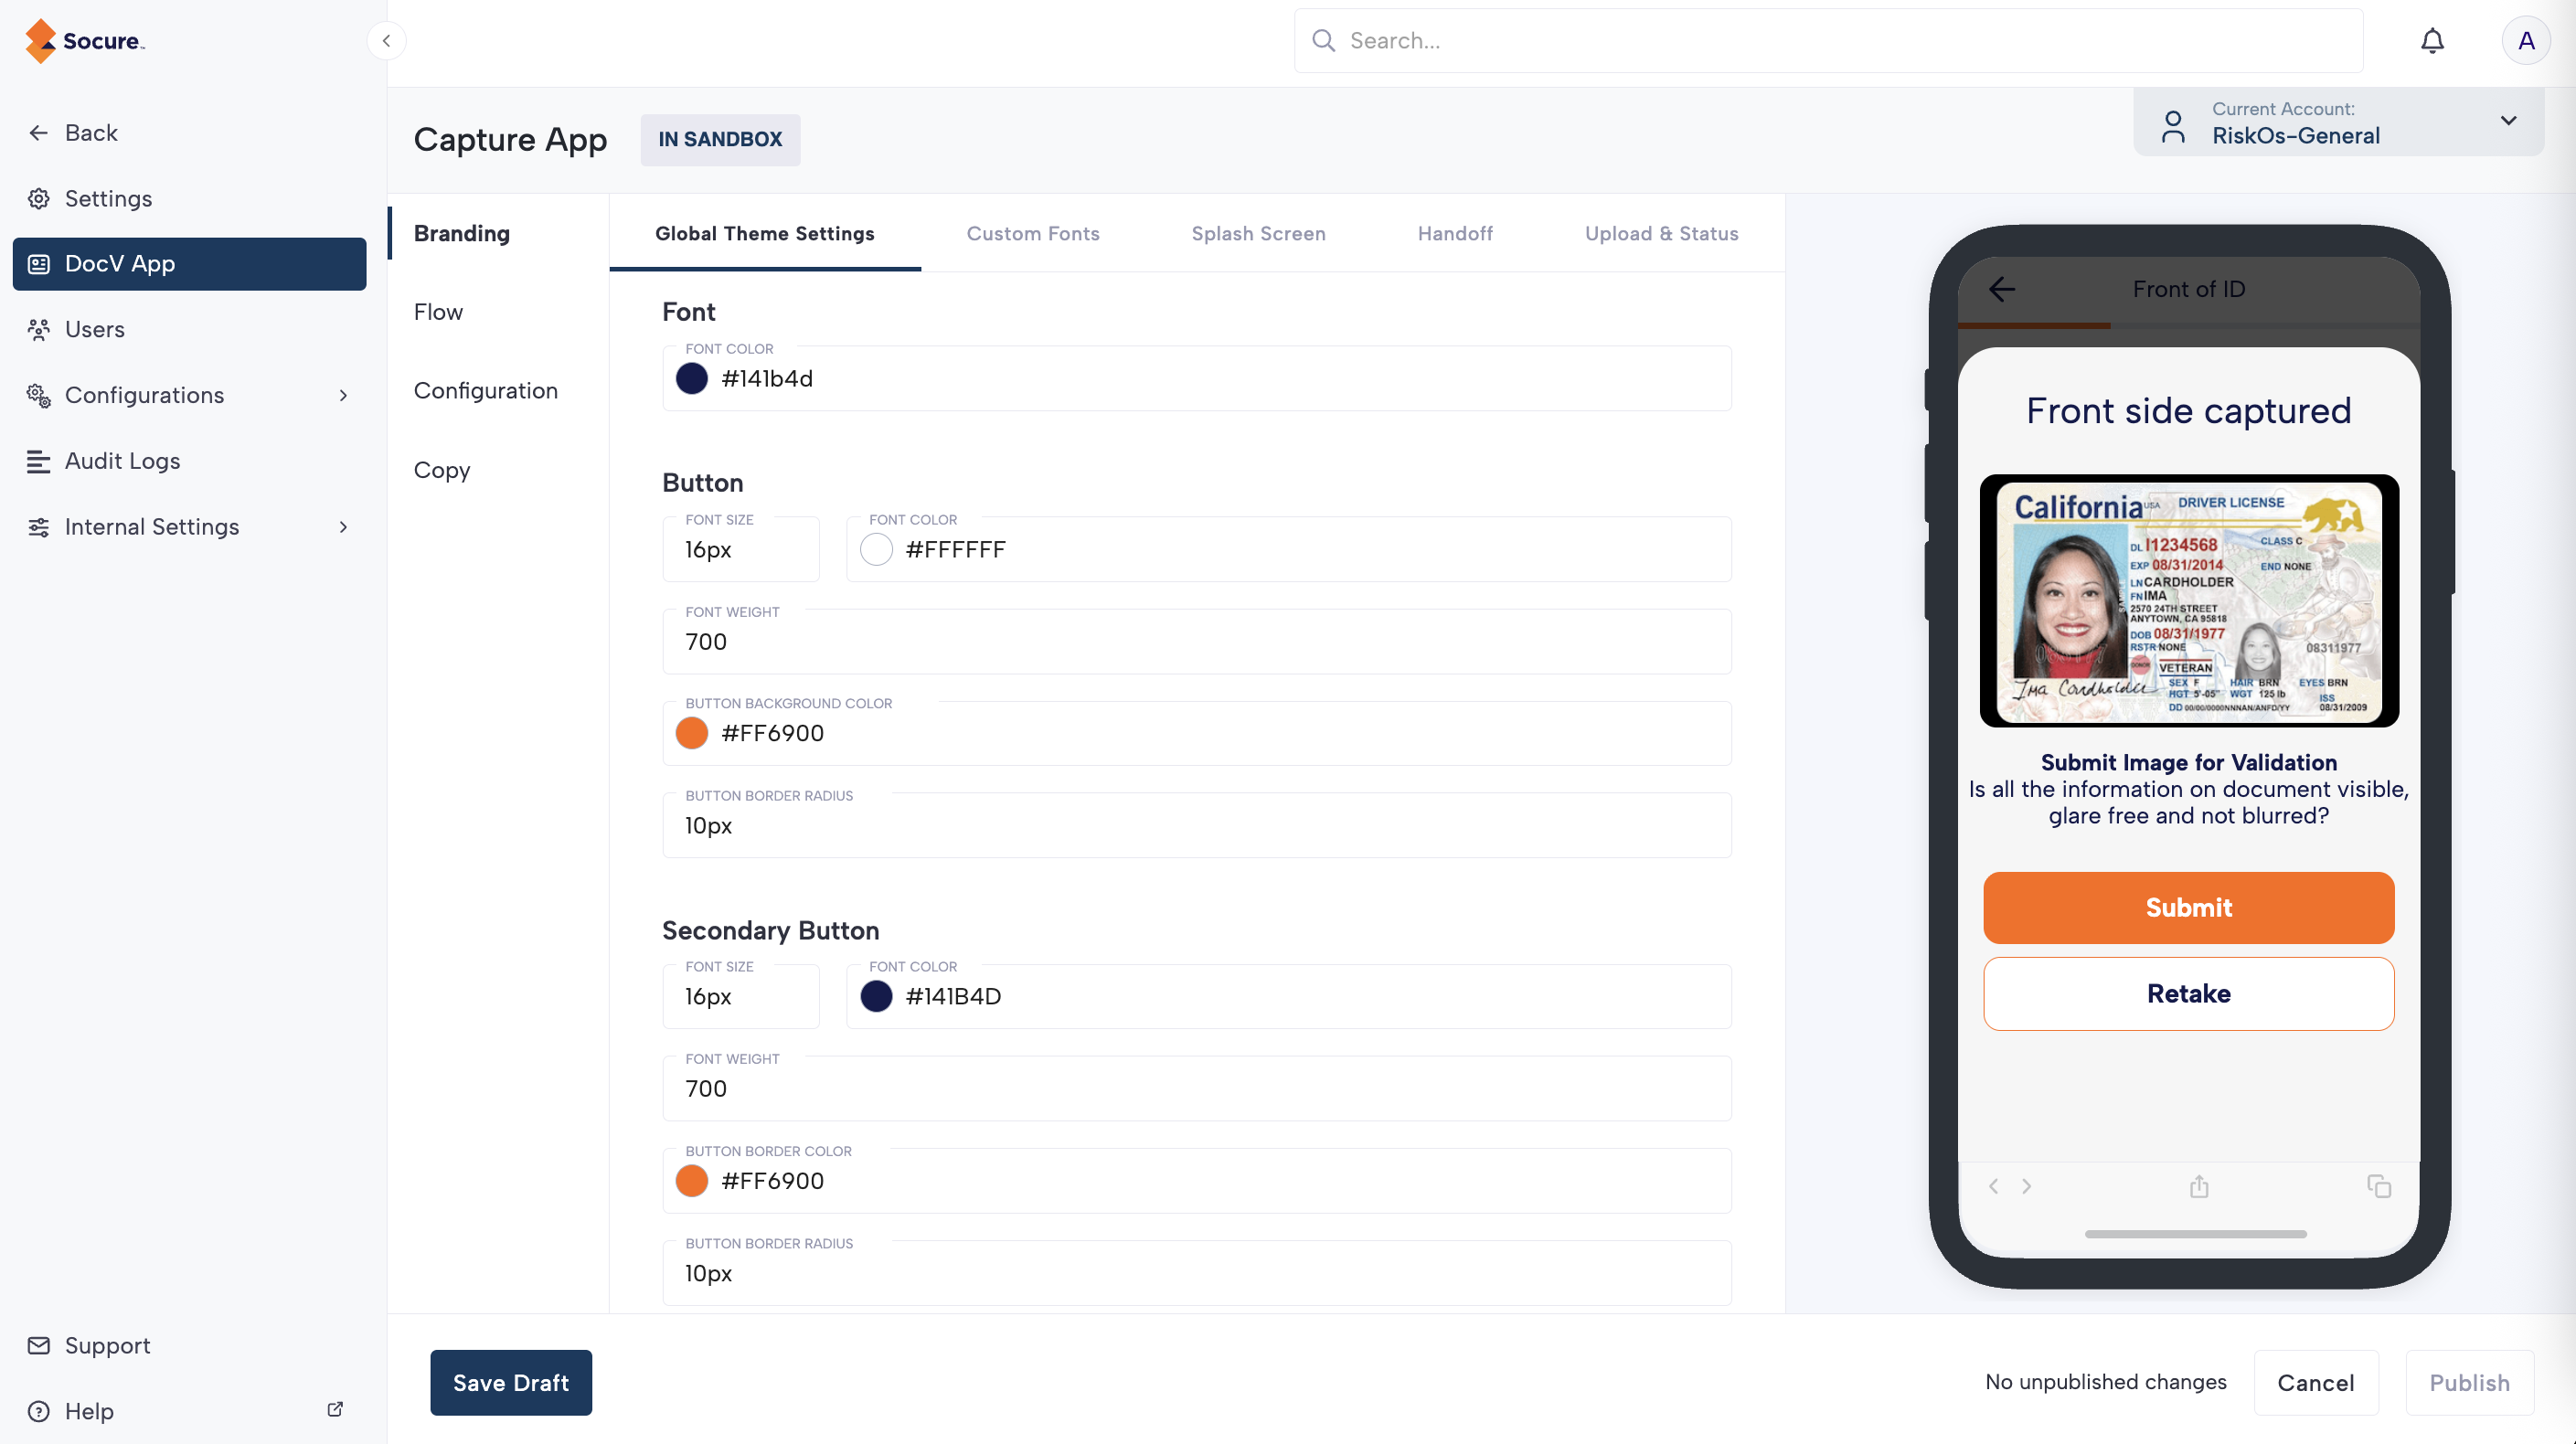
Global Theme Settings
The Global Theme Settings tab allows you to style text and buttons across your Capture App flow.
| Field | Description | Properties |
|---|---|---|
| Font Color | The color of the font of the text displayed throughout the flow. |
|
| Button | The button to start the verification flow and select the ID type. |
|
| Secondary Button | The button to access on screen help during the image capture process and to retry the image capture. |
|
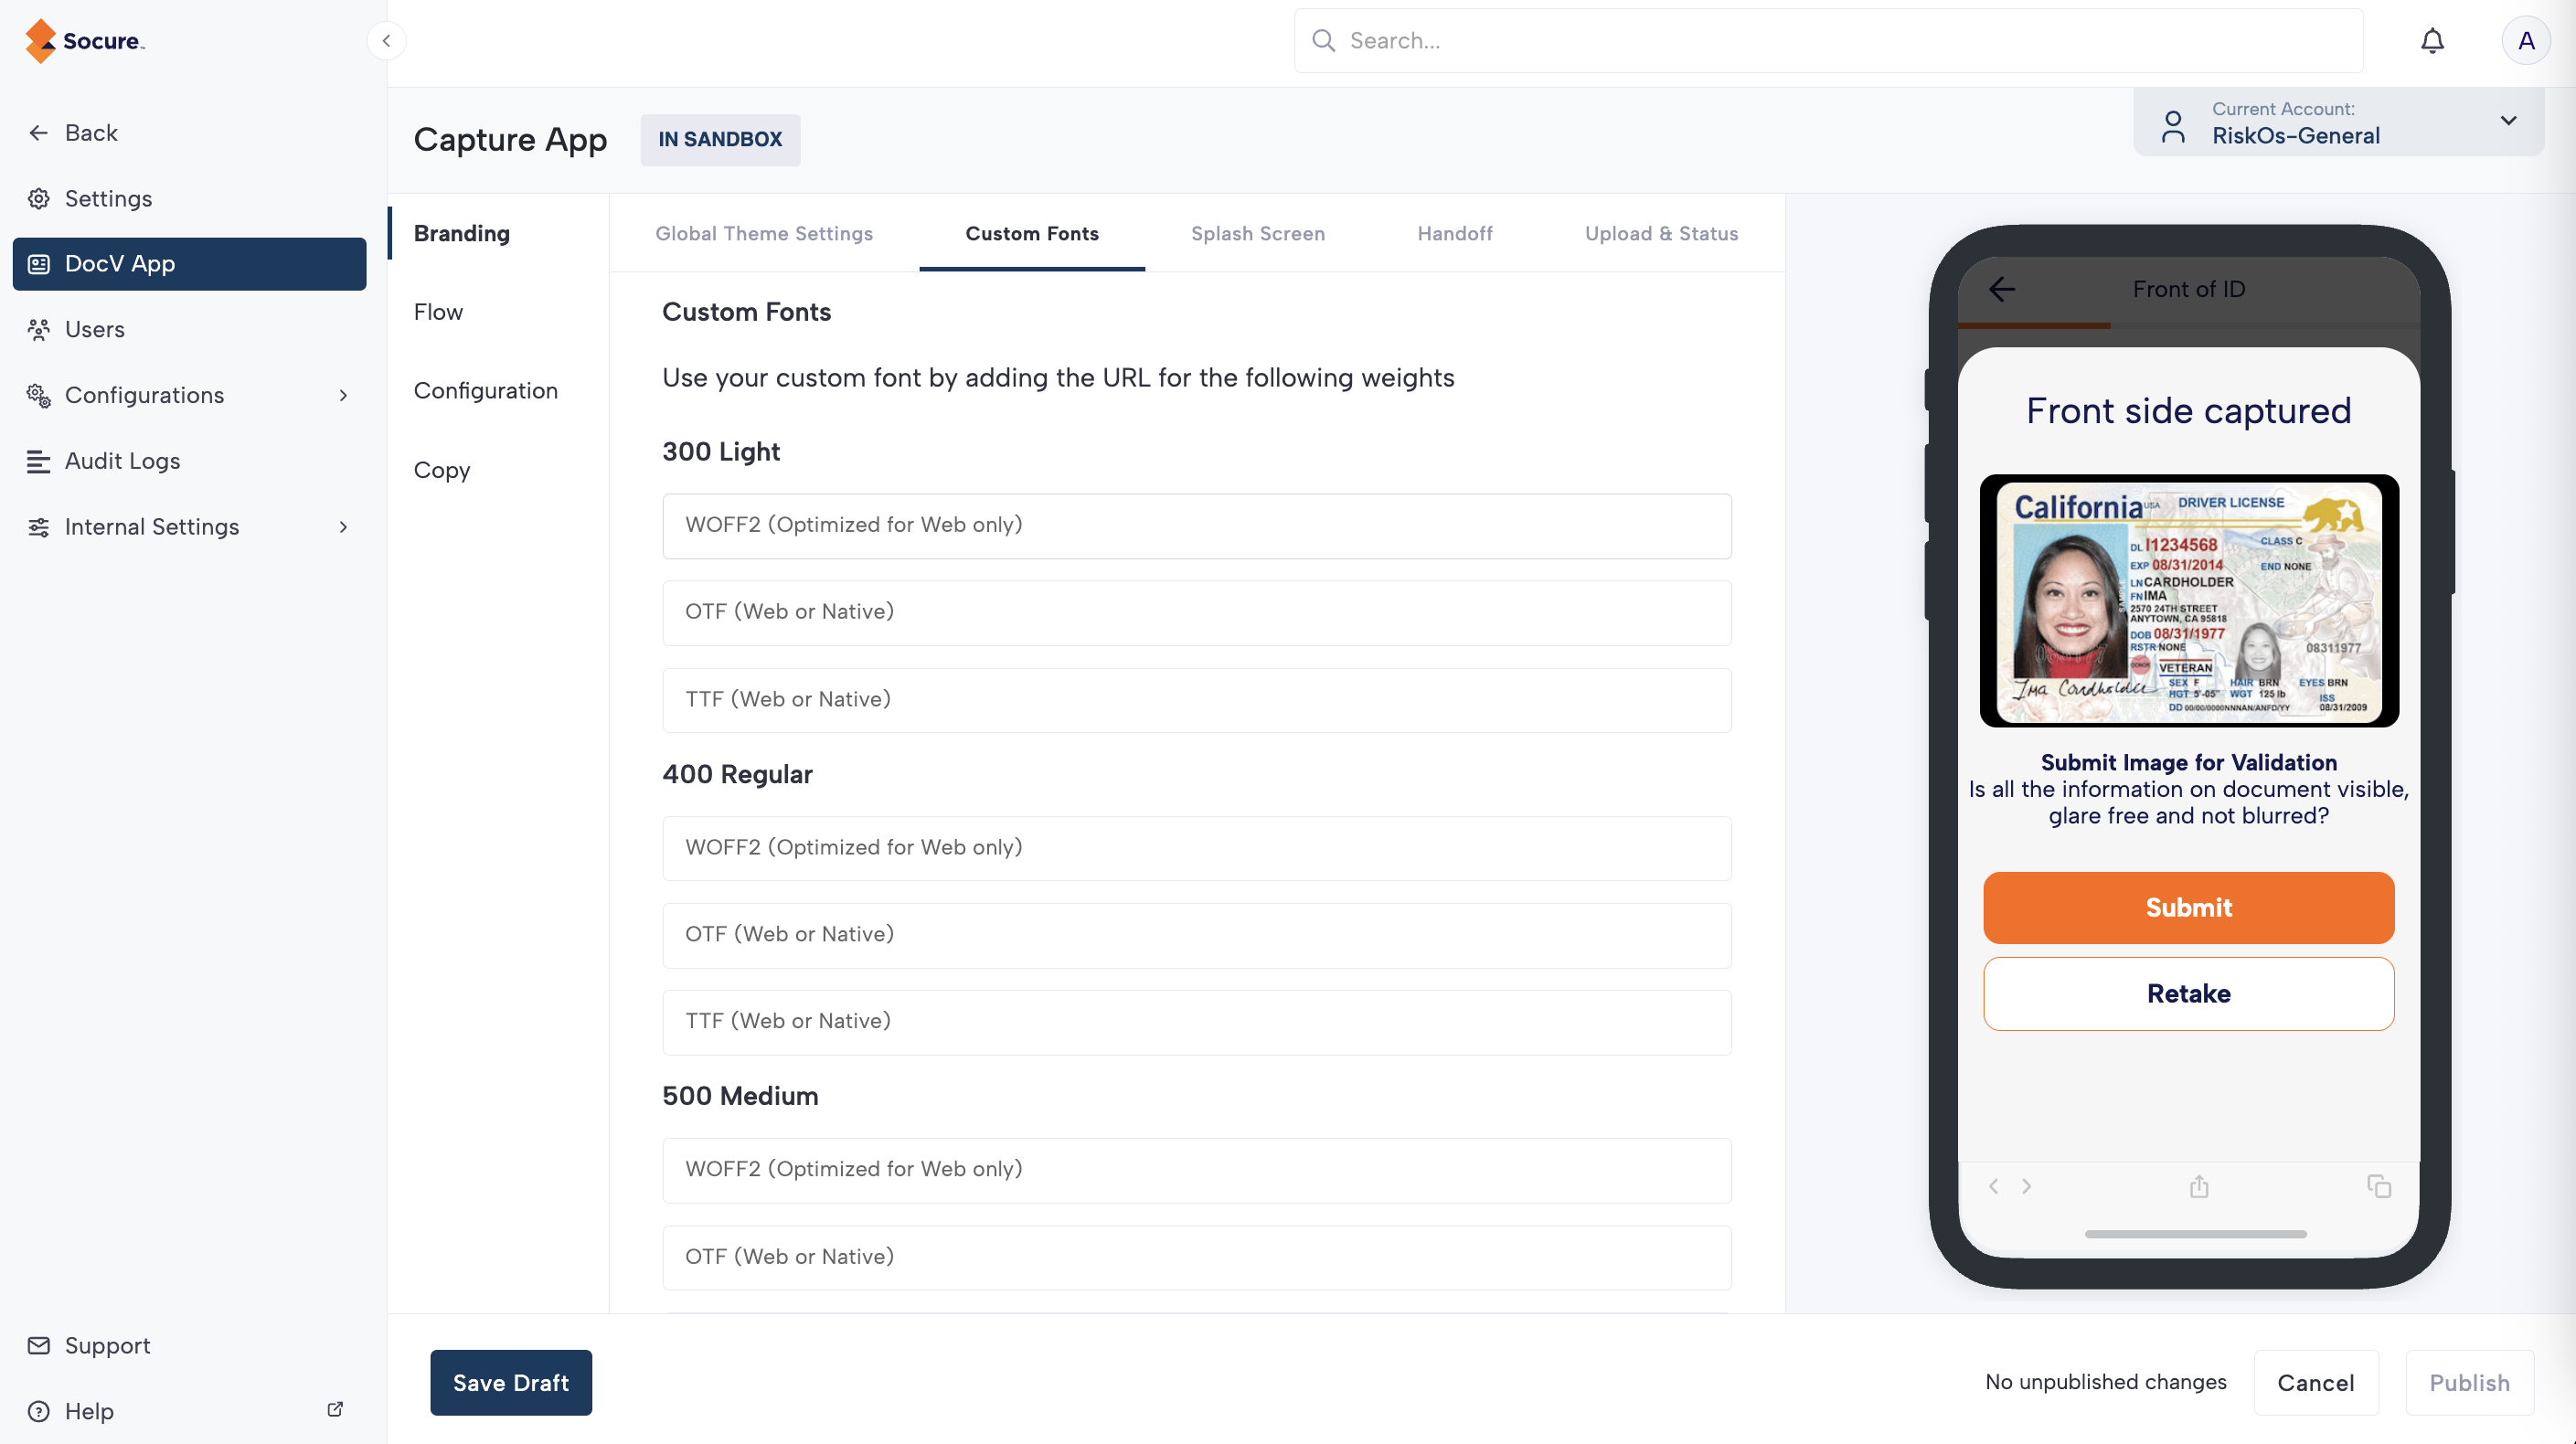
Custom Fonts
The Custom Fonts tab allows you to upload and apply custom fonts to your Capture App flow. To use a custom font, provide URLs for each desired font weight and format. At least one format per weight is recommended.
| Font Weight | Supported Formats |
|---|---|
| 300 Light | WOFF2, OTF, TTF |
| 400 Regular | WOFF2, OTF, TTF |
| 500 Medium | WOFF2, OTF, TTF |
| 700 Bold | WOFF2, OTF, TTF |
| 800 Heavy | WOFF2, OTF, TTF |
Custom font previews are not WYSIWYG
The Dashboard doesn't render your uploaded custom fonts. A custom font applies to the Capture App at runtime in the Web SDK, but it does not appear in the Dashboard DocV App preview. To confirm a custom font renders correctly, test it in your SDK integration rather than relying on the Dashboard preview.
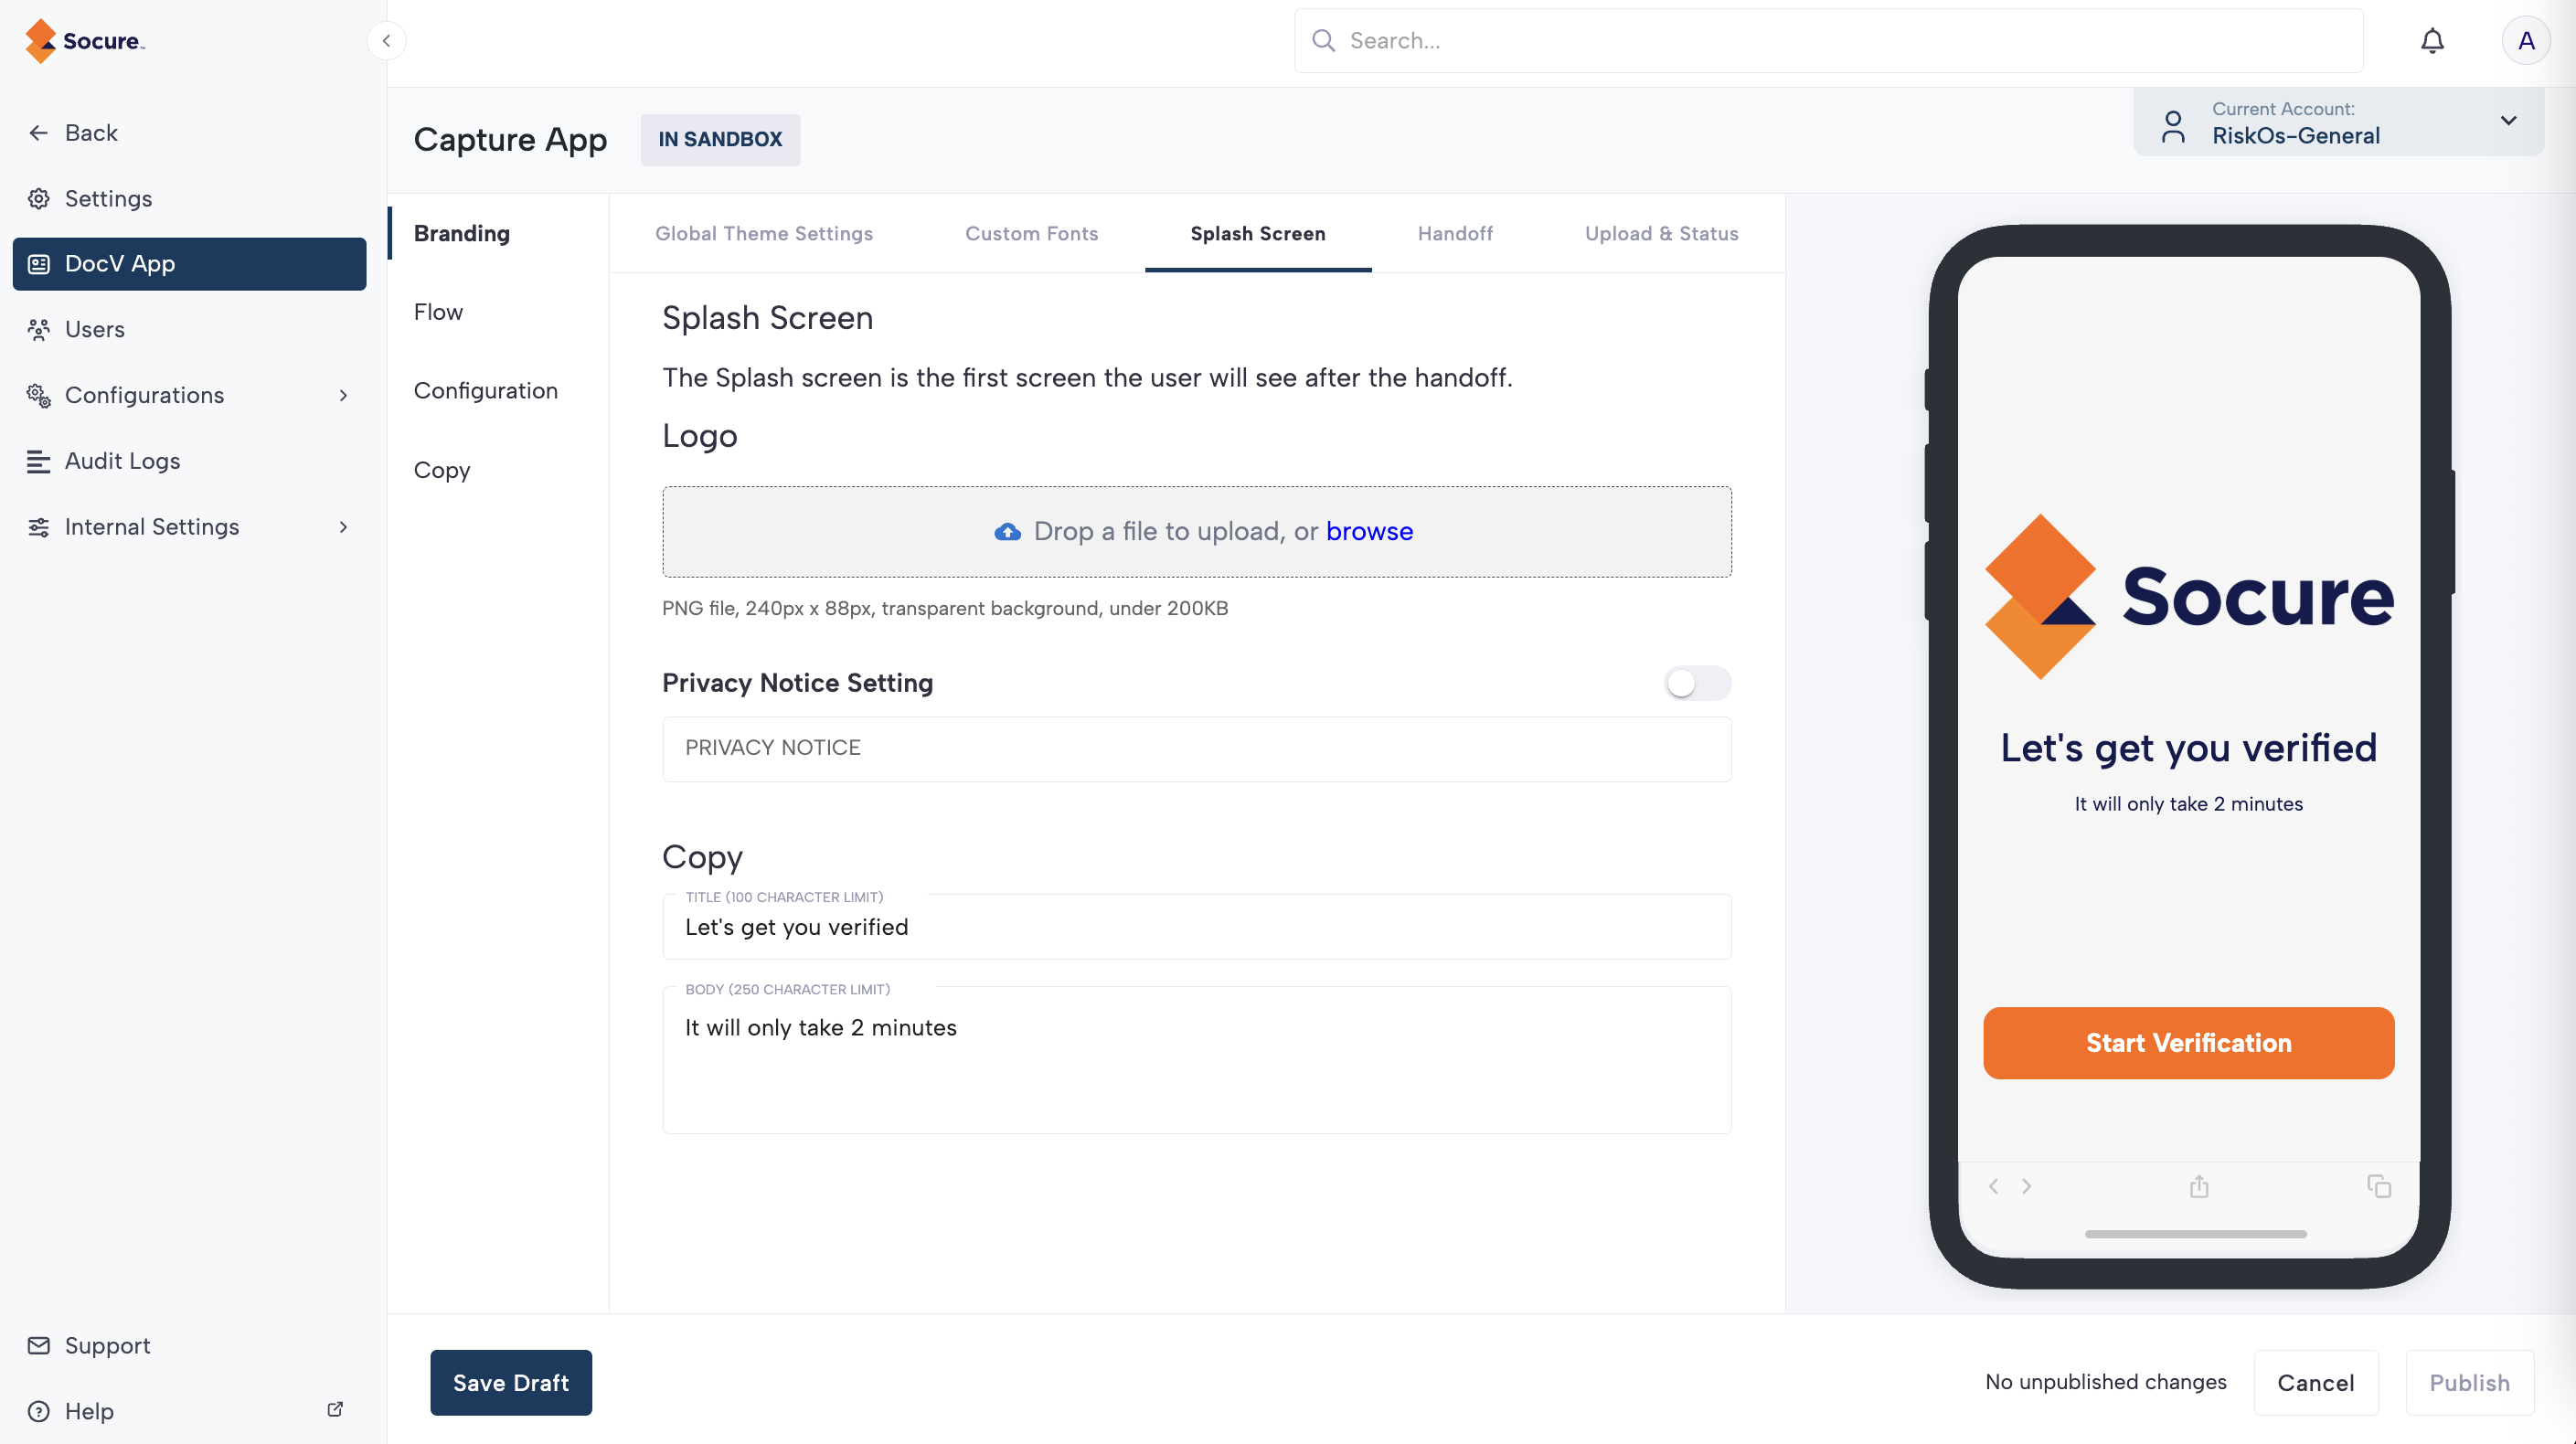
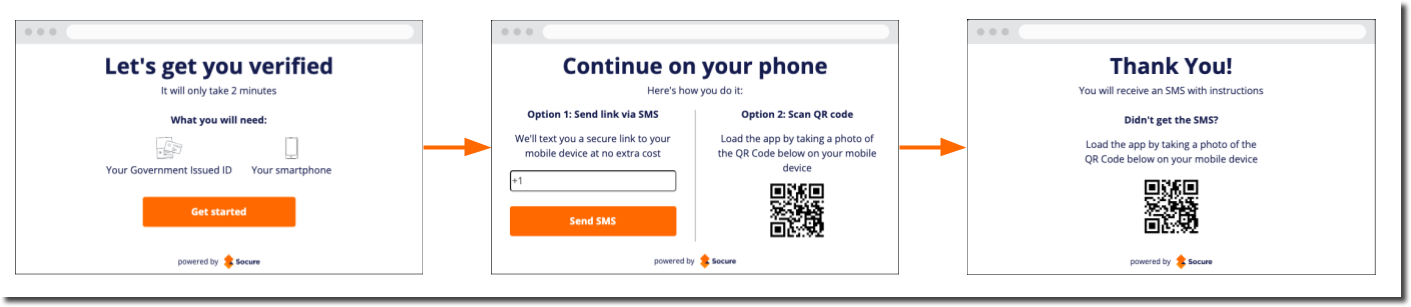
Splash Screen
The Splash Screen is the first screen the consumer sees when they are redirected to the Capture App flow. Use these settings to update the logo, header text, body text, and button label.
| Field | Description | Properties |
|---|---|---|
| Logo | The logo displayed on the header. Note that the logo size cannot be changed. |
|
| Privacy Notice Setting | The footer text on the Splash screen. Use the toggle switch to show or hide the text. This field accepts HTML, so you can render the Privacy Notice as a clickable link. For example: <a href=" | Toggle show/hide. |
| Copy | The header and body text displayed on the Splash screen. |
|
Handoff (Web SDK)
For DocV Web SDK integrations, the handoff component redirects a consumer from their desktop browser to their mobile device using an SMS or QR code. If the consumer is already on a mobile browser, they will tap an Open button to open the Capture App in a new tab.
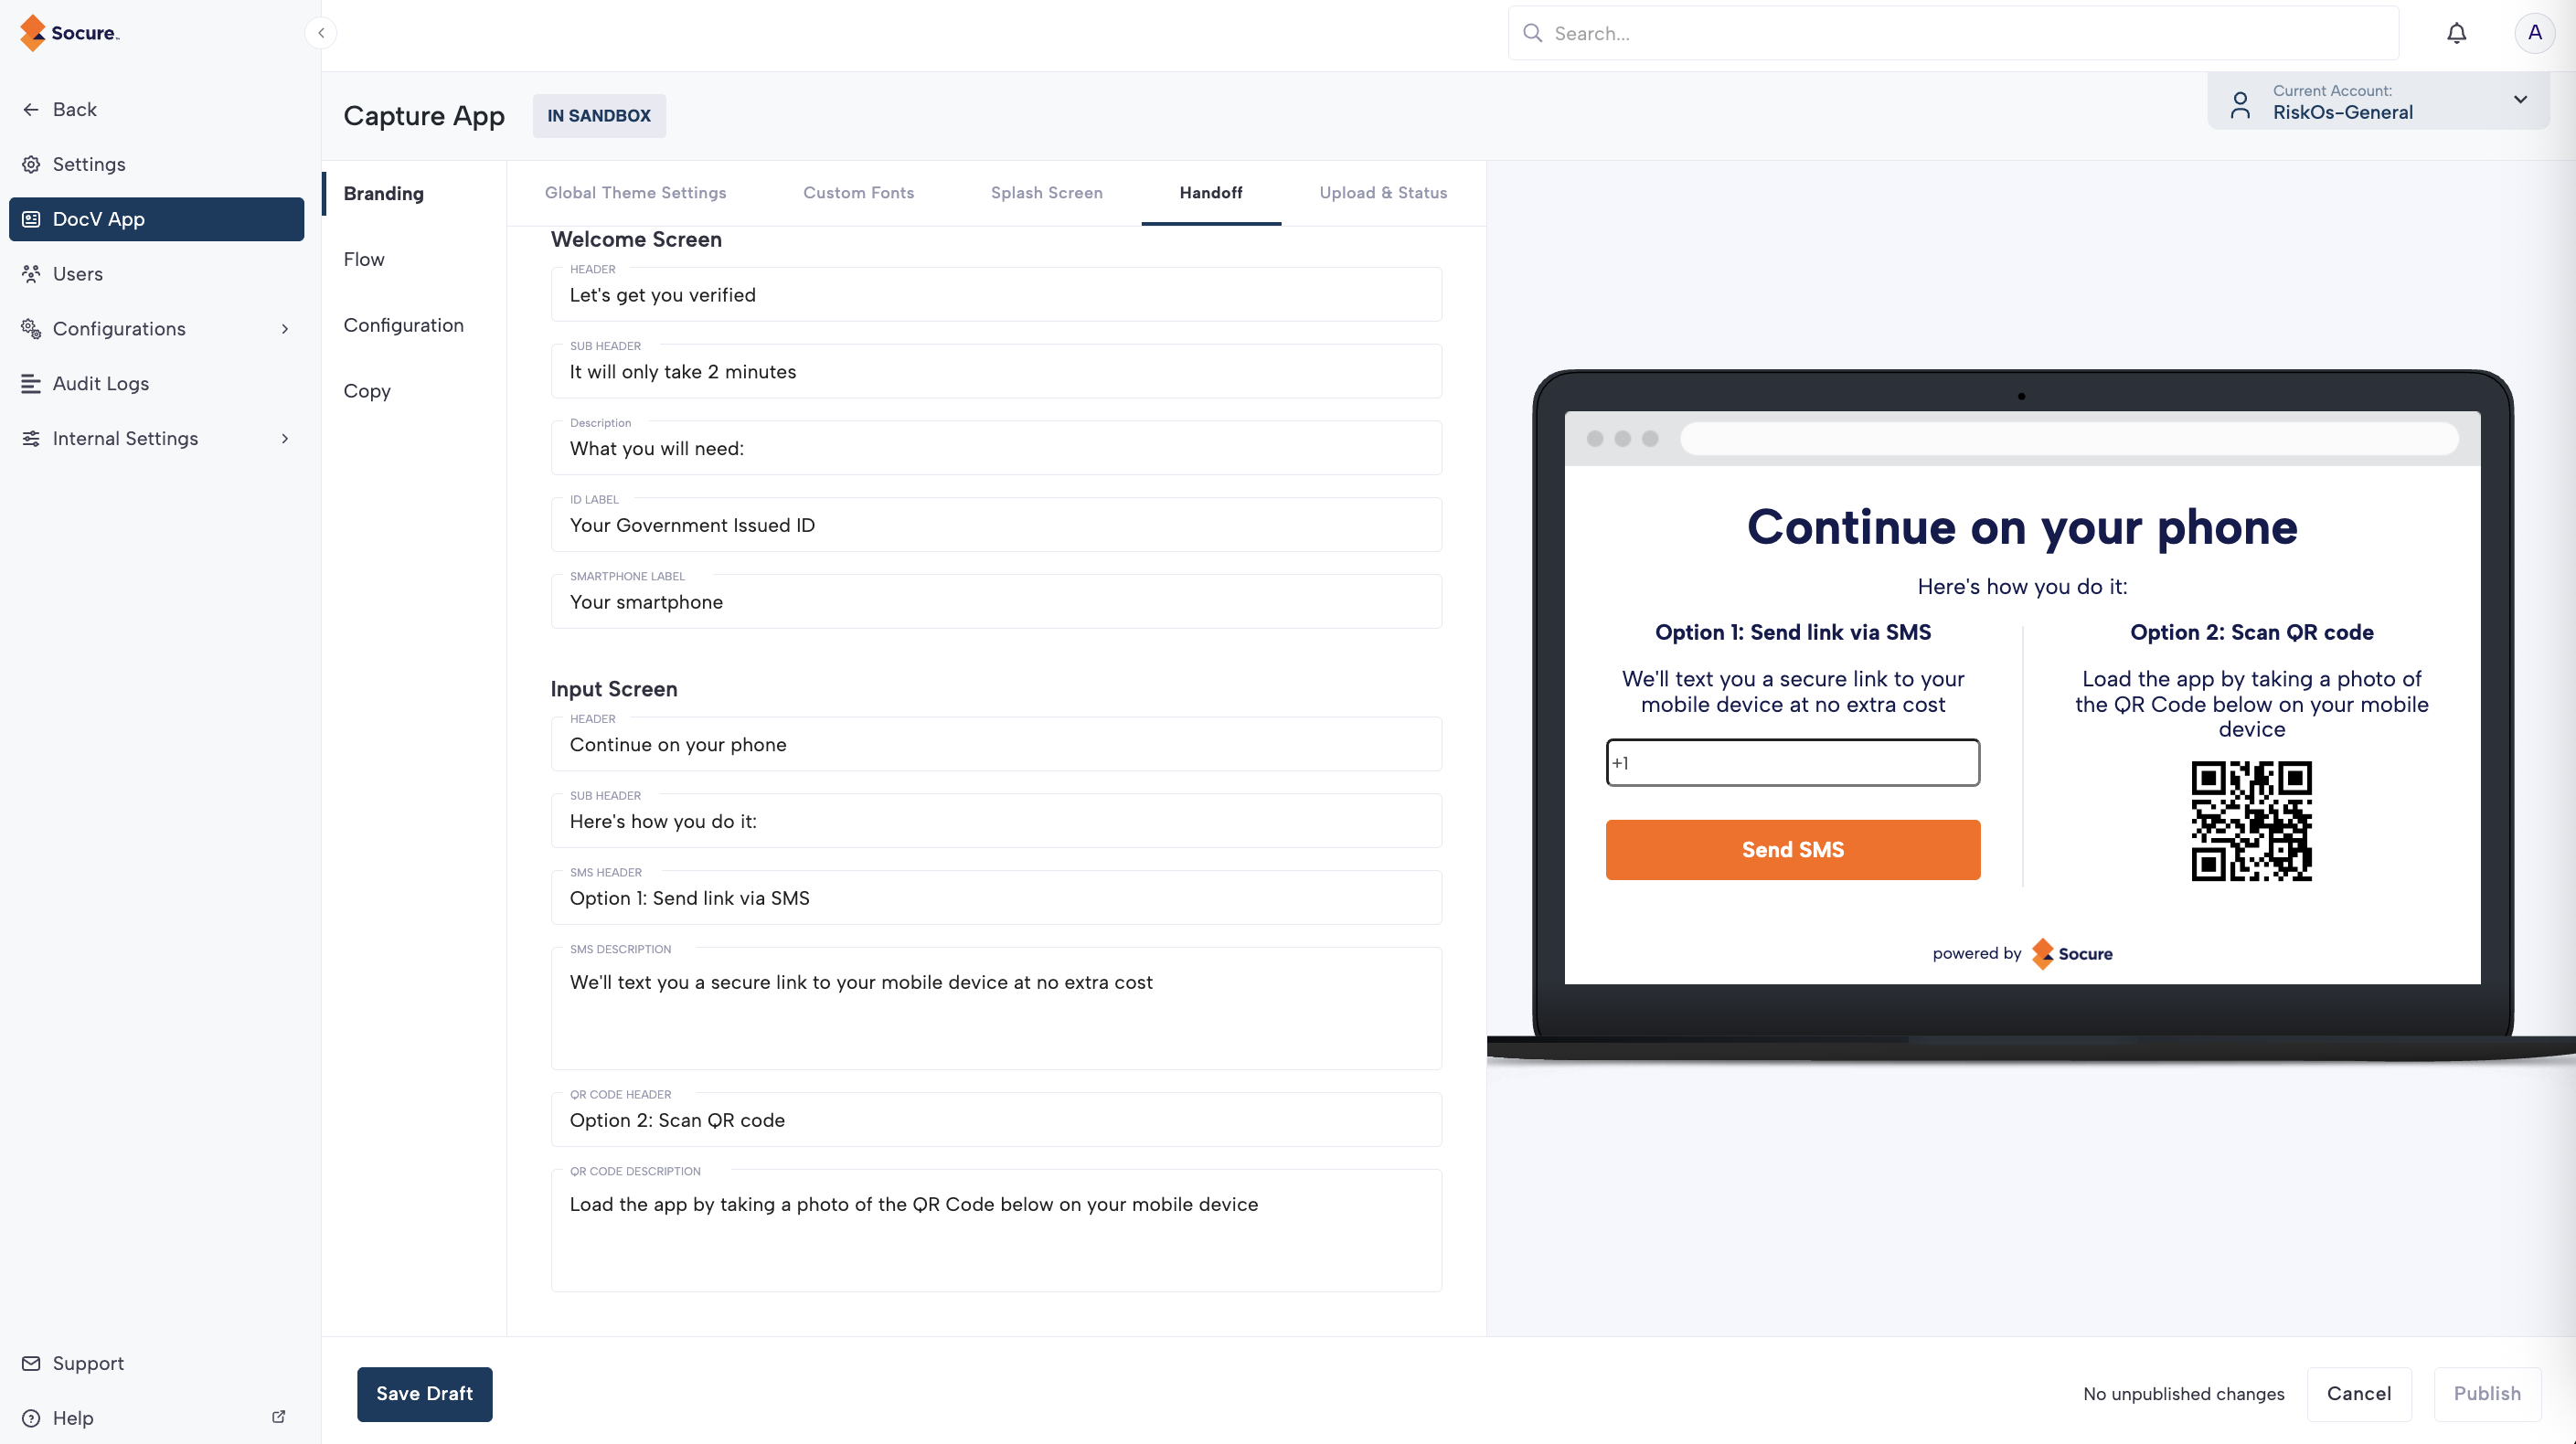
The following table lists the text character limits for each field:
| Field | Description | Properties |
|---|---|---|
| Header Text | Primary heading. |
|
| Sub Header Text | Supporting heading. |
|
| Body Text | Descriptive copy. |
|
| Button | Handoff button label. |
|
| Field | Character Limit | Character Type |
|---|---|---|
| Header | 100 | Text characters may include English letters, numbers, spaces, and the following symbols: * . : , # ? ' % ! . |
| Sub Header | 250 | |
| Description | 250 | |
| ID Label | 250 | |
| Smartphone Label | 250 |
| Field | Character Limit | Character Type |
|---|---|---|
| Header | 100 | Text characters may include English letters, numbers, spaces, and the following symbols: * . : , # ? ' % ! . |
| Sub Header | 100 | |
| SMS Header | 250 | |
| SMS Description | 250 | |
| QR Code Header | 250 | |
| QR Code Description | 250 |
Upload & Status (Web SDK)
For DocV Web SDK integrations, the Upload & Status allows you to configure the text on the handoff component and the SMS text message.
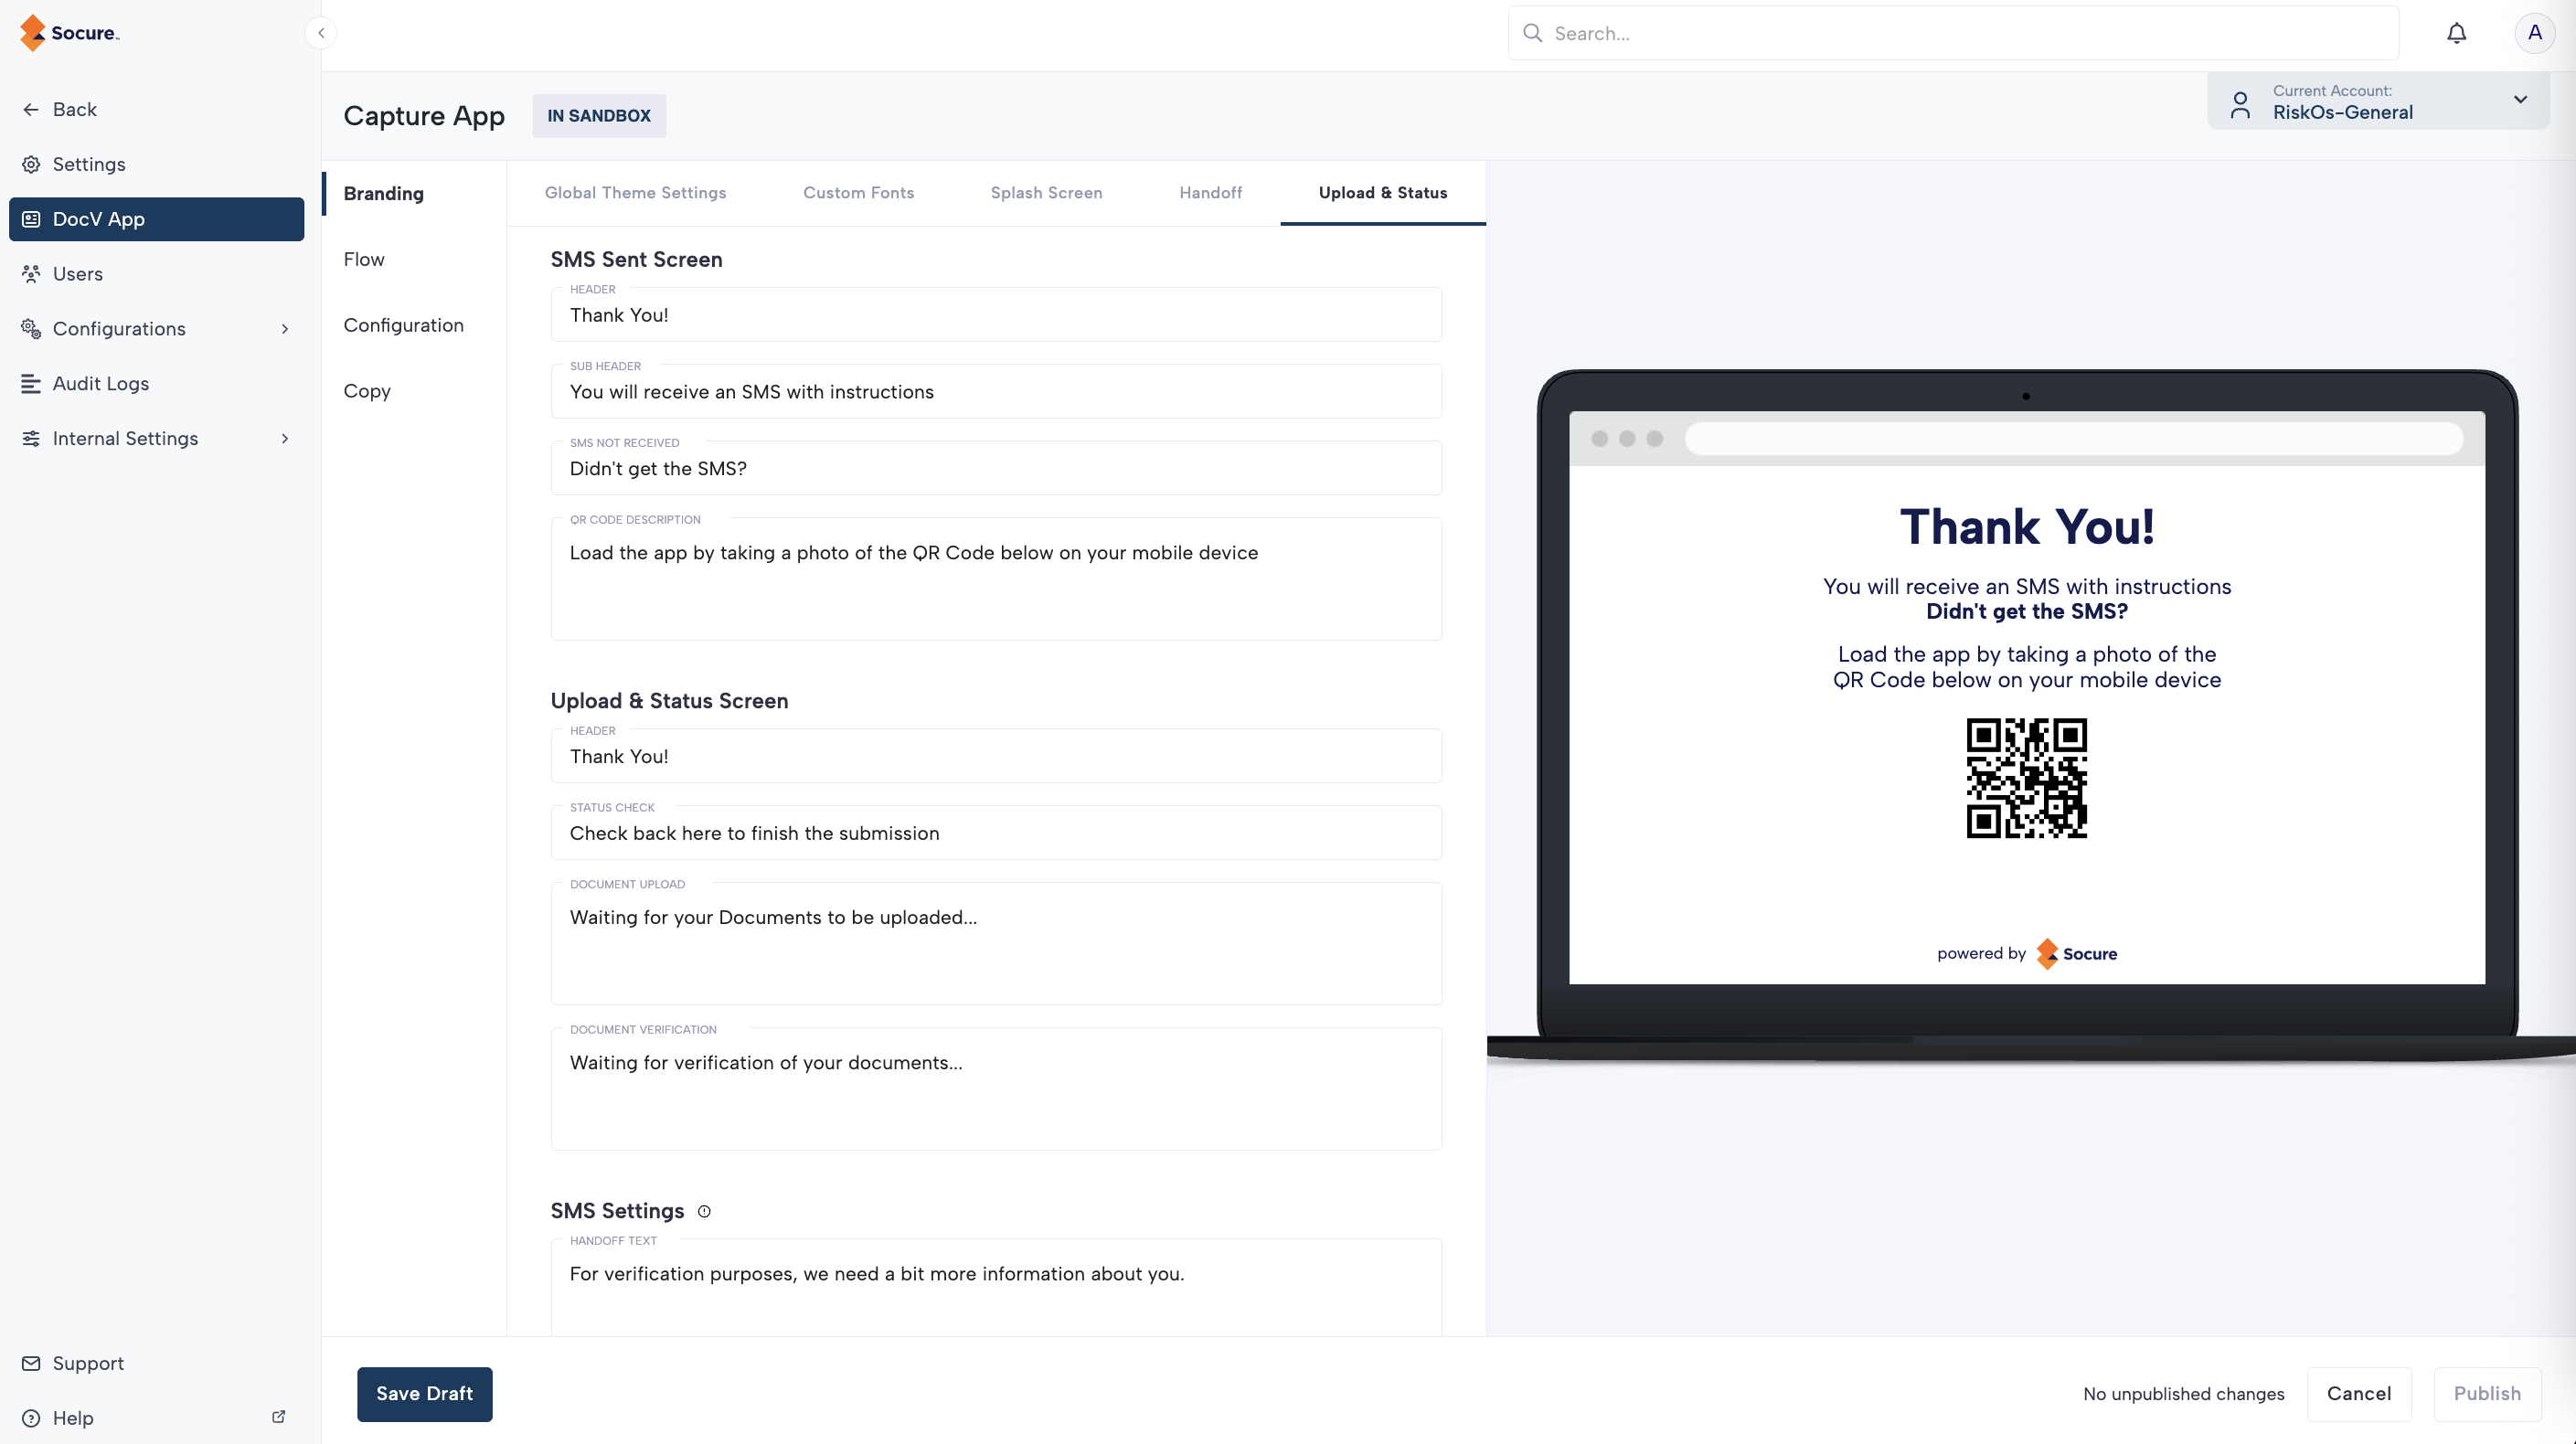
The following tabs list the text character limit for each field:
| Field | Description | Properties |
|---|---|---|
| Header | 250 | Text characters may include English letters, numbers, spaces, and the following symbols: * . : , # ? ' % ! . |
| Sub Header | 250 | |
| SMS Not Received | 100 | |
| QR Code Description | 250 |
| Field | Description | Properties |
|---|---|---|
| Header | 250 | Text characters may include English letters, numbers, spaces, and the following symbols: * . : , # ? ' % ! . |
| Status Check | 250 | |
| Document Upload | 250x | |
| Document Verification | 250 |
| Field | Description | Properties |
|---|---|---|
| SMS Settings | 100 | Text characters may include English letters, numbers, spaces, and the following symbols: * . : , # ? ' % ! . |
Configuration (advanced)
| Section | Description |
|---|---|
| Progress Bar | Show/hide a visual progress indicator in the flow. |
| Redirect Settings | Enter a valid HTTPS URL in the Redirect URL field to redirect a consumer when the document verification flow is completed or cancelled. In the Redirect Delay field, enter an integer between 0 and 10,000 to set the number of milliseconds between when the verification flow is completed or cancelled and when the redirect URL loads. |
| Custom Domain | Customize the Capture App domain name by entering a valid HTTPS URL in the Capture Host URL field. This will allow you to send traffic to a custom URL domain that is branded for your organization. Note that the Capture App's default domain is verify.socure.comc |
Copy
Customize copy for Selected ID Type, Confirmation, and Error messages.
| Field | Character Limit | Character Type |
|---|---|---|
| Header | 100 | Text characters may include English letters, numbers, spaces, and the following symbols: * . : , # ? ' % ! . |
| Field | Character Limit | Character Type |
|---|---|---|
| Header | 250 | Text characters may include English letters, numbers, spaces, and the following symbols: * . : , # ? ' % ! . |
| Description | 250 |
| Field | Character Limit | Character Type |
|---|---|---|
| Resubmit Error | 250 characters max | Text characters may include English letters, numbers, spaces, and the following symbols: * . : , # ? ' % ! . |
| Desktop Error | 100 | |
| Maximum Number of Attempts | 250 | |
| Session Expired | 250 | |
| Timeout | 250 | |
| Capture Type Not Supported | 250 | |
| Unknown Error | 250 |
FAQs
Does DocV support localization for multiple languages?
Yes. DocV V5 SDKs support per-transaction localization of the default UI text, including the Terms & Conditions. Set the language in the server-side config.language field of your Evaluation request. If you don't pass a language, en-us is used.
Supported languages include English, Spanish, French, Simplified, and Traditional Chinese, Haitian Creole, Italian, Korean, Polish, Russian, Tagalog, Urdu, Vietnamese, Arabic, Armenian, Bengali, Brazilian Portuguese, Hindi, Japanese, and German, among others. For the full list and locale codes, see Language Options.
If you override copy on this page, provide your own translations for that custom text.
How much can I customize the DocV flow and screens?
- Flows and branding: Pass
config.use_case_keyto select a Capture App flow you configured in the Dashboard, including its branding, steps, and copy.- Skip the document type screen: Pass
config.document_type(licenseorpassport). - Skip the splash screen: Enable Skip Splash Screen on the flow. See Capture App Flow Setup.
- Consent and Terms & Conditions: The DocV consent screen is required for compliance and can't be removed. You may show additional disclosures on your own onboarding page.
- Skip the document type screen: Pass
Updated 2 days ago