
Channel Partners
Manage client accounts, users, roles, and product configuration as a Channel Partner in RiskOS™.
Channel Partners gives partner organizations a dedicated RiskOS™ Dashboard to onboard, configure, and manage multiple client accounts from a single login. This section is for Channel Partner administrators — if you are a client user managed by a Channel Partner, see Client Accounts.
Applies to:
The new account architecture applies to both Channel Partners and direct customers, but individual capabilities have different scopes:
- Channel Partners only — the Clients hub, client onboarding, and switching between client accounts. These are available only from a Channel Partner management account.
- Channel Partners, their client accounts, and direct customers — user access management (custom roles, roles assigned per environment, and access scoped to use cases) and product settings profiles. These work the same way for direct customers managing their own account.
Why it matters
As a Channel Partner, you are responsible for the operational readiness and ongoing management of every client account in your organization. This dashboard centralizes that work — onboarding, user access, product configuration, and tier management — so you do not need to coordinate across multiple systems or interfaces.
What is a Channel Partner?
Your organization has a management account that provides centralized control over all client accounts you manage. Each client account is assigned a Standalone or Centrally Managed plan that determines its feature access.
graph TD
    CP["Your Organization
    Management Account
    Full access — no restrictions"]
    CP --> C1["Client A
    Standalone
    Self-service workflows"]
    CP --> C2["Client B
    Centrally Managed
    View-only — you manage on their behalf"]
    CP --> C3["Client C
    Standalone
    Self-service workflows"]
From your management account, you can:
- Onboard new clients with a guided wizard
- Switch into any client's account to configure workflows, review cases, and manage settings on their behalf
- Assign plan tiers that control which RiskOS™ features each client can access
- Manage users and roles for each client account with environment-level granularity
- Configure products and enrichment settings across your client portfolio
- Monitor activity through a centralized notification center
Account types
Channel Partners introduces two account types in addition to standard RiskOS™ accounts:
| Account Type | Description |
|---|---|
| Management Account | Your organization's management account. Provides access to the Clients hub, account switching, and cross-client administration. |
| Centrally Managed Client | A client account onboarded by a Channel Partner, with workflow configuration centrally managed in the management account. Product Settings can be configured at the client account level. |
| Standalone Client | A client account onboarded by a Channel Partner. Workflow configuration is independently managed in the standalone client account. Product Settings can be configured at the client account level. |
For a detailed comparison between managed and standalone accounts, see Account Models and Tiers.
Account tiers
Each client account has a Standalone or Centrally Managed plan that controls which RiskOS™ features the client's users can access. Your management account has full access and is not subject to these restrictions.
| Capability | Standalone | Centrally Managed |
|---|---|---|
| Workflow Configuration | Can Edit, Can test, move to live | View only |
| Product Settings | Can create custom product settings profiles, Can configure product settings at workflow step level | Can create custom product settings profiles, Can configure product settings at workflow step level |
| Fraud Case Management | Can Assign Can Review Can Comment Can View Can Evaluate | Can Assign Can Review Can Comment Can View Can Evaluate |
| Dashboards | View | View |
| Reports | View and create | View and create |
| Configurations (tags, statuses, queues) | Full access | No access |
| Allow/Deny Lists | Full access | No access |
| Reason Codes | View | No access |
| Audit Logs | View | View |
| Users and Roles | Full access | Full access |
| Developer Workbench | Full access | Full access |
How to choose: Assign Standalone when the client has a technical team that manages their own workflows. Assign Centrally Managed when your organization manages workflows on the client's behalf. For a full decision guide, see Choosing the right tier.
Your first week as a Channel Partner
Follow this lifecycle to set up your Channel Partner environment:
| Day | Task | Guide |
|---|---|---|
| 1 | Explore the Clients hub and review the metrics bar | Clients Hub |
| 2 | Onboard your first client account | Onboard a Client |
| 3 | Switch into the client's account and configure product settings | Product Configuration |
| 4 | Create users and assign roles for the client | Users & Roles Overview |
| 5 | Review tier capabilities to confirm each client has the right access | Account Models and Tiers |
Your dashboard at a glance
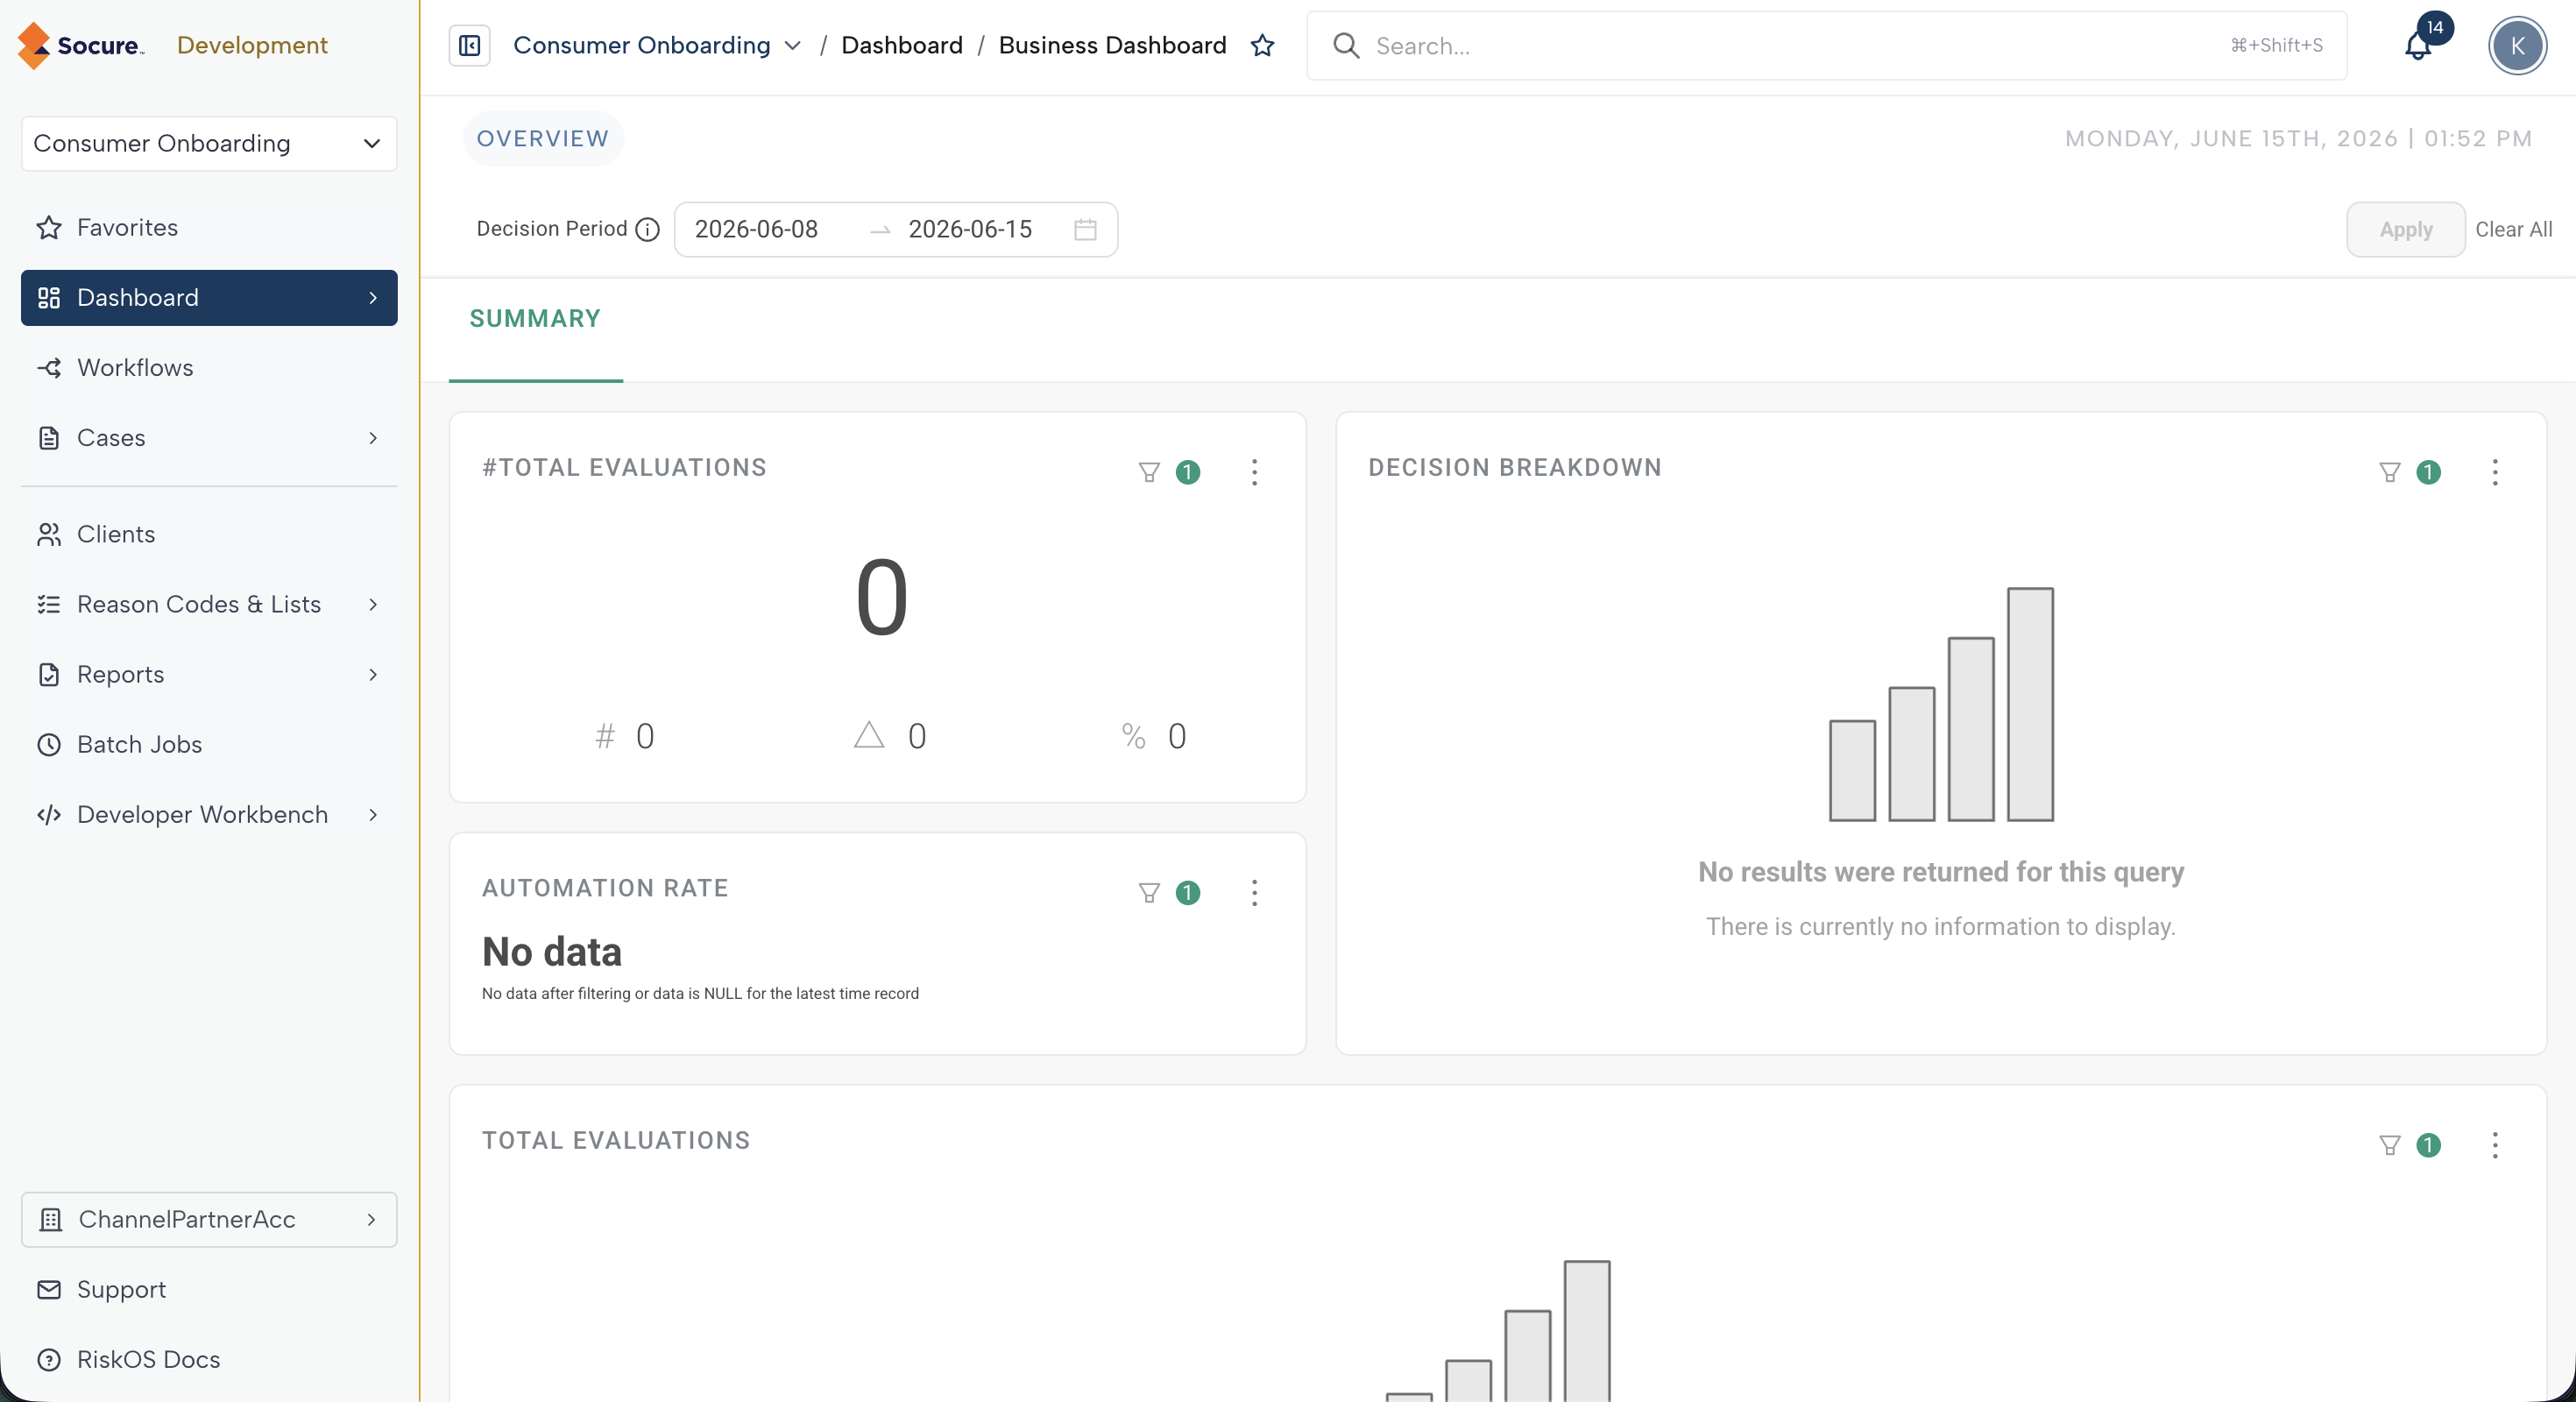
When you log in as a Channel Partner, the RiskOS™ Dashboard presents a layout designed for multi-client management.
Sidebar
The collapsible sidebar is your primary navigation. It contains:
- Organization logo at the top, linking back to the Clients hub
- Use case selector — a dropdown that scopes the dashboard, workflows, and cases views to a specific use case (see Use case selector)
- Navigation items — links to Clients, Reason Codes, Batch Jobs, Reports, Developer Workbench, and more
- Settings link — opens the settings menu for Users, Product Configuration, Audit Logs, and Configurations
- Account switcher — at the bottom of the sidebar, switch between your management account and client accounts (see Switch between accounts)
Collapse or expand the sidebar by clicking the chevron toggle at the bottom, or by using Shift+Ctrl+Arrow (Windows/Linux) or Shift+Cmd+Arrow (macOS).
App bar
The top bar contains:
- Search — a global search field
- Notifications — a bell icon that opens the notification drawer (see Notifications)
- User menu — your avatar showing your first initial; click it to access Settings or Log Out
Main content area
The central area displays the page you navigated to — the Clients hub by default.
Use case selector
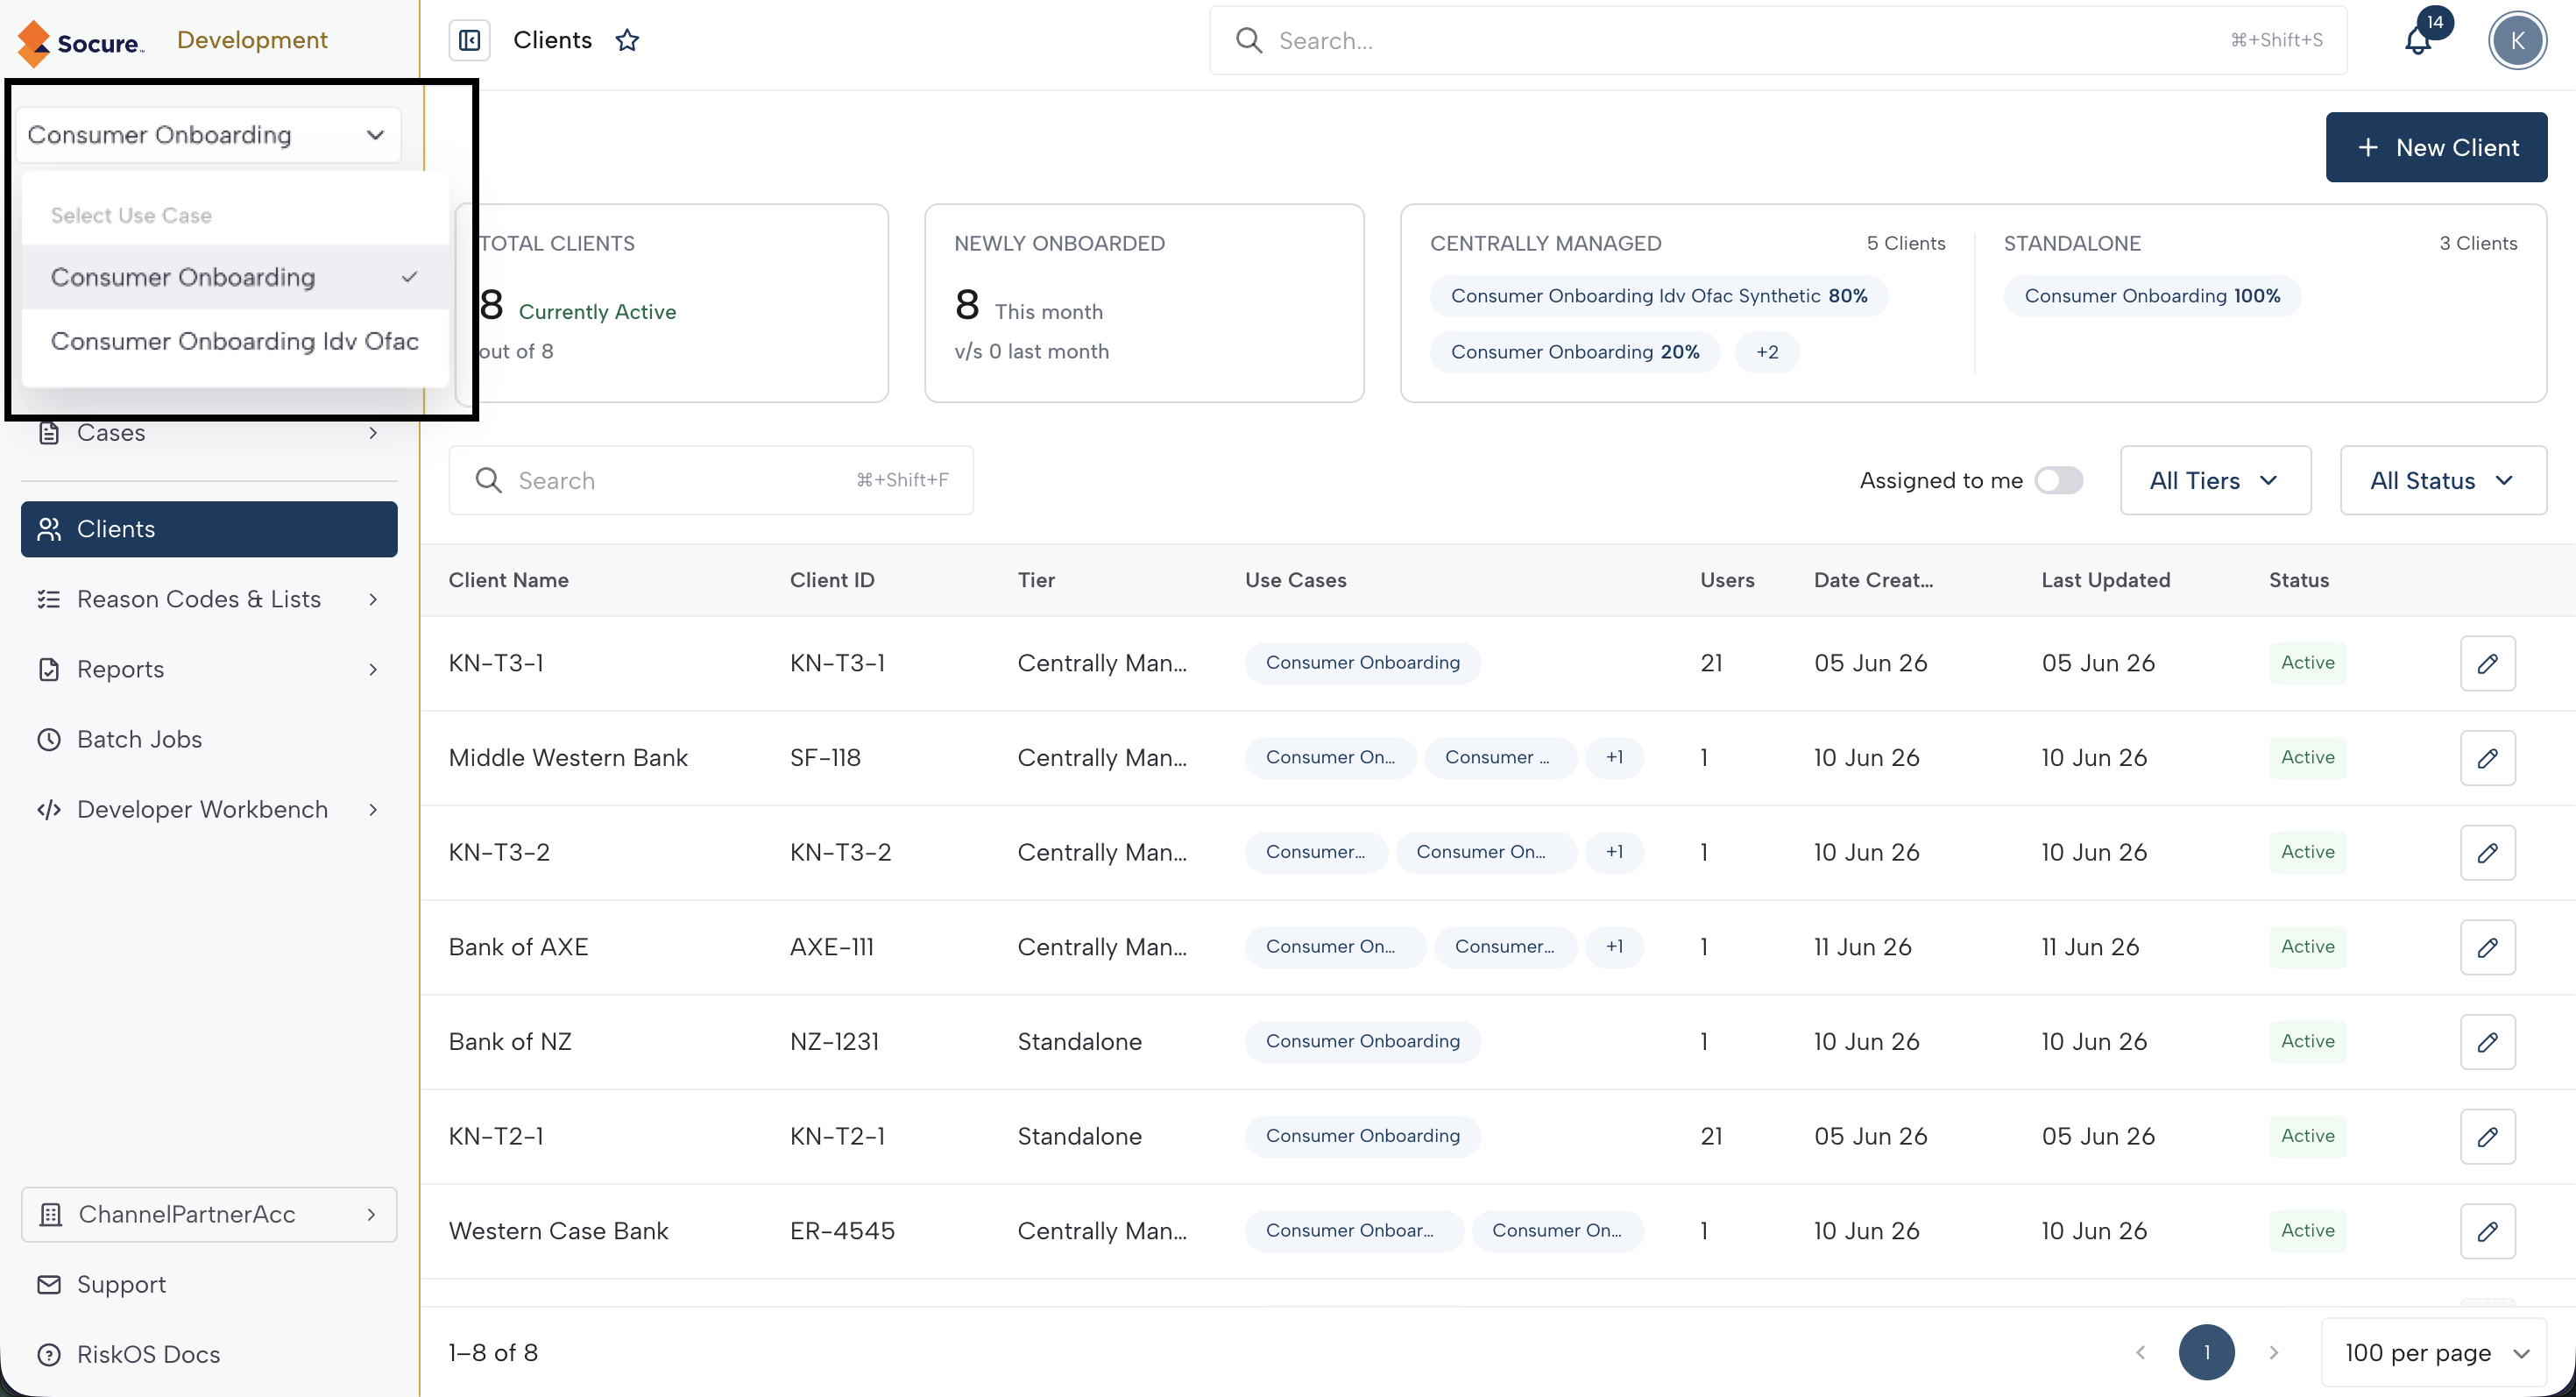
The use case selector is a dropdown in the sidebar that controls which use case the dashboard is scoped to. When you select a use case:
- The Dashboard, Workflows, and Cases navigation items appear in the sidebar, scoped to that use case.
- Clicking Workflows shows only the workflows for the selected use case.
- Clicking Cases shows case queues for that use case, including dynamically loaded review queues.
If you haven't selected a use case, only the global navigation items (Clients, Reports, Batch Jobs, etc.) are visible. The system hides the use case selector when you are on a settings page.
Navigation reference
Global items (always visible)
| Item | Description | Permission Required |
|---|---|---|
| Clients | The central hub for viewing, onboarding, and managing client accounts. | Accounts Management Hub View |
| Reason Codes & Lists | View reason codes and manage allow/deny lists. Expandable with sub-items: Reason Codes, Allow/Deny Lists. | Reason Code View or Allow/Deny List View |
| Batch Jobs | Run and monitor bulk processing operations. | — |
| Watchlist | Monitor watchlist screening results. Only visible when the watchlist feature flag is enabled. | — |
| Reports | Generate and view reports. Expandable with sub-items: Requests, Compliance. | — |
| Developer Workbench | Manage API keys, configure webhooks, set up IP filtering, and track integration progress. Expandable with sub-items: Key Management, Webhooks, IP Filtering, Integration Checklist. | Event Managers View |
Use-case items (visible after selecting a use case)
| Item | Description |
|---|---|
| Dashboard | Business and Operations dashboards for the selected use case. |
| Workflows | View, create, and manage workflows for the selected use case. |
| Cases | View and manage cases. Includes an "All Cases" link plus dynamically loaded review queue links. |
Settings items
Access settings by clicking Settings in the sidebar. The settings menu includes a Back to Main Menu link to return to the main navigation.
| Item | Description | Permission Required |
|---|---|---|
| Users | Manage users and roles for the current account. Default settings landing page when available. | UAM Users View |
| Document Verification | Configure DocV settings. Only visible when the DocV feature flag is enabled. | — |
| Product Configuration | Configure enrichment steps and product settings. Default landing page when Users isn't available. | — |
| Audit Logs | View the activity audit trail. | — |
| Configurations | Manage tags, statuses, and queues. Expandable with sub-items. | Configurations View |
User menu
Click your avatar in the top-right corner to open the user menu. It displays your name and organization, with two options:
- Settings — navigates to the settings page
- Logout — signs you out of RiskOS™
Switch between accounts
As a Channel Partner, you can switch between your management account and any client account you manage. This lets you configure workflows, review cases, manage users, and adjust settings on behalf of your clients.
Who can switch: Only Channel Partner management users with the Account Switcher permission. Standalone and Centrally Managed client users cannot switch accounts.
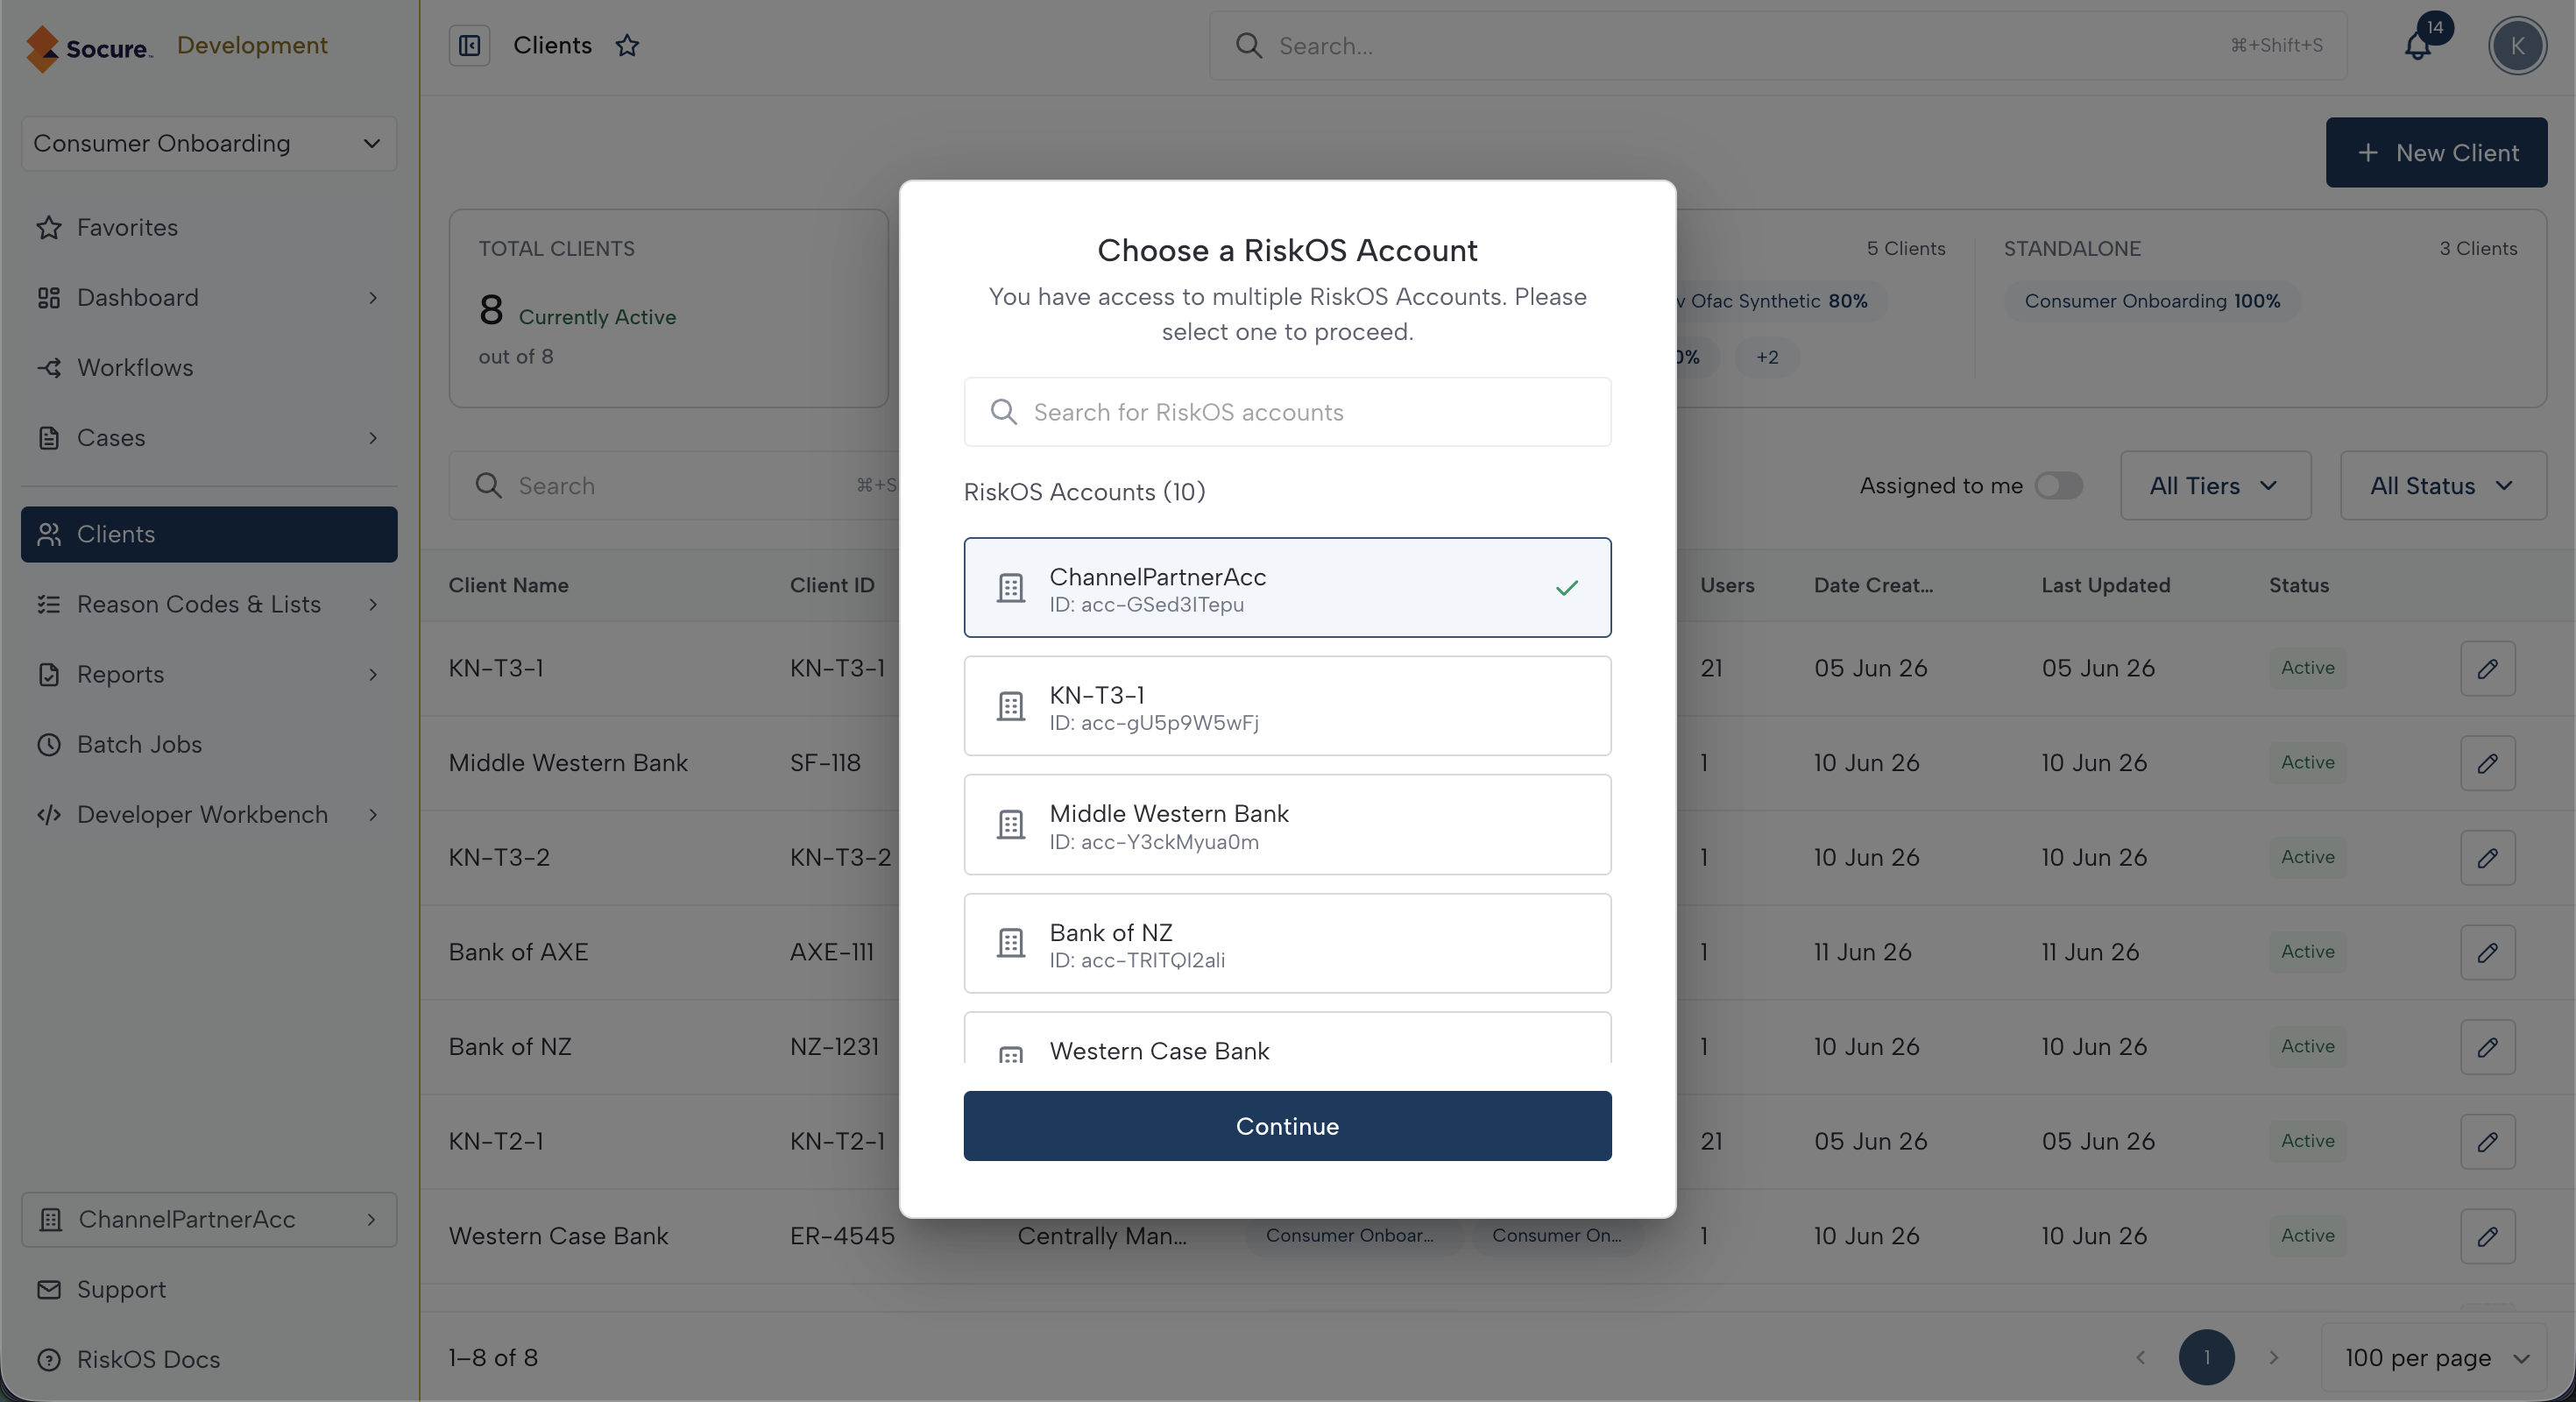
How to switch to a client account:
- Click the account switcher at the bottom of the sidebar. It displays your organization name with a building icon.
- In the Switch Account modal, search for a client by name or scroll through the list.
- Hover over the client and click Switch.
Alternatively, on the Clients hub, click anywhere on a client row (except the edit button) to switch directly into that client's account.
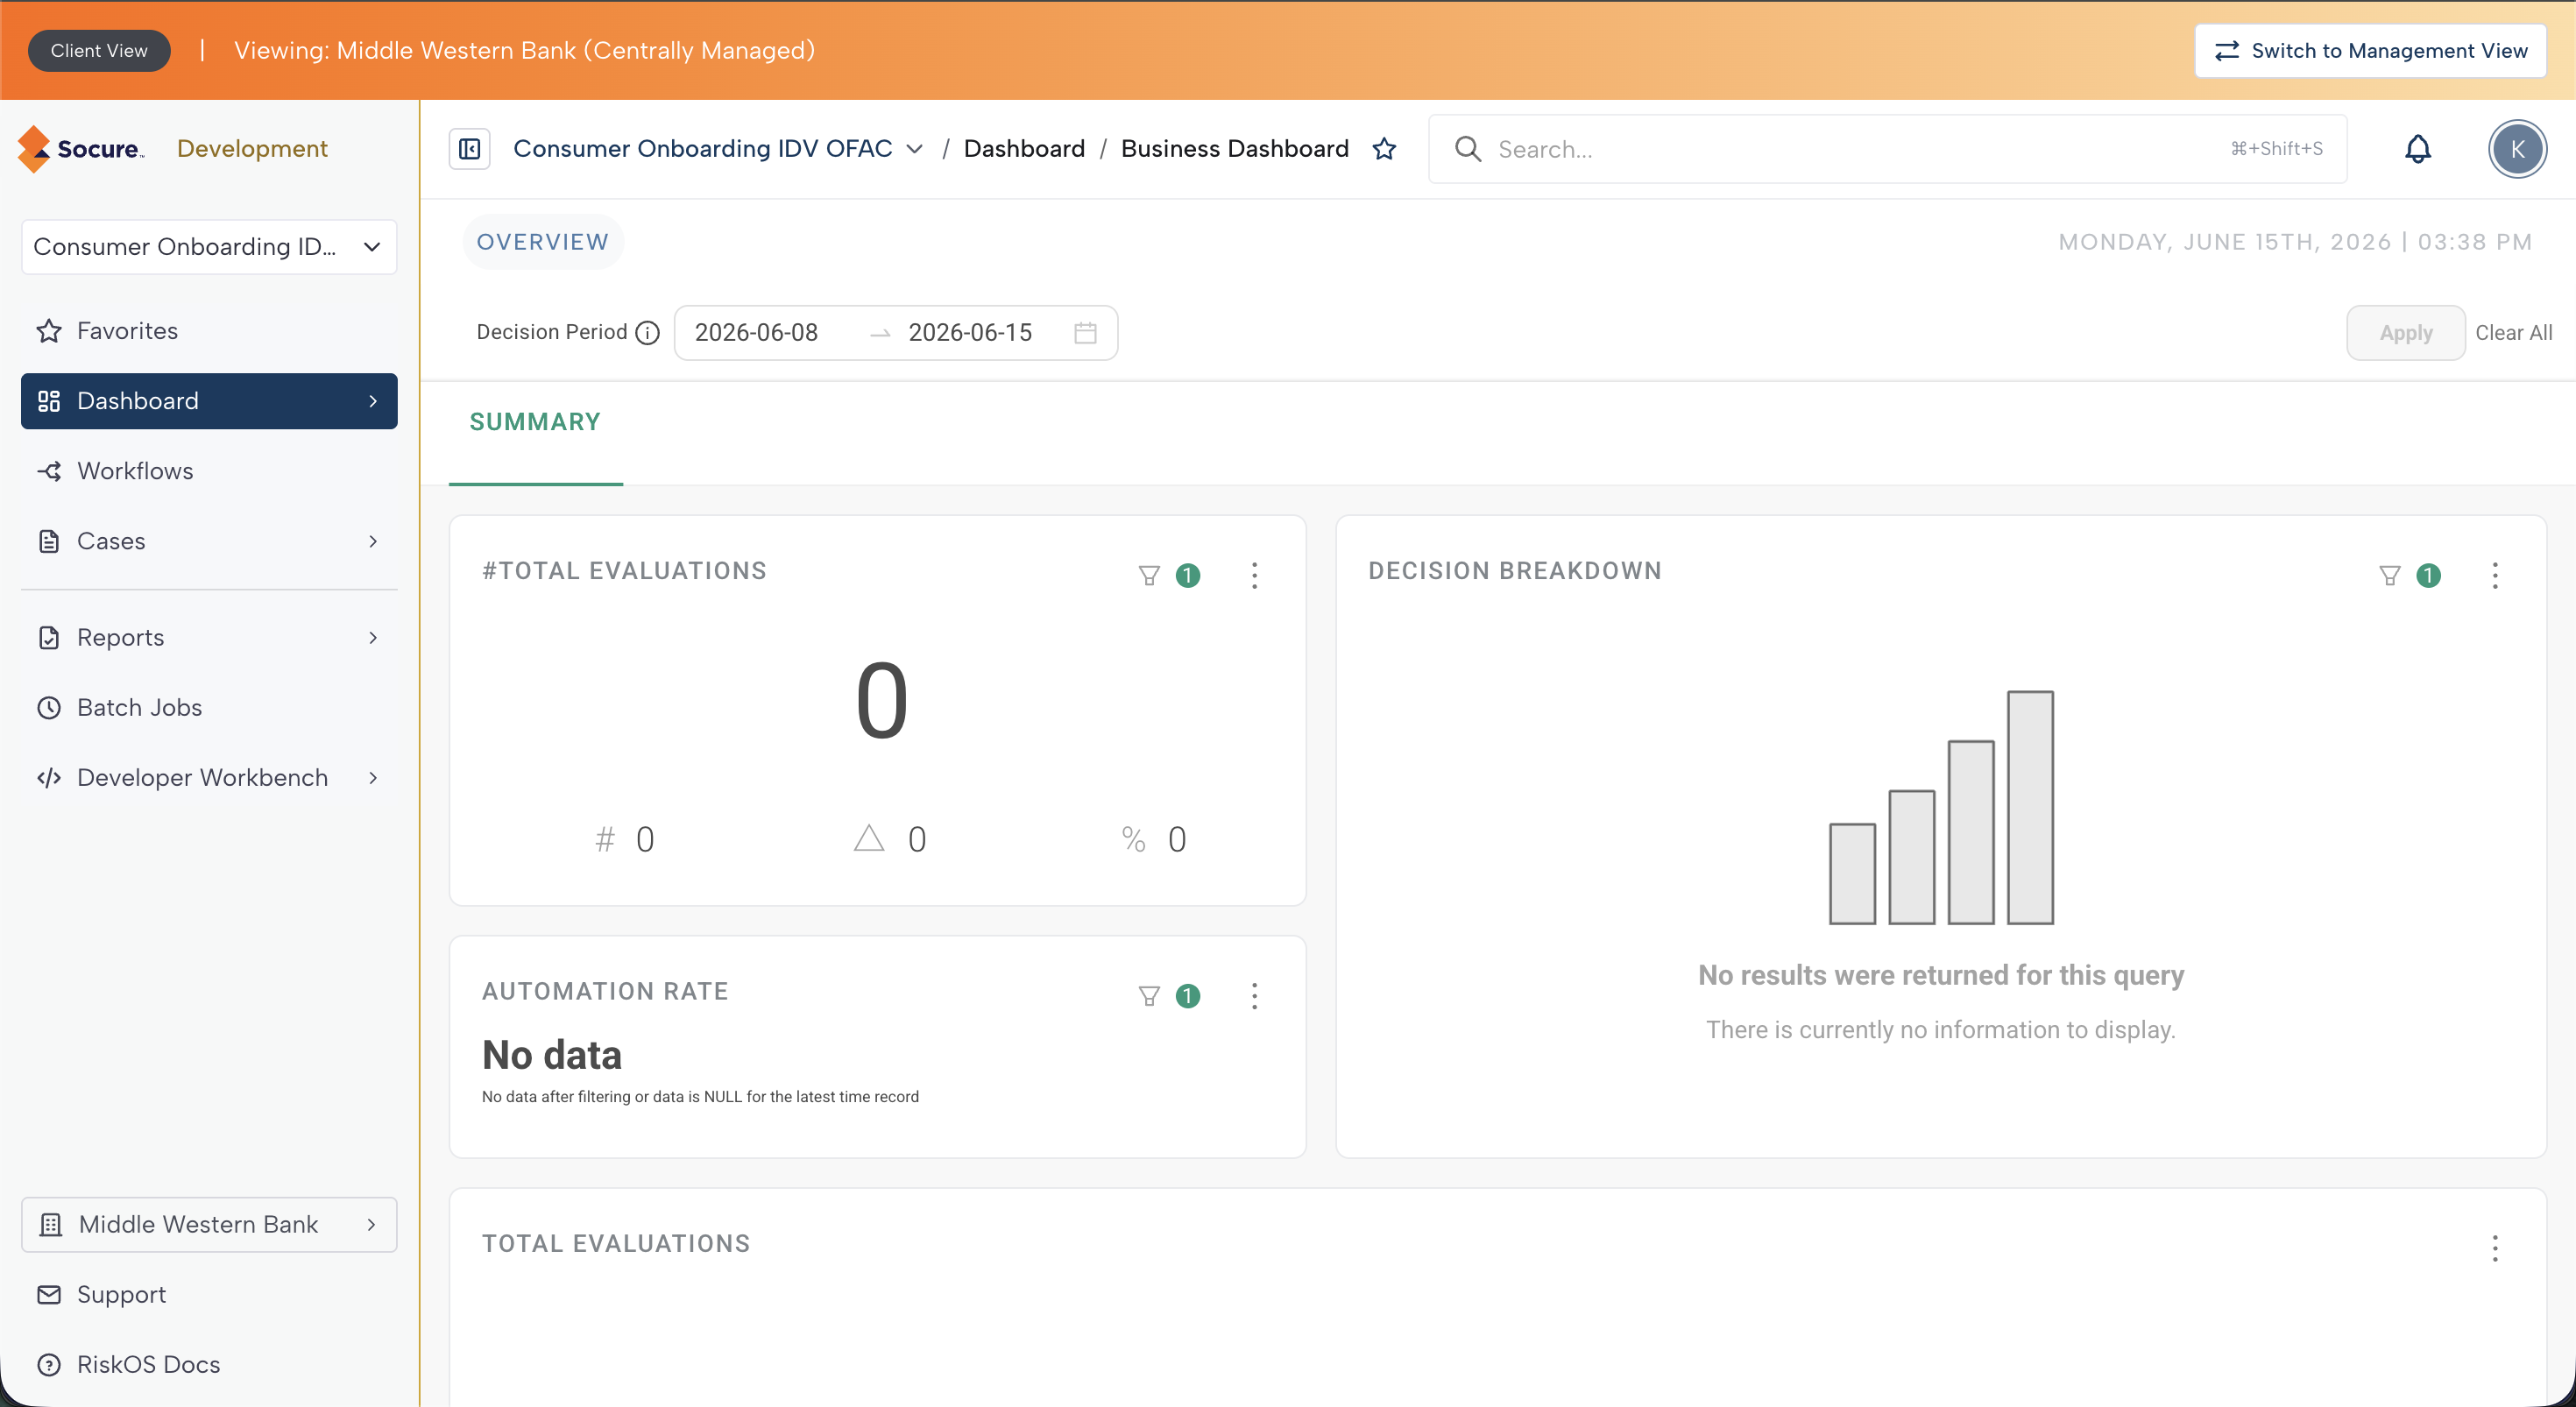
Client View banner: When you are viewing a client's account, a banner appears at the top of the dashboard showing "Client View | Viewing: [Client Name] ([Tier])". Click Switch to [Your Org] View in the banner to return to your management account.
What you can do in a client's account:
| Task | Standalone Client | Centrally Managed Client |
|---|---|---|
| Configure and test workflows | Client can do this themselves | Only you (the Channel Partner) can do this |
| Move workflows to live | Client can do this themselves | Only you (the Channel Partner) can do this |
| Review cases | Both you and the client | Both you and the client |
| Manage users and roles | Both you and the client | Both you and the client |
| Adjust product configuration | Both you and the client | Only you (the Channel Partner) |
Important:
Actions you take in a client's account take effect immediately and are recorded in the client's audit logs. There is no confirmation prompt when switching accounts — verify you are in the correct account before making changes.
Notifications
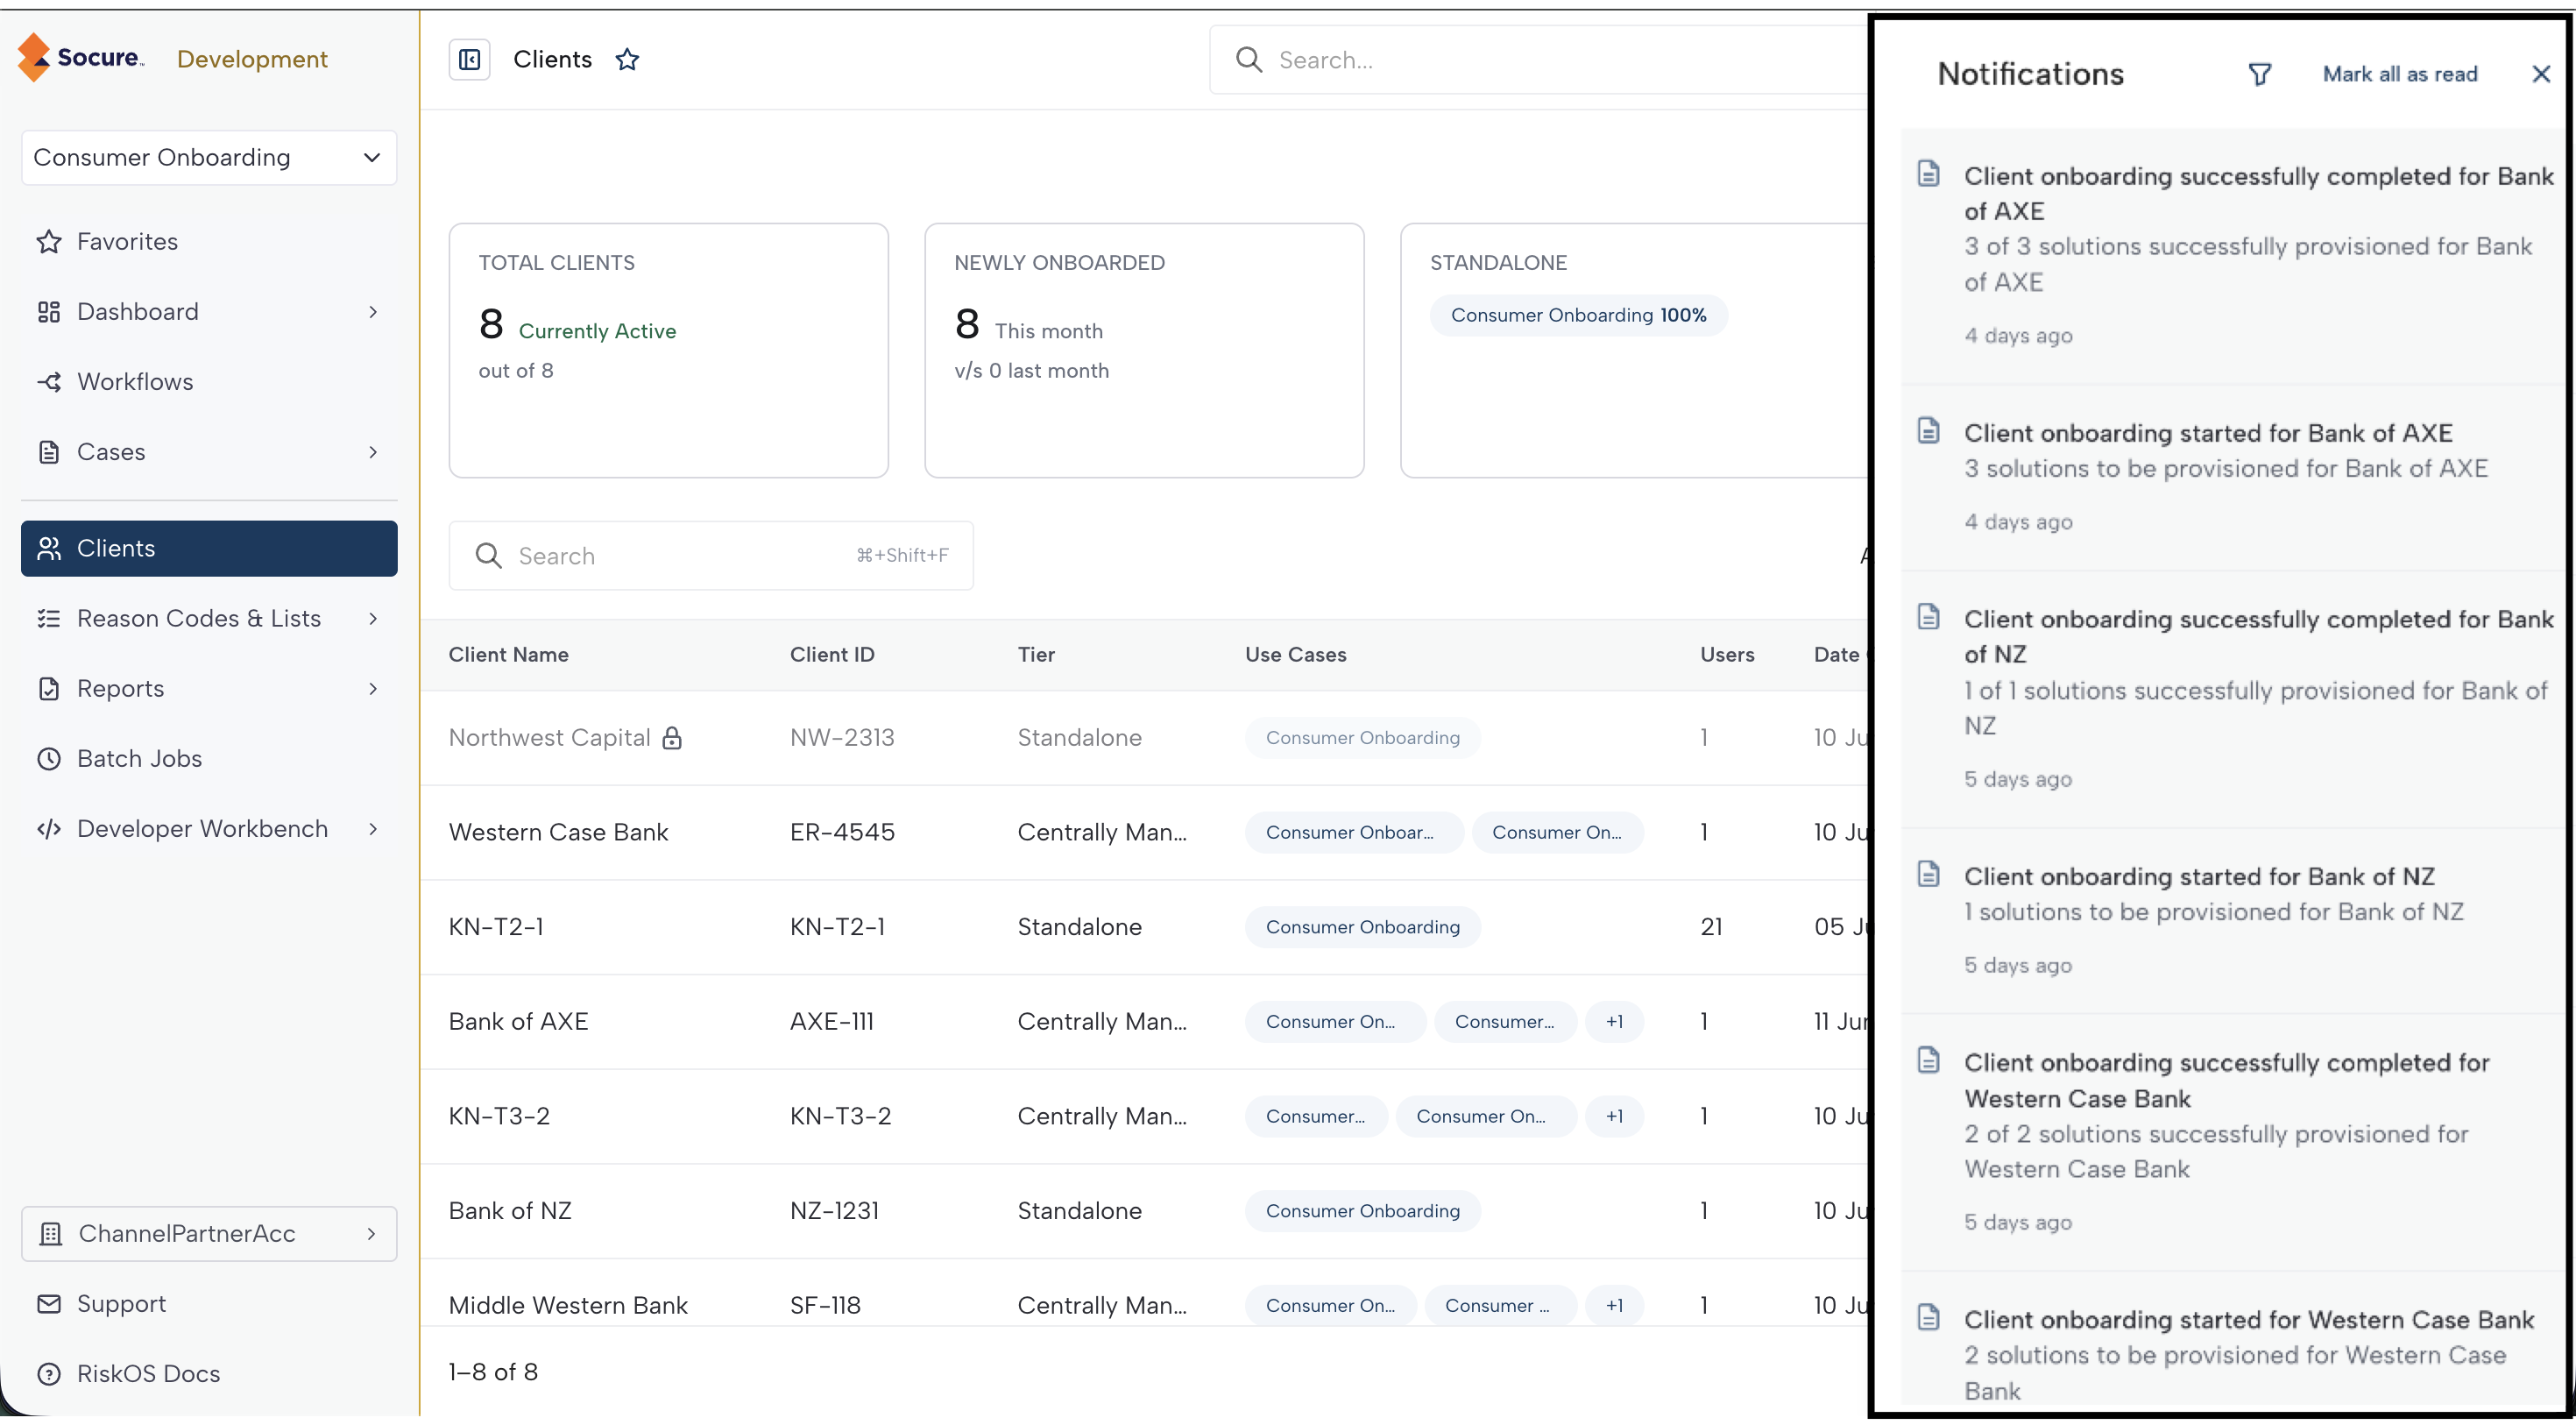
The notification center provides a centralized view of activity and events across your Channel Partner account and managed client accounts.
How to access notifications:
- Click the bell icon in the top-right app bar.
- A badge on the icon shows the unread count (caps at "99+").
- A drawer slides in from the right with your notifications.
Features:
- Filter by category — Use the filter controls at the top of the drawer to narrow by notification type.
- Infinite scroll — Older notifications load automatically as you scroll down.
- Scroll to top — A button appears after scrolling, letting you jump back to the latest notifications.
- Close — Click the X button or press Escape to dismiss the drawer.
Best practices
Governance
- Assign account owners deliberately. The account owner is the primary point of contact for a client account. Choose someone who actively manages the client relationship.
- Use Centrally Managed for hands-off clients. If the client does not have a technical team, Centrally Managed prevents accidental configuration changes while giving them visibility into their account.
- Review audit logs regularly. After switching into a client's account to make changes, verify your actions appear in the client's audit log under Settings > Audit Logs.
Environment management
- Grant broader access in Sandbox first. When creating users, assign expanded roles in the Sandbox environment for testing. Restrict Production roles until the client's team has been validated in Sandbox.
- Keep Sandbox and Production roles independent. Changes to a user's Sandbox roles do not affect their Production roles. Use this separation to test new permission sets before applying them in Production.
Security
- Scope custom roles narrowly. When creating custom roles, follow the principle of least privilege. Start with the minimum permissions needed and expand only when required.
- Audit user access periodically. Review the user list for each client to remove inactive accounts and reassign roles as responsibilities change. For a comprehensive checklist, see Access Governance Best Practices.
Getting started
| Task | Guide |
|---|---|
| View and filter your client accounts | Clients Hub |
| Onboard a new client | Onboard a Client |
| Understand user access management | Users & Roles Overview |
| Create and manage users | Manage Users |
| Define and assign roles | Roles & Permissions |
| Configure products for a client | Product Configuration |
| Understand tier and account differences | Account Models and Tiers |
| Guide your clients to their documentation | Client Accounts |
Updated about 1 month ago